Wood gouge set carving sounds simple, but the wrong mix of gouges can turn a relaxing craft session into chatter marks, crushed grain, and a lot of re-sanding.
If you’re shopping for a carving set for art and craft work in the U.S., the real question usually isn’t “How many tools do I get,” it’s “Do I have the right shapes, sizes, and steel to cut cleanly without fighting the wood?” That’s what this guide focuses on.
We’ll break down which gouges matter, how to tell if a set fits your style, and what to do on day one so your tools behave like they should. I’ll also call out a few common buying traps, because most “beginner sets” are only beginner-friendly on the price tag.
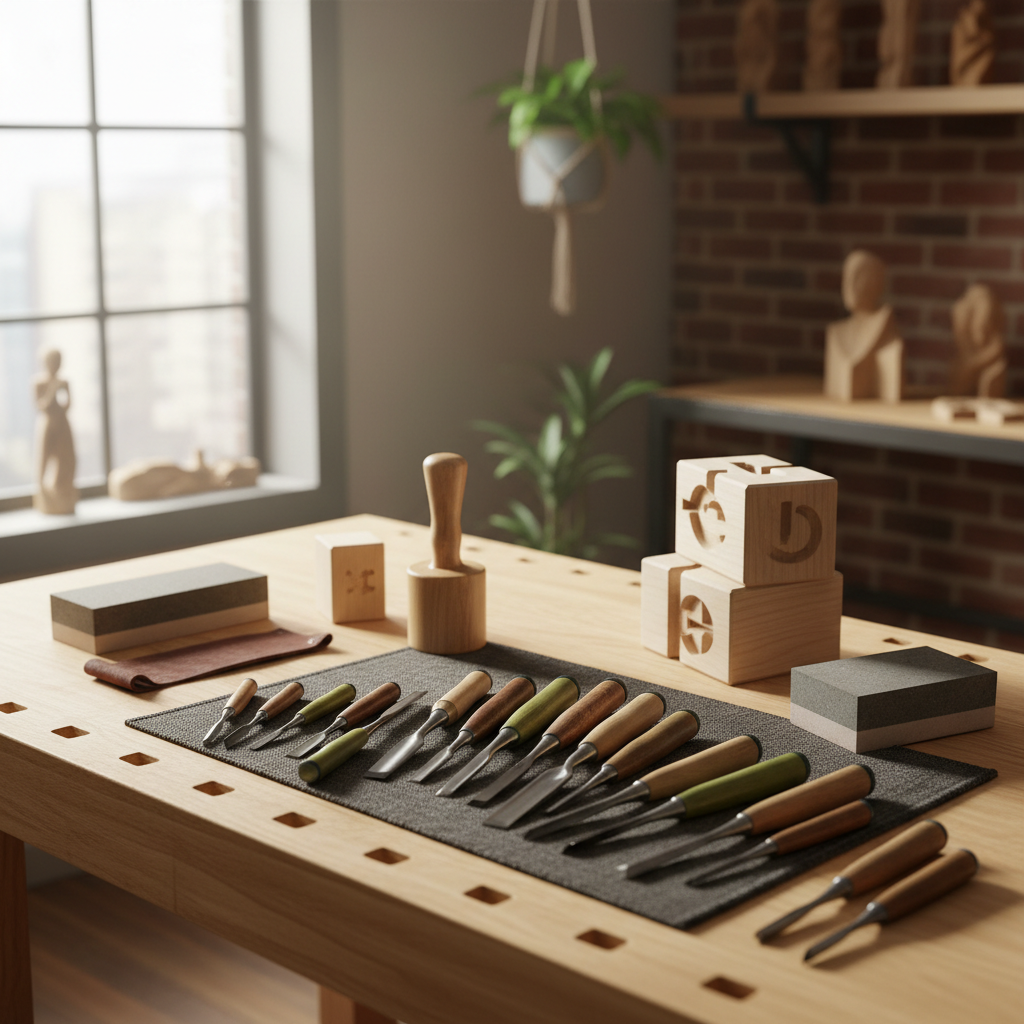
What a “wood gouge set” really includes (and why it matters)
A gouge is a curved chisel designed to remove wood in controlled scoops, not just scrape it. In carving, that curve is the whole game: it decides how quickly you can hollow, how cleanly you can model curves, and how much sanding you’ll need after.
Most sets mix these tool families:
- Gouges (U-shaped): for hollows, rounded contours, and fast material removal.
- V-tools: for outlining, texture, and crisp separations (think feathers, hair, lettering edges).
- Skews/straight chisels: for flattening, paring, and clean straight-sided cuts.
The key spec you’ll see is the sweep (how “curved” the cutting edge is) and the width (usually in mm). A set that repeats the same sweep in five widths may look impressive, but it can still leave you missing a practical hollowing gouge or a tight detail tool.
Why some sets cut cleanly and others fight you
When people say a tool is “bad,” they often mean it’s hard to control or dulls too fast. That typically comes down to a few real-world factors.
- Steel and heat treatment: Better heat treatment usually means longer edge life and less frustration mid-project. Cheaper tools can feel sharp out of the box, then fade quickly.
- Bevel geometry: A chunky bevel can wedge in hardwood; too thin can feel grabby or chip if you push it hard. Many budget sets ship with generic bevels that aren’t ideal for carving.
- Handle comfort and control: For art/craft work, you’re doing lots of short, accurate cuts. If the handle forces a death grip, you’ll lose finesse fast.
- Tool profile consistency: Two “similar” gouges can behave differently if the inside curve isn’t smooth or if the edge isn’t evenly ground.
According to OSHA (Occupational Safety and Health Administration), keeping cutting tools maintained and in good condition is a basic safety expectation in workshops. In carving terms, that means a keen edge and predictable control, not “powering through” with extra force.
Quick self-check: what kind of woodworker are you buying for?
Before you choose a wood gouge set carving option, get clear on the kind of work you actually do. A set that’s perfect for spoons can feel awkward for relief panels.
A simple fit checklist
- If you carve small figures or ornaments: prioritize a narrow V-tool, a small shallow gouge, and at least one tighter sweep for facial features and folds.
- If you do relief carving (signs, panels): you’ll want a reliable V-tool, medium gouges for background removal, and a skew for crisp flats.
- If you do bowls, kuksas, or hollow forms: look for deeper sweeps and wider gouges, plus a mallet-friendly handle style.
- If you mostly carve basswood for crafts: you can lean smaller and lighter, but edge quality still matters because dull tools crush soft grain.
If you’re unsure, choose variety over volume: fewer tools, more different sweeps, and at least one V-tool you actually like.
Picking the right gouges: a practical mix (not just a big count)
For art and craft carving, a useful set usually covers three “jobs”: outlining, shaping, and cleanup. Here’s a mix that tends to work across common projects.
- 1 V-tool (medium angle): outlines, texture, stop cuts.
- 2–3 shallow/medium gouges in small-to-mid widths: modeling curves, smoothing transitions.
- 1 deeper gouge: quick hollowing and deeper channels.
- 1 straight or skew chisel: flattening and crisp edges.
More tools can be great, but only if they expand capability instead of duplicating shapes. If a set includes five near-identical mid sweeps and no skew, it’s telling you what the manufacturer can mass-produce, not what you need.
Table: What to look for when comparing sets
Specs get confusing fast, so here’s a quick comparison table you can use while shopping.
| What you’re comparing | What “good” usually looks like | What often causes frustration |
|---|---|---|
| Tool variety | Different sweeps + at least one V-tool | Many similar gouges, missing key shapes |
| Edge readiness | Needs a strop touch-up, then cuts cleanly | Feels sharp briefly, then dulls fast |
| Handle ergonomics | Comfortable for push cuts and controlled mallet taps | Slippery, too thin, or awkwardly long for detail work |
| Finish and grind | Even bevel, smooth inside curve on gouges | Wavy grind, rough inner flute, inconsistent edge |
| Sharpening support | Common profiles that match standard stones/strops | Odd profiles that are hard to hone consistently |
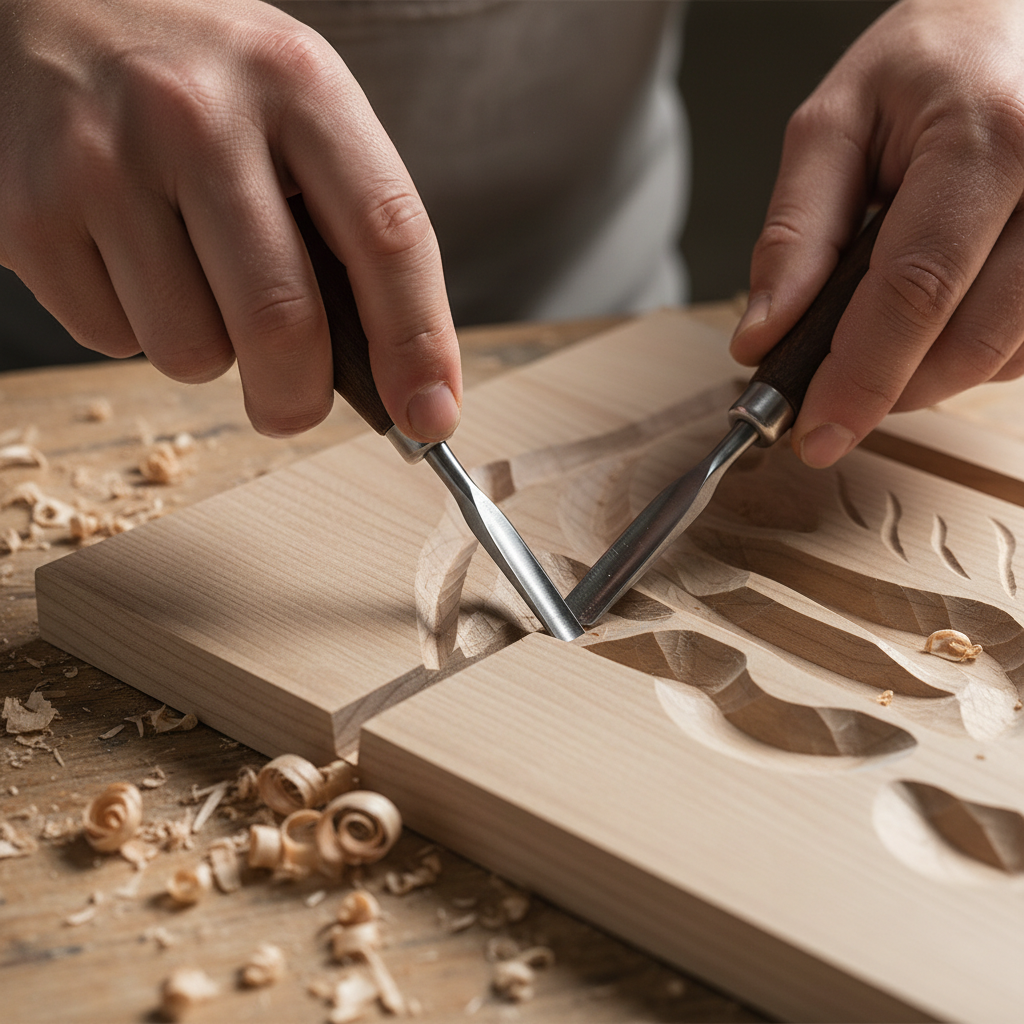
Day-one setup: how to get clean cuts fast
Even solid tools may not arrive truly “carving sharp.” If you skip setup, you might blame the set when the edge simply needs refinement.
A simple, realistic first session
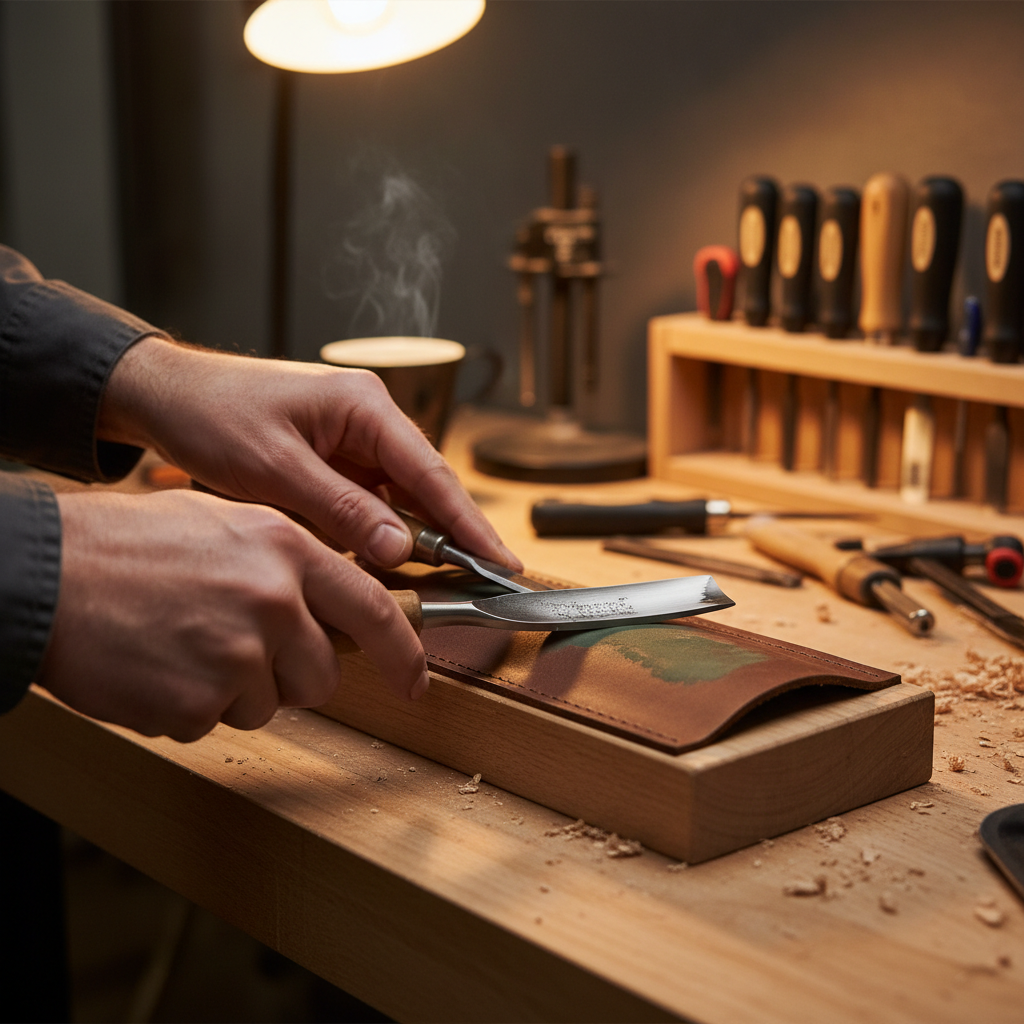
- Strop the edges: A few light passes on a leather strop with compound often makes a noticeable difference for craft woods.
- Check for burrs: If you feel a wire edge, refine it gently rather than forcing it into wood.
- Test on scrap: Try push cuts across and with the grain, then a small hollow. You’re checking control, not brute force.
- Match tool to grain: Tear-out usually means the cut direction is wrong or the edge is tired, not that you “need a bigger gouge.”
Key point: If you’re pressing hard, something is off. In many cases it’s sharpness, grain direction, or tool choice for that specific curve.
Common mistakes (the stuff that quietly ruins projects)
A few habits show up again and again, especially with a new wood gouge set carving purchase.
- Buying a huge set to avoid learning sharpening: reality check, more tools means more edges to maintain.
- Using a mallet for everything: mallets help for waste removal, but many craft cuts look cleaner with controlled hand pressure.
- Sanding to fix torn grain: sanding has a place, but tear-out often goes deeper than you think. A sharper edge and a lighter cut usually beats grinding the surface down.
- Ignoring the inside of the gouge: the flute needs to be smooth and honed, otherwise you get drag and a stubborn burr.
If you feel the tool “snag” unpredictably, slow down and reassess. Forcing the cut can increase slip risk, and if you’re unsure about safe technique, it’s reasonable to ask a local carving club, instructor, or experienced woodworker for a quick demo.
When to get help or upgrade your approach
Not every issue is solved by buying another set. Sometimes you need a small adjustment, sometimes you need guidance.
- If edges dull within minutes: could be poor steel, but it could also be cutting dirty/abrasive wood, hitting glue lines, or using too steep an angle. A sharpening lesson can save money.
- If you get frequent slips: consider cut-resistant gloves, a bench hook, or a better workholding setup, and ask a pro to review your hand position. Safety advice varies by project, so personalized input helps.
- If you carve hardwoods often: you may benefit from fewer tools with higher-end steel rather than a big mixed set.
According to American Association of Woodturners (AAW), safe tool use and proper technique are emphasized across woodcraft education, and many local clubs offer learning opportunities. Even if you don’t turn, the approach to sharp tools and controlled cuts translates well.
Conclusion: a set that matches your projects beats a set that looks impressive
A good wood gouge set carving choice is the one that gives you clean, controllable cuts across the projects you actually make, not the one that fills the most slots in a roll-up case. Aim for real variety in sweeps, plan on a quick strop-and-test on day one, and treat sharpening as part of the craft, not a chore you can shop around.
If you want one action to take today, pick one small project, choose three tools that should complete it, and practice getting a clean surface straight off the edge. That single habit tends to make every future set feel “better.”
FAQ
- What is included in a typical wood gouge set carving kit?
Usually a mix of gouges plus at least one V-tool and a straight or skew chisel, though the exact balance varies. Look for useful variety in sweeps rather than many near-duplicates. - Do carving gouges come sharp enough out of the box?
Sometimes they cut, but many still need stropping or light honing for cleaner results. If you see fuzzy cuts in basswood, it’s often an edge-finish problem, not your technique. - How many gouges do I need for beginner art and craft carving?
Many people do fine with 5–8 well-chosen tools. A smaller set with the right profiles often beats a large set that skips a proper V-tool or detail gouge. - What wood is easiest to practice with when using a gouge set?
Basswood is a common choice for practice in the U.S. because it cuts predictably. Softer wood can still tear if tools are dull, so it’s a good “honesty test” for sharpness. - Is a V-tool necessary, or can I carve without one?
You can carve without it, but crisp outlines and clean separations become harder. For relief patterns, lettering, and texture, a V-tool saves time and improves definition. - How do I stop tear-out when using gouges?
First check grain direction, then lighten the cut and refresh the edge on a strop. Tear-out often shows up when you lever the tool too aggressively or cut against changing grain. - What sharpening tools should I buy with a wood gouge set?
A strop and compound are a practical start, then add stones or slipstones that match your gouge curves. If sharpening feels confusing, a short class or shop demo can be more valuable than extra gear.
If you’re trying to pick a set and you’re stuck between “more tools” and “better tools,” it usually helps to list your next two projects and choose a kit that covers those shapes cleanly, then add specialty gouges only when a project demands them.