Plunger cup sink drain problems usually show up at the worst moment, water pooling, a sour smell, and that slow swirl that tells you the clog is building. The good news is that a simple cup-style plunger can solve many kitchen and bathroom sink clogs without chemicals or a service call.
This guide focuses on what actually works in real homes: how to pick the right plunger cup, how to seal and plunge correctly, when to stop, and what to try next if the clog won’t budge. A lot of people “plunge” but never get a seal, so they just splash water and waste time.
We’ll also cover a few quick checks that save frustration, like whether your sink has an overflow, whether you’re dealing with grease versus hair, and when the problem is probably farther down the line than a plunger can reach.
Why sink drains clog (and when a plunger cup is the right tool)
Most sink clogs come from a short list of repeat offenders, and identifying which one you have makes plunging more effective.
- Kitchen sinks: grease, coffee grounds, rice/pasta starch, and food scraps that catch on buildup inside the trap.
- Bathroom sinks: hair, soap scum, toothpaste residue, and small items that slip past the stopper.
- Older plumbing: rough interior pipe surfaces hold onto debris more easily, so clogs form faster.
A cup-style plunger works best when the blockage is relatively close, often in the P-trap or the first stretch of drain line. If multiple fixtures back up at once, the clog may be in a main line and a plunger cup may not reach it.
According to EPA, using safer approaches for household maintenance can help limit exposure to harsh chemicals, which is one reason many people start with mechanical methods like plunging before reaching for chemical drain cleaners.
Choosing the right plunger cup for a sink drain
Not all plungers behave the same. For sinks, the goal is a flexible cup that seals well on a flat basin surface and pushes pressure into the drain, not a flange that’s designed for toilets.
Quick comparison table
| Tool | Best for | Why it matters |
|---|---|---|
| Cup plunger (flat-bottom) | Most sink drains | Creates a wide seal on sink basins and flat surfaces |
| Toilet plunger (with flange) | Toilets | Flange fits toilet outlet better, often awkward in sinks |
| Mini sink plunger | Small bathroom basins | Easier to seal around tight drain openings |
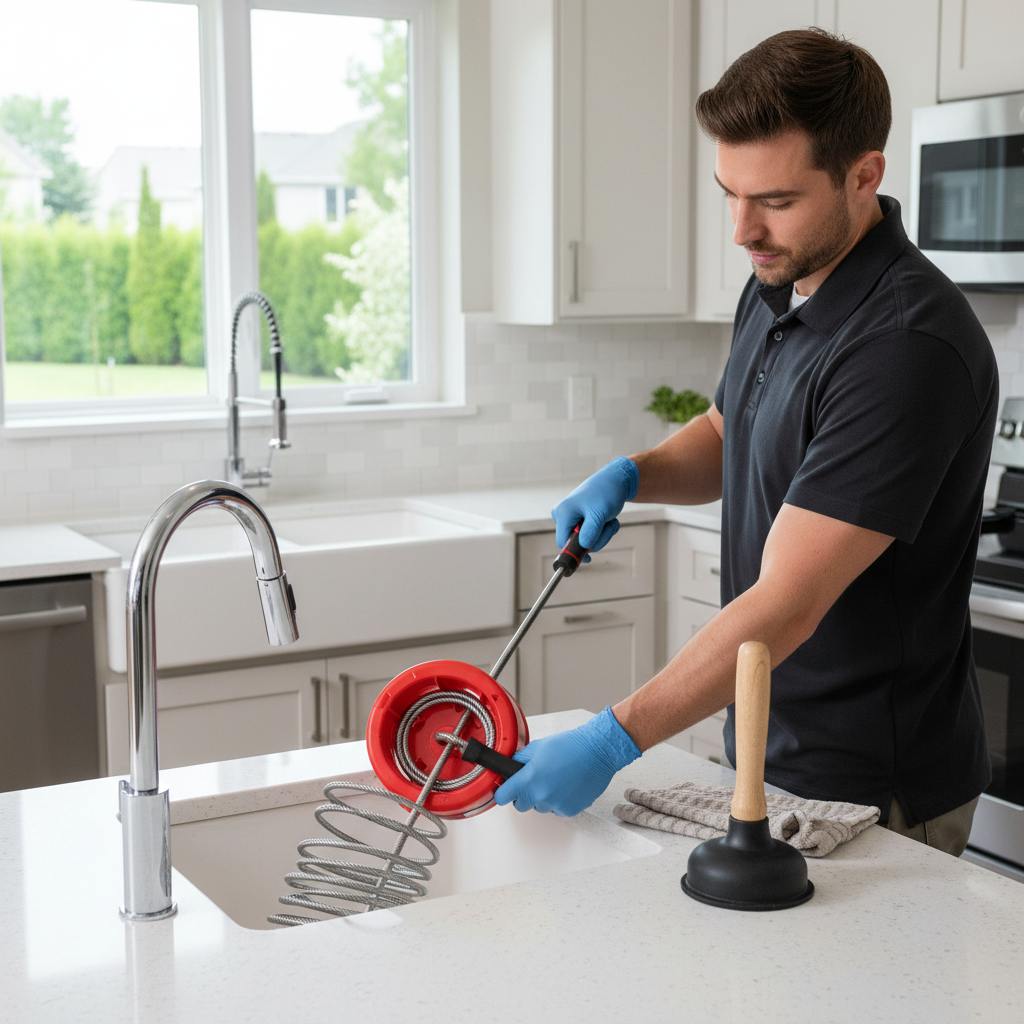
| Drain auger (hand snake) | Stubborn, deeper clogs | Physically reaches and breaks up blockages beyond the trap |
Look for a plunger cup with soft, thick rubber and a handle long enough to keep your knuckles off the basin. If the cup edge feels stiff, sealing becomes harder, especially on textured sink surfaces.
Before you plunge: a fast checklist that prevents the “why isn’t this working?” moment
Before you start pumping, take 60 seconds to set up the conditions that make plunging work. This is where most DIY attempts fall apart.
- Confirm there’s standing water: the cup needs water to move pressure. Add enough to cover the cup lip by about 1 inch.
- Block the overflow (bathroom sinks): cover it with a wet rag or tape, otherwise pressure escapes and the plunger feels useless.
- Remove the stopper if possible: pop-up stoppers can break the seal or block movement.
- Single-basin vs. double-basin kitchen sinks: plug the other drain with a wet rag or a stopper so you don’t push air into the other side.
- If you used chemicals: be cautious. Chemical cleaner can splash. If in doubt, stop and consider professional help.

How to use a plunger cup on a sink drain (step-by-step)
Plunger cup sink drain technique is mostly about sealing and rhythm, not brute force. If you get the seal right, you often feel the clog “give” within a few cycles.
Step-by-step method
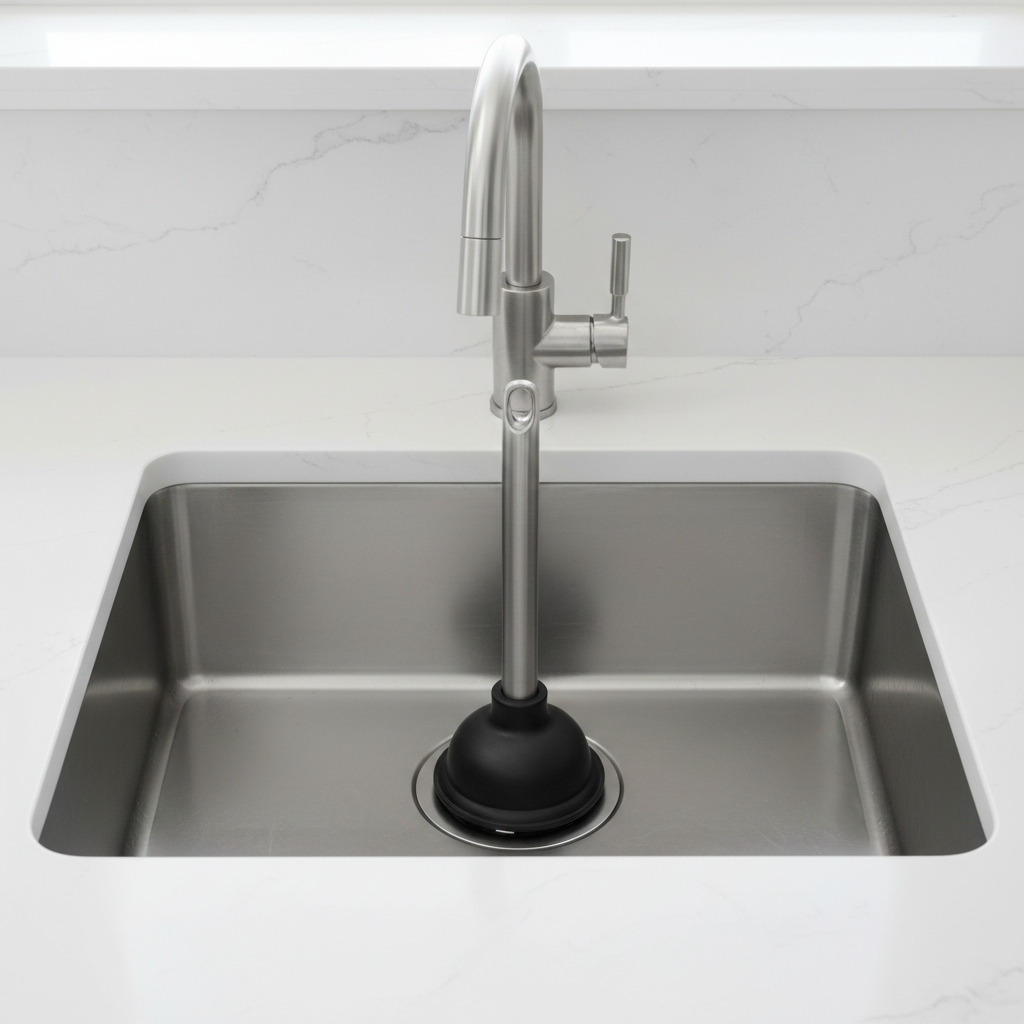
- Seat the cup: place the cup directly over the drain opening, press down gently to remove trapped air.
- Start with controlled strokes: push down and pull up without breaking the seal. Think of it as “pressure and suction,” not random pumping.
- Use 10–20 strokes: keep the motion steady, then lift the cup quickly to check if water starts draining.
- Repeat in sets: 2–4 sets is a reasonable try. If nothing changes, reassess the setup (overflow, second basin, water level).
- Flush with hot tap water (not boiling): once it drains, run hot water for a minute or two to move remaining debris along.
If you’re clearing a bathroom sink, you may see hair and soap debris come up. It’s not pretty, but it’s a sign you’re moving the clog in the right direction. Scoop it out instead of washing it back down.
Troubleshooting: what different outcomes usually mean
When plunging “fails,” it often fails in a specific way, and that clue tells you what to do next.
- No resistance at all: you’re not sealed. Add water, reposition the cup, block the overflow, or switch to a smaller cup.
- Lots of resistance, no change: clog may be dense grease/food mass or packed hair. Try a few more sets, then move to a snake.
- Water drains, then slows again: partial opening. Follow with hot water and a short snake run to pull out the remaining gunk.
- Gurgling in another fixture: pressure is traveling through shared lines. Plug other openings and try again, but consider a deeper clog.
One more reality check: if you have frequent repeat clogs, the issue may be buildup and pipe condition, not a one-time blockage. In that case, a cup plunger is still useful, but it becomes a symptom-treater rather than a cure.
Next steps if the clog won’t clear (without making it worse)
If a plunger cup sink drain attempt doesn’t improve flow after a few proper rounds, don’t just keep going harder. That can loosen old fittings, especially under a bathroom vanity where connections may be hand-tightened.
Practical options to try
- Clean the trap: place a bucket under the P-trap, loosen slip nuts, remove debris. If you’re not comfortable with plumbing joints, skip this step.
- Use a hand auger: a small drain snake can grab hair and break up soft clogs beyond the trap.
- Use an enzyme cleaner (overnight): works slowly on organic buildup. It won’t fix a solid blockage instantly, but it can help with recurring slime layers.
Common mistakes and safety notes (worth reading once)
Most “plungers don’t work” complaints come down to a few avoidable mistakes.
- Plunging a dry drain: without enough water, you push air, not pressure.
- Ignoring the overflow: pressure escapes, so the clog never gets the force you think it’s getting.
- Using boiling water in porcelain or PVC: very hot water may stress some materials. Hot tap water is usually the safer choice.
- Mixing drain chemicals: combining products can create hazardous fumes. If chemicals are already in the line, consider professional help to avoid splashing exposure.
- Over-plunging fragile connections: older traps or DIY-installed fittings can loosen with aggressive plunging.
According to CDC, preventing exposure to hazardous chemicals includes reading labels and using protective gear as directed. For drain products specifically, if you choose to use them, follow the label and keep ventilation in mind.
When it’s time to call a plumber (and what to tell them)
Call for help when the problem looks bigger than a local clog, or when DIY steps create risk.
- Multiple drains backing up: kitchen sink plus tub, or sink plus toilet, often points to a main line issue.
- Water backing up into another fixture: can indicate a blockage in a shared branch line.
- Persistent sewer odor: could be a venting or trap issue, not just a clog.
- Evidence of leaks: damp cabinet floor, dripping slip nuts, or water stains.
When you call, mention what you tried: cup plunging (including whether you blocked the overflow), whether the sink is double-basin, and whether any chemicals were used. That saves time, and in many cases helps the plumber choose the right approach right away.
Key takeaways and a simple action plan
If your sink is slow, a cup plunger is still one of the most cost-effective tools to keep around, but it only shines when the setup is right and the clog is close enough to move.
- Get the seal: water level, overflow blocked, other basin plugged.
- Plunge in sets: controlled strokes, then check drainage.
- Escalate smartly: trap clean-out or a small auger beats endless pumping.
If you want one practical next step today, pick up a quality cup plunger and test-fit it on your sink so you know it seals before you’re in a rush with a backed-up basin.
FAQ
How do I know if I’m using the right plunger for a sink?
A sink-friendly tool is usually a flat-bottom cup plunger that can sit flush on the basin surface. Toilet plungers often have a flange that makes sealing on a sink awkward.
Why does my plunger just splash water without unclogging anything?
That usually means you’re not sealed, or the sink overflow is letting air escape. Add water to cover the cup edge and block the overflow with a wet rag.
Can I use a plunger cup on a bathroom sink with a pop-up stopper?
Yes, but it’s easier if you remove or lift the stopper so the cup can sit directly over the drain opening. If you can’t remove it, focus on getting the best seal you can around it.
Is it safe to plunge after using a chemical drain cleaner?
It can be risky because chemicals may splash. If you already poured a product in, consider waiting per the label, ventilating the area, and wearing eye protection, or contact a professional if you’re unsure.
What if plunging works, but the clog comes back every week?
Recurring clogs often point to buildup in the trap or branch line, grease habits, or older pipes that catch debris. An enzyme cleaner routine and occasional trap cleaning may help, but frequent repeats can justify a plumber inspection.
Will hot water alone clear a clogged sink drain?
Sometimes it helps with grease-heavy kitchen slowdowns, but it rarely fixes a dense blockage by itself. It’s better as a follow-up flush after you open the line with a plunger cup or snake.
What’s the next tool after a cup plunger if the sink still won’t drain?
A small hand auger or a plastic hair tool is a common next step, especially for bathroom sinks. For kitchen sinks, checking and cleaning the P-trap is often the most direct fix if you’re comfortable doing it.
If you’re dealing with frequent clogs and you’d rather not guess, a simple “sink drain kit” approach works well: a quality cup plunger, a small hand auger, and an enzyme cleaner for maintenance, it’s usually enough to cover most everyday backups without overcomplicating things.