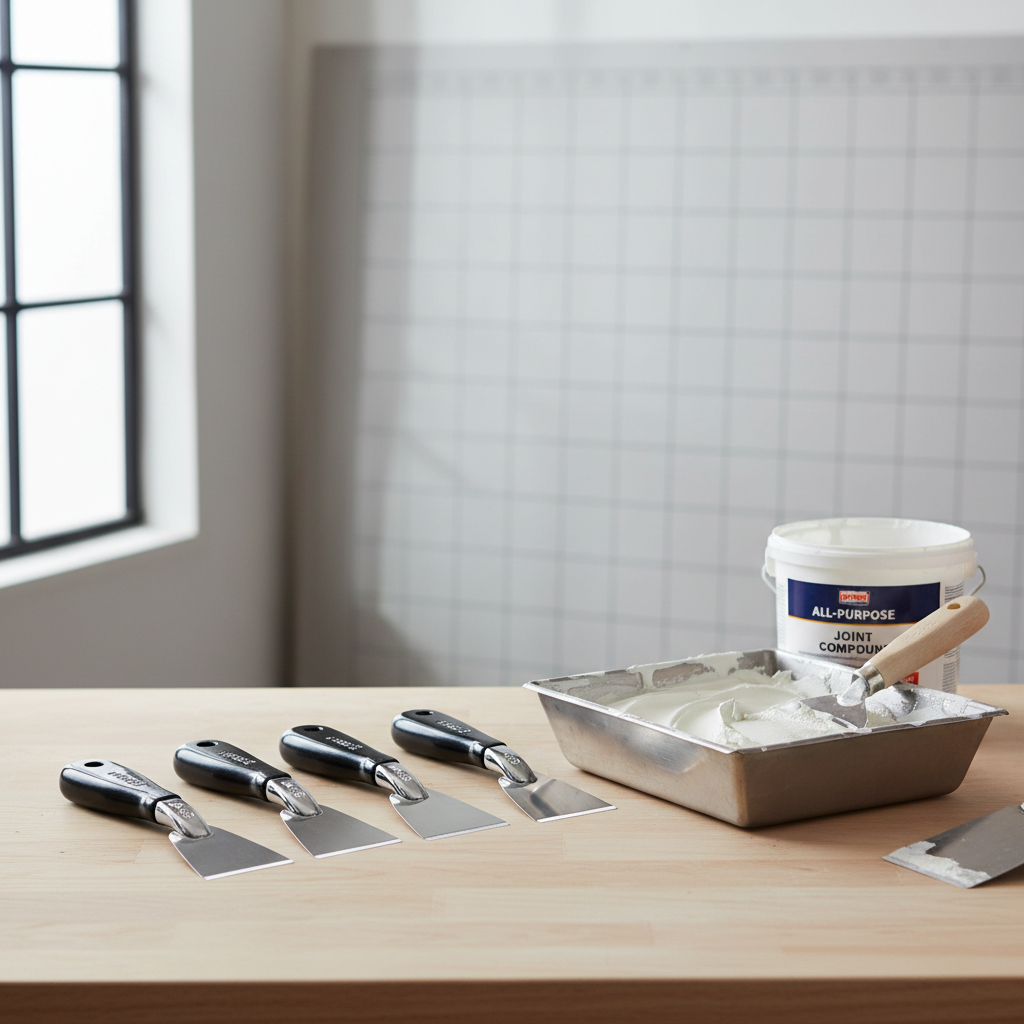
Taping knife set 4 6 8 10 inch is one of those drywall buys that can either make finishing feel smooth and predictable, or weirdly frustrating if the sizes don’t match how you actually work.
If you’ve ever wondered why your joints still show a faint hump, why inside corners keep dragging, or why your “final” coat still needs more sanding than it should, the knife width is usually part of the story. A 4-inch knife behaves nothing like a 10-inch knife, and treating them as interchangeable is where many DIYers (and plenty of busy pros) lose time.
This guide breaks down what each knife size is best at, how to pick a set that won’t fight you, and a practical way to use all four widths on real seams, corners, patches, and skim coats.
What each knife size is actually for (and why it matters)
A 4–6–8–10 set isn’t just “more options.” It’s a progression: narrow knives help you load, press, and detail, wider knives help you feather and hide. If you skip that progression, you often compensate with extra mud or extra sanding.
- 4-inch taping knife: detail work, tight areas, small patches, nail pops, scraping high spots, and controlling inside corners when space is limited.
- 6-inch taping knife: embedding paper tape on flats, first coat on small butt joints, general-purpose knife for repairs and quick touch-ups.
- 8-inch taping knife: second coat on flats, feathering edges, blending patches without building a hump.
- 10-inch taping knife: wider finishing passes, final feathering on butt joints, and quicker skim coverage on small sections.
That said, your wall texture, lighting, and expectations change the “right” width. A perfectly flat Level 5-style finish under raking light often pushes people toward wider knives later, but 10 inches can still be enough for many rooms when technique is clean.
Quick comparison table: 4 vs 6 vs 8 vs 10 inches
If you want a fast way to decide which knife to grab before the mud starts setting, this table is the cheat sheet.
| Knife size | Best use | Common mistake | Result when misused |
|---|---|---|---|
| 4 inch | Small repairs, tight spots, scraping | Trying to feather a full seam | Hard edges, heavy sanding |
| 6 inch | Embedding tape, first coats | Leaving too much mud under tape | Bubbles, loose tape, ridges |
| 8 inch | Second coat, blending | Pressing too hard on edges | Gouges, “picture framing” lines |
| 10 inch | Finishing passes, wider feathering | Overloading mud and chasing it | Waves, extra sanding, lap marks |
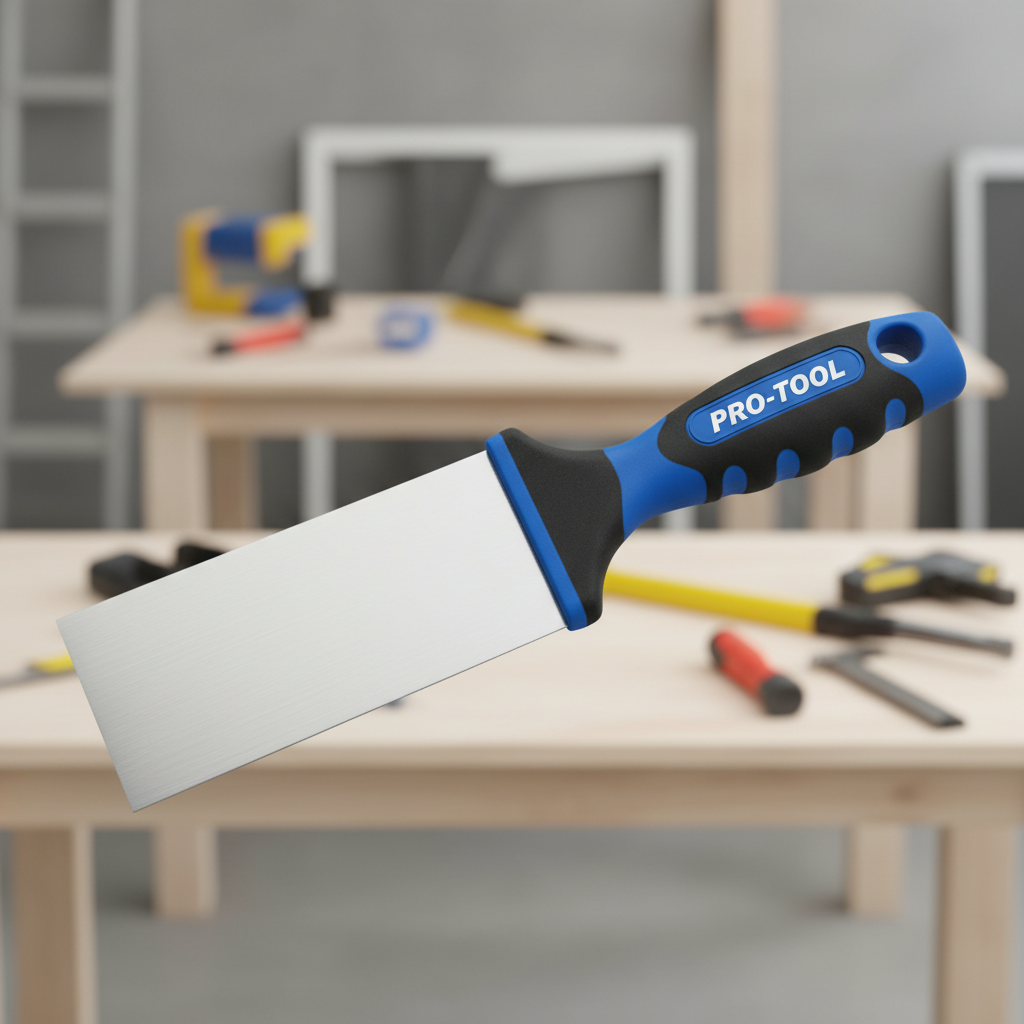
How to choose a taping knife set that won’t frustrate you
Even with the same sizes, sets vary a lot in feel. Handle shape, blade stiffness, and edge finish change how the mud releases and how easy it is to keep a straight line.
Here’s what usually matters more than fancy marketing:
- Blade material: stainless steel tends to resist rust and clean up easier; carbon steel can feel “buttery” but needs more care to avoid corrosion.
- Flex: a slightly flexible blade helps feathering; too floppy can chatter and leave lines, especially for beginners.
- Handle comfort: if your hand cramps, your pressure gets inconsistent, and inconsistent pressure shows up as ripples.
- Edge and corners: clean, square edges reduce drag; slightly radiused corners can reduce corner lines on finishing passes.
According to OSHA, hand tools should be kept in good condition to reduce injury risk and improve control. In drywall terms, a nicked edge or loose handle isn’t just annoying, it can also lead to slips and unnecessary force.
If you’re finishing whole rooms, it’s also worth checking whether your set plays well with a mud pan or a hawk. A knife that loads cleanly from your pan saves small seconds that turn into real time by coat three.
Self-check: which problems your current knives may be causing
Before buying another tool, it helps to pinpoint what’s going wrong. Many “bad mud” complaints are really knife choice or pressure control.
- You see a ridge line on both sides of the seam even after sanding.
- Your tape blisters or bubbles in spots.
- You get chatter marks, tiny repeating lines, especially on the finish coat.
- Inside corners tear or drag, and the paper fuzzes up.
- You keep adding compound to hide errors, and joints start looking thick.
If two or more feel familiar, the fix is often a combination of using the right width at the right step, cleaning edges more often, and dialing back how much mud you carry on the blade.
Practical workflow: how to use 4, 6, 8, and 10 inch knives on a typical wall
This is the part most people want: what to do, in what order, without turning the room into a sanding festival.
1) Prep and first pass (4-inch + 6-inch)
- Use the 4-inch to knock down paper bumps, dried crumbs, and factory edge fuzz before any mud goes on.
- Load the seam with a thin bed, then embed tape using the 6-inch with firm, even pressure.
- Wipe excess out from under the tape; too much mud under tape is a common reason bubbles show up later.
If you’re using setting-type compound, working time changes by product and temperature, so keep your batches small unless you’re confident with pace.
2) Second coat (8-inch)
- After the first coat dries, scrape ridges with the 4-inch rather than sanding right away.
- Apply the second coat with the 8-inch, aiming to widen the joint and begin feathering the edges.
- Keep the center slightly fuller than the edges, then clean passes along each side to taper.
This step is where a taping knife set 4 6 8 10 inch earns its keep, because 8 inches lets you blend without overbuilding.
3) Finish coat (10-inch)
- Scrape dry lines again, especially lap marks at the ends of strokes.
- Use the 10-inch for your finish coat, lighter pressure, longer strokes, and minimal reworking.
- Feather farther out on butt joints; those are thicker by nature and tend to telegraph under side lighting.
Real talk: many “waves” happen because people keep touching the finish coat as it starts to firm up. One or two confident passes usually beats five nervous ones.
Technique tips that make a bigger difference than the brand
You can buy a great set and still fight your walls if technique stays random. These are small adjustments that pay off fast.
- Angle controls thickness: steeper angle removes more mud; flatter angle leaves more. Change angle before you add more compound.
- Pressure goes on one edge: to feather, put more pressure on the outside edge of the blade, not the middle.
- Clean the knife often: dried crumbs on the edge create lines you’ll chase for hours.
- Scrape more, sand less: a quick scrape between coats usually leaves less dust and fewer low spots.
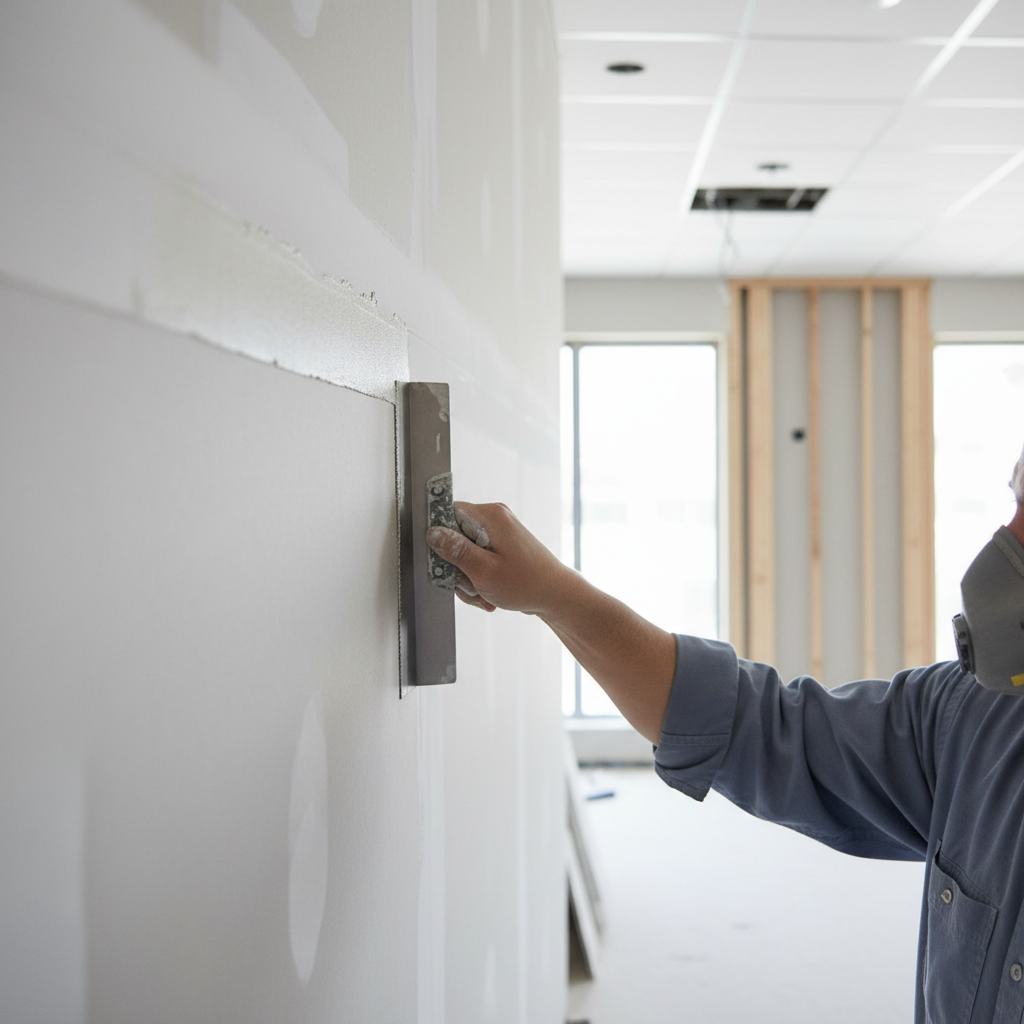
According to NIOSH, dust exposure can be a real concern on job sites. Drywall sanding dust is a common irritant, so it’s reasonable to use a suitable mask/respirator and ventilation, and for specific health questions it’s smart to consult a medical professional.
Common mistakes to avoid (so you don’t “fix” the wrong thing)
A few habits show up again and again, especially when someone upgrades tools and expects the knives to do the work for them.
- Using the 10-inch too early: a wide knife on the bedding coat often feels slippery and can pull tape loose.
- Overloading compound: more mud does not equal fewer coats, it often equals more sanding.
- Skipping dry-time reality: humidity and airflow matter, coating over damp mud can cause soft spots and dragging.
- Sanding before scraping: you can sand ridges flat, but you also risk digging valleys right next to them.
- Ignoring lighting: raking light from windows reveals flaws; checking early saves repaint headaches later.
If your finish keeps failing in the same way, pause and change one variable at a time: knife width, compound consistency, stroke length, or pressure. Changing everything at once makes it hard to learn what fixed it.
When it’s worth getting professional help (or upgrading beyond 10 inches)
A 4–6–8–10 set covers a lot, but there are times you’ll hit diminishing returns.
- You’re aiming for a near-perfect finish in a hallway or living room with strong side lighting, wider knives (12–14 inch) may make feathering easier.
- You see recurring tape bubbles across multiple seams, moisture issues or substrate movement may be involved, a drywall pro can diagnose faster.
- Large ceilings, long butt joints, or full skim coats can justify a skimming blade or specialized tools.
If you suspect mold, structural movement, or electrical issues behind drywall, stop and consult the appropriate licensed professional. Drywall finishing tools solve surface problems, not underlying building problems.
Key takeaways
- 4-inch handles detail and scraping, 6-inch is for tape bedding, 8-inch builds and blends, 10-inch feathers and finishes.
- A clean edge and consistent pressure usually beat buying “more mud” or sanding harder.
- If you keep seeing ridges, switch to scraping between coats and widen gradually with the next knife size.
Conclusion
A taping knife set 4 6 8 10 inch works best when you treat it like a system, not four random blades. Use the narrow knives to control placement and tape, then let the wider knives do what they’re good at, hiding transitions with fewer heavy passes.
If you want a simple next step, try this on your next seam: embed with 6, second coat with 8, finish with 10, and scrape ridges with 4 between every coat. You’ll usually see cleaner lines and a lot less sanding dust.
FAQ
Is a 4 6 8 10 inch set enough for a full room?
For many bedrooms, basements, and standard repairs, yes. If you’re chasing a very flat finish under strong side lighting, you may eventually want a wider knife for final feathering, but the set still covers the core steps.
Which knife size should I use to embed paper tape?
A 6-inch knife is a common choice because it gives you control and enough width to squeeze out excess compound. A 4-inch can feel too narrow and tends to leave more buildup along the tape edges.
Why do I keep getting ridges on both sides of the joint?
Ridges often come from dried compound on the blade edge, too much pressure on both edges, or trying to finish with a knife that’s too narrow. Scrape between coats, clean the blade often, and use 8 or 10 inches to feather wider.
Do I need stainless steel taping knives?
You don’t strictly need stainless, but it’s easier to maintain and less prone to rust spots if the knife gets put away damp. Carbon steel can work well too, it just rewards more careful cleaning and drying.
Can I use the 10-inch knife for the first coat to go faster?
Many people try, and it can work on flat joints if your control is solid. In a lot of DIY situations, though, it increases the chance of pulling tape or leaving waves, so 6 inches for bedding is usually less stressful.
What’s the best way to clean joint compound off knives?
Rinse before the compound hardens, wipe dry, and avoid letting water sit on the blade edge. A quick clean mid-job also prevents little dried bits from cutting lines into your next pass.
Should I sand between coats or just scrape?
Scraping is often the faster first move because it removes ridges without creating as much dust. Light sanding can still help before primer, but if you’re sanding heavily between coats, something earlier in the process usually needs adjustment.
Looking for an easier path?
If you’re currently patching multiple rooms or you’re tired of buying mismatched knives that feel different in your hand, it can be worth choosing a matched taping knife set 4 6 8 10 inch with consistent flex and handle shape, then sticking to one repeatable workflow so your results get predictable from coat to coat.