How to change a router bit safely comes down to three things most people skip when they’re in a hurry: fully cutting power, using the right wrench technique for your collet, and confirming the bit is seated correctly before you route anything.
If you’ve ever had a bit slip mid-cut, or you’ve fought a collet that feels welded shut, you already know why this matters. A router is small, but the energy at the bit is not, and most “accidents” start as a simple setup mistake that felt harmless at the bench.
This guide focuses on quick, repeatable habits: what to do every time, what to check when something feels off, and how to avoid the common “I tightened it but…” problems. I’ll also flag where your router’s manual matters, because designs vary more than many people expect.
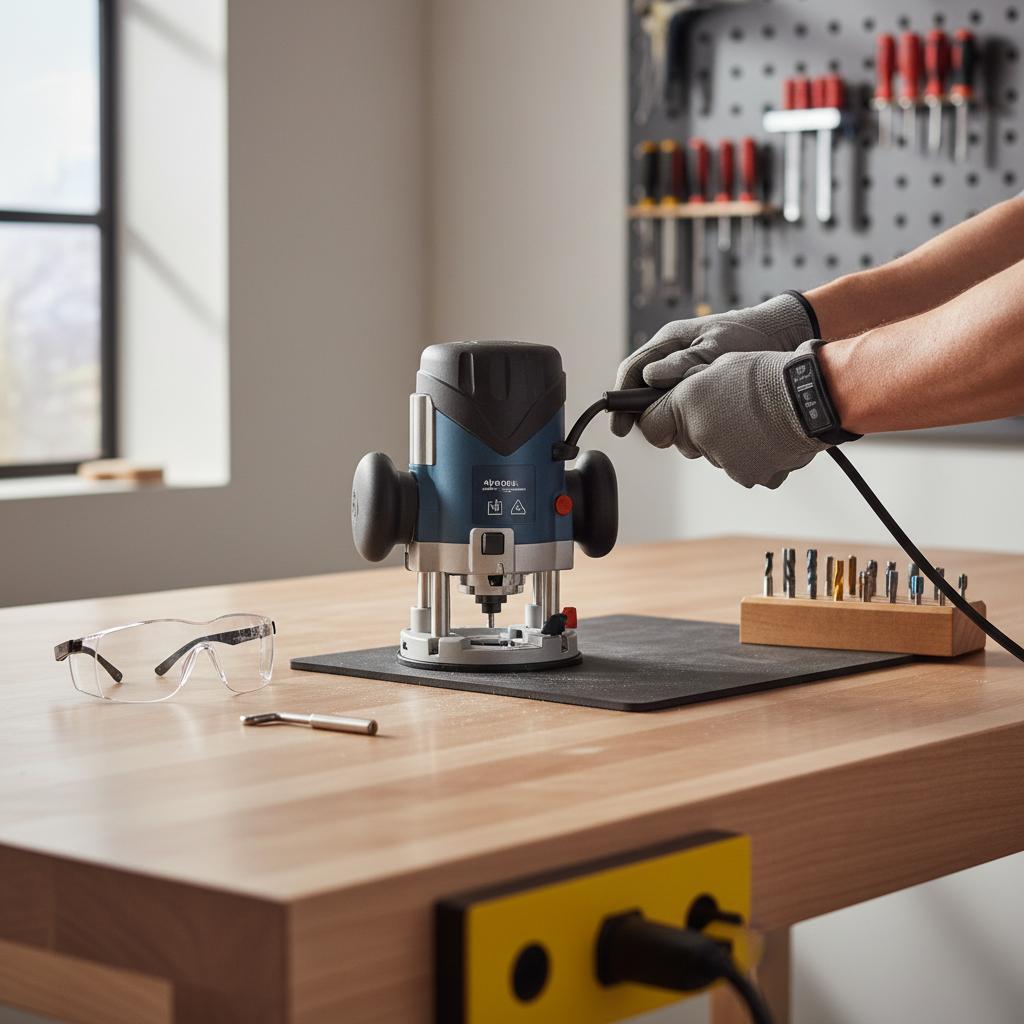
Before you start: the non-negotiable safety setup
Most of the speed comes from having a simple routine. The safest change is usually the one you can repeat without thinking too hard.
- Disconnect power completely. Unplug corded routers. For cordless models, remove the battery. Don’t rely on a trigger lock.
- Let the bit stop and cool. After routing, bits can run hot, and collets can hold heat longer than you’d guess.
- Stabilize the router. Put it on a flat bench, or lock the router lift if it’s in a table.
- Wear eye protection. Wood chips and stray grit near a collet show up at the worst time.
According to OSHA, employers must ensure power tools are used with appropriate safety measures and training; in a home shop, you’re effectively the “safety department,” so treating lockout and PPE as standard practice is worth it.
Know your router and collet style (it changes the steps)
Not every router changes bits the same way. Two routers can look similar, then behave totally differently when you put a wrench on them.
Common setups you’ll see
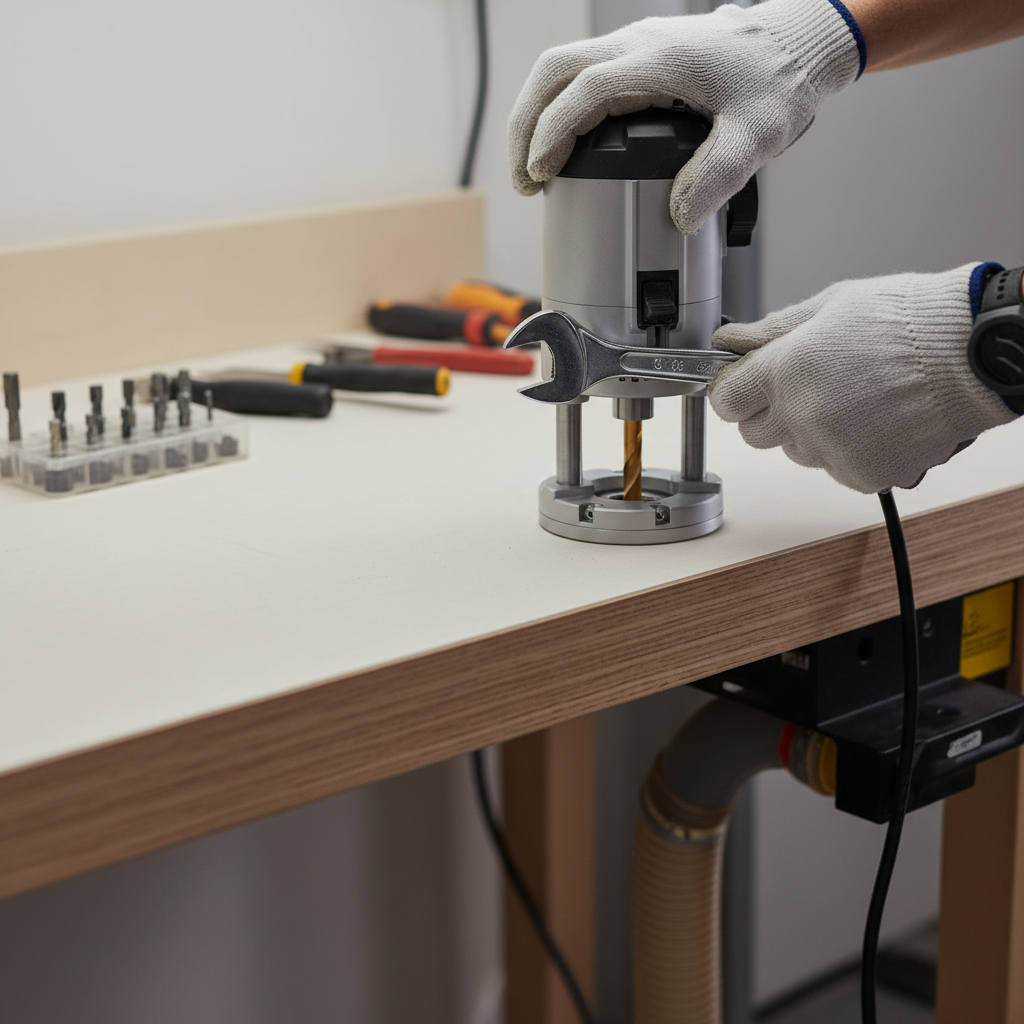
- Spindle-lock button + one wrench: You press a lock button and loosen the collet nut with one wrench.
- Two-wrench style: One wrench holds the spindle, the other turns the collet nut.
- Router table with lift: You may change bits above the table, sometimes with a built-in locking feature.
When in doubt, check your manual for the exact collet nut direction and whether the router has an “automatic collet release” (a two-stage loosen that pops the bit free). That detail affects how much force you should use.
Step-by-step: how to change a router bit safely and quickly
This is the core routine. If you follow it, you’ll avoid the two big headaches: over-tightening and poor bit seating.
- Kill power. Unplug or remove battery, then confirm the trigger can’t run the motor.
- Access the collet. Raise the motor or base so you can get a straight shot with the wrench.
- Lock the spindle (or hold with a second wrench). Engage the spindle lock fully; partial engagement can chew up the lock.
- Loosen the collet nut. Turn steadily. If your router has a self-releasing collet, you’ll feel a second “break” as the bit releases.
- Remove the bit. Pull straight out. If it sticks, don’t pry with a screwdriver—jump to the troubleshooting section.
- Clean the collet lightly. Brush out dust, wipe the bit shank. Resin and fine dust are common reasons bits slip.
- Insert the new bit correctly. Slide the shank in, then back it out slightly (many woodworkers aim for about 1/16–1/8 inch). The key idea: don’t bottom out the bit in the collet.
- Tighten firmly, not brutally. Snug and firm is the goal. Over-torque can deform the collet and make future changes miserable.
- Do a quick clearance check. Spin the bit by hand to ensure it doesn’t contact the base, insert plate, fence, or bearings.
That last clearance check feels almost too simple, but it’s one of the fastest ways to catch a wrong bit length or a slipped insert plate before you power up.
Quick self-check: are you set up correctly?
Use this checklist before you route the first inch. It’s a quick way to confirm you truly followed how to change a router bit safely, not just “changed it.”
- Power: cord unplugged or battery removed during the change
- Bit seating: shank inserted deep, but not bottomed out
- Grip: collet nut tightened firmly; no “wiggle” if you try to twist the bit by hand (with power disconnected)
- Collet condition: no visible pitch buildup, no cracks, no crushed-looking slots
- Correct size: 1/4-inch shank in 1/4-inch collet, 1/2-inch shank in 1/2-inch collet, no adapters unless the manufacturer allows it
- Runout clue: bit spins by hand without scraping the base or table insert
If any item feels questionable, fix it now. The router won’t “self-correct” once it hits full RPM.
Common problems and realistic fixes
Most issues happen for a boring reason: dust, resin, or mismatched parts. Here are fixes that usually work without turning it into a full repair project.
Bit stuck in the collet
- Loosen the collet nut another half-turn. On many routers, there’s a second stage that releases the bit.
- Tap gently, not hard. With power disconnected, a light tap on the wrench (or a wooden dowel against the shank) can help break resin grip.
- Clean and inspect. If resin is heavy, a small amount of appropriate cleaner on a rag can help, but keep liquids away from bearings and electronics.
Bit slips during routing
- Check shank and collet for dust. Fine powder acts like a lubricant under pressure.
- Don’t bottom out the bit. A bit seated against the bottom can “walk” as heat and vibration build.
- Verify collet size. A 1/4-inch bit in a worn 1/4-inch collet can slip even if you tightened hard.
Collet nut feels impossible to tighten or loosen
- Stop forcing it. Excess force can damage threads or the spindle lock.
- Inspect threads. Grit in the threads is common in router tables.
- Consider replacing the collet. Collets are consumable parts in many shops; if it’s deformed, it won’t clamp evenly.
Bit change best practices (this is what saves time long term)
Speed comes from not creating future problems. A few habits make bit changes smoother over months, not just today.
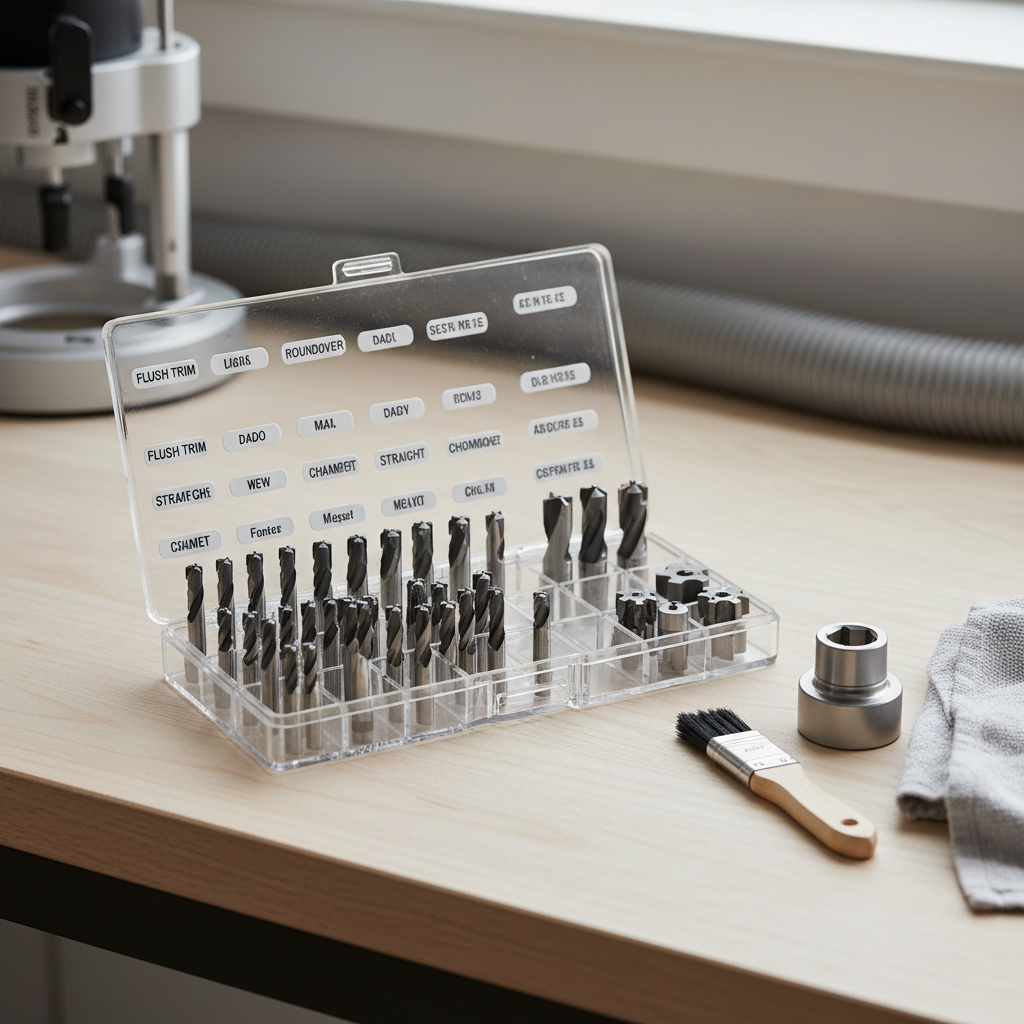
- Keep one brush at the router station. A small nylon brush for collet dust is often enough.
- Store bits so the shanks stay clean. A bit case or rack beats a drawer full of dust and metal-on-metal nicks.
- Match bit length to your setup. In a table, use an insert plate opening that fits the bit, and avoid excessive stick-out.
- Do a “soft start” moment. After a bit change, start the router with a stable stance and no contact with the workpiece.
Also, if you’re swapping between 1/4-inch and 1/2-inch bits often, keeping both collets clean and in good shape matters more than buying “stronger” wrenches.
Reference table: what to do in typical scenarios
This is a quick “if this, then that” guide you can come back to when you’re mid-project and don’t want to overthink it.
| Situation | What you’ll notice | What to do | What to avoid |
|---|---|---|---|
| Bit won’t come out | Collet nut loosened but bit stays stuck | Loosen a bit more to trigger release, then clean collet | Prying with a screwdriver |
| Bit slips | Cut depth changes, chatter, burning | Clean shank/collet, reseat bit slightly above bottom, retighten | Over-tightening to “fix” a dirty collet |
| Excess vibration | Router feels rough at speed | Check for bent bit, improper seating, debris on shank | Running anyway “just to finish” |
| Hard to tighten/loosen | Wrench slips, nut feels gritty | Inspect threads, clean carefully, replace worn collet if needed | Cheater bar torque that damages threads |
When to stop and get help (or replace parts)
Some situations are no longer “normal maintenance.” If you see these, it’s usually smarter to pause than to muscle through.
- Cracked collet, damaged threads, or a spindle lock that won’t hold. These can turn into sudden bit release or loss of control.
- Persistent runout. If multiple known-good bits wobble, the spindle or collet may need service.
- Electrical issues. If a cord, switch, or battery interface seems inconsistent, consult a qualified repair tech.
According to CPSC, power tool injuries are common enough that following manufacturer instructions and using tools as intended is a key safety message; when a router’s core parts look compromised, professional inspection is a reasonable next step.
Key takeaways and a practical next step
Once you internalize the routine, how to change a router bit safely becomes a 60-second habit instead of a stressful moment. Cut power every time, keep the collet clean, seat the bit correctly, and don’t try to “win” against stuck hardware with brute force.
If you want one action that pays off immediately, add a quick pre-cut checklist to your bench and replace a questionable collet before it ruins a project or creates a safety issue.