Laser level line projector tools make alignment faster, but most frustrations come from small setup errors, the wrong mode for the job, or a surface that is not as stable as it looks.
If you have ever watched a “straight” laser line end up slightly off by the time you reach the last cabinet, tile row, or picture frame, you already know why this topic matters, rework costs time and confidence, and it is rarely obvious where the drift started.
This guide focuses on practical alignment work in real rooms, how to pick the right line configuration, what to check before trusting the line, and a few habits that reduce mistakes without turning your project into a science experiment.
Where a line projector helps most, and where it can mislead you
A line laser shines when you need consistent reference across distance, especially across multiple points where a bubble level becomes slow or awkward. The catch is that the line looks authoritative even when the setup has a tiny error.
- Great fits: cabinets, chair rails, shelving runs, drop ceilings, tile layout lines, long picture walls, electrical box height consistency.
- Tricky fits: uneven floors, bowed walls, jobs needing true plumb over height with obstructions, outdoor daylight without a detector, surfaces that vibrate.
Many users assume the tool “makes things level.” It does not, it shows level relative to its own internal reference. If the unit is out of calibration, or if it sits on a shifting surface, the line can be confidently wrong.
Common reasons your alignment ends up off
When alignment misses, it usually comes from one of these real-world causes, not from the laser “being weak.”
- Soft or unstable support: a bouncy subfloor, a wobbly ladder shelf, a cheap tripod, or a clamp that creeps over time.
- Auto-level range exceeded: many units self-level only within a small tilt range, beyond that the line can blink or lock in a misleading position depending on model.
- Wrong reference surface: aligning cabinets to a floor that is out of level, or aligning tile to a counter that is not square.
- Parallax and “line thickness”: the farther the line travels, the more thickness and bloom you see, which makes “exactly on the pencil mark” less exact.
- Calibration drift: drops, temperature swings, and rough transport can knock a unit slightly off.
According to OSHA, using the right eye and face protection matters with visible lasers, and you should avoid direct eye exposure, especially during setup when you are close to the emitter.
Quick self-check: can you trust your laser line right now?
Before you build work off it, take 3–5 minutes to confirm the laser is behaving. This is the boring step that saves the most rework.
Fast confidence checklist
- Line is solid, not blinking, and the unit sits within its self-level range.
- Mount feels rigid, you cannot wiggle the head with light finger pressure.
- You can hit two distant reference marks and the line still passes cleanly through both.
- Doors slamming, HVAC vibration, or foot traffic does not shake the projected line.
- At 15–25 feet, you can still pick the same edge of the line consistently.
If any item feels questionable, fix the support or shorten the distance, and only then start transferring marks.
Choosing the right setup for alignment (tripod, pole, magnet, or clamp)
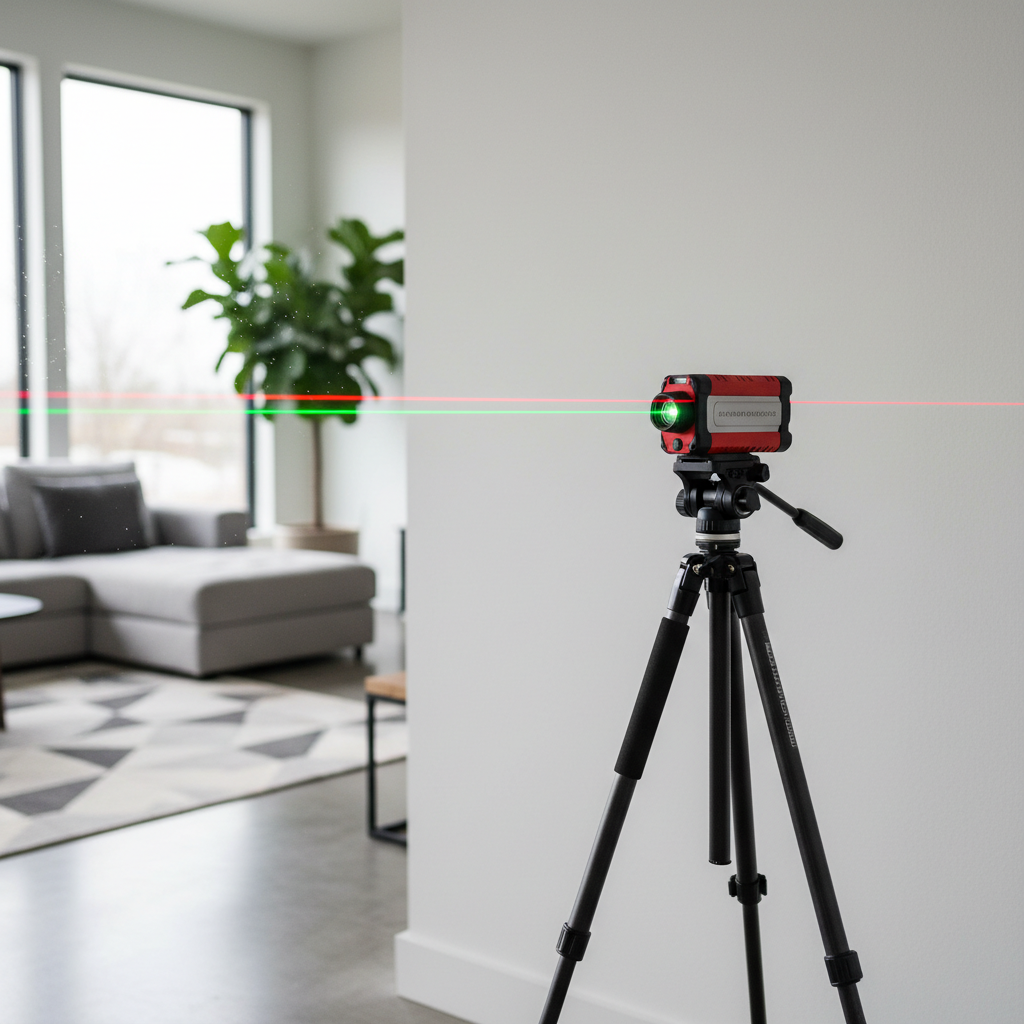
The mounting choice affects accuracy as much as the laser itself. A laser level line projector on a flimsy mount can drift a hair, and that hair becomes a visible gap at the far end.
| Mount option | When it works best | Watch-outs |
|---|---|---|
| Tripod | General room layout, long runs, repeatable height | Cheap heads sag, center columns can wobble |
| Tension pole | Cabinet and trim height references without floor tripod legs | Needs solid ceiling contact, can slip on textured ceilings |
| Magnetic bracket | Studs, steel framing, HVAC, electrical rooms | Weak magnets rotate slowly, beware nearby vibration |
| Clamp mount | Quick temporary placement on framing or shelving | Clamp creep, uneven jaws cause tilt |
Small habit that helps, once you set height, press down lightly on the mount and re-check the line. If it shifts, the support is not settled.
Practical alignment workflows (the ones that reduce mistakes)
Most alignment jobs are not “make it level,” they are “make it consistent and visually correct.” Here are workflows that hold up.
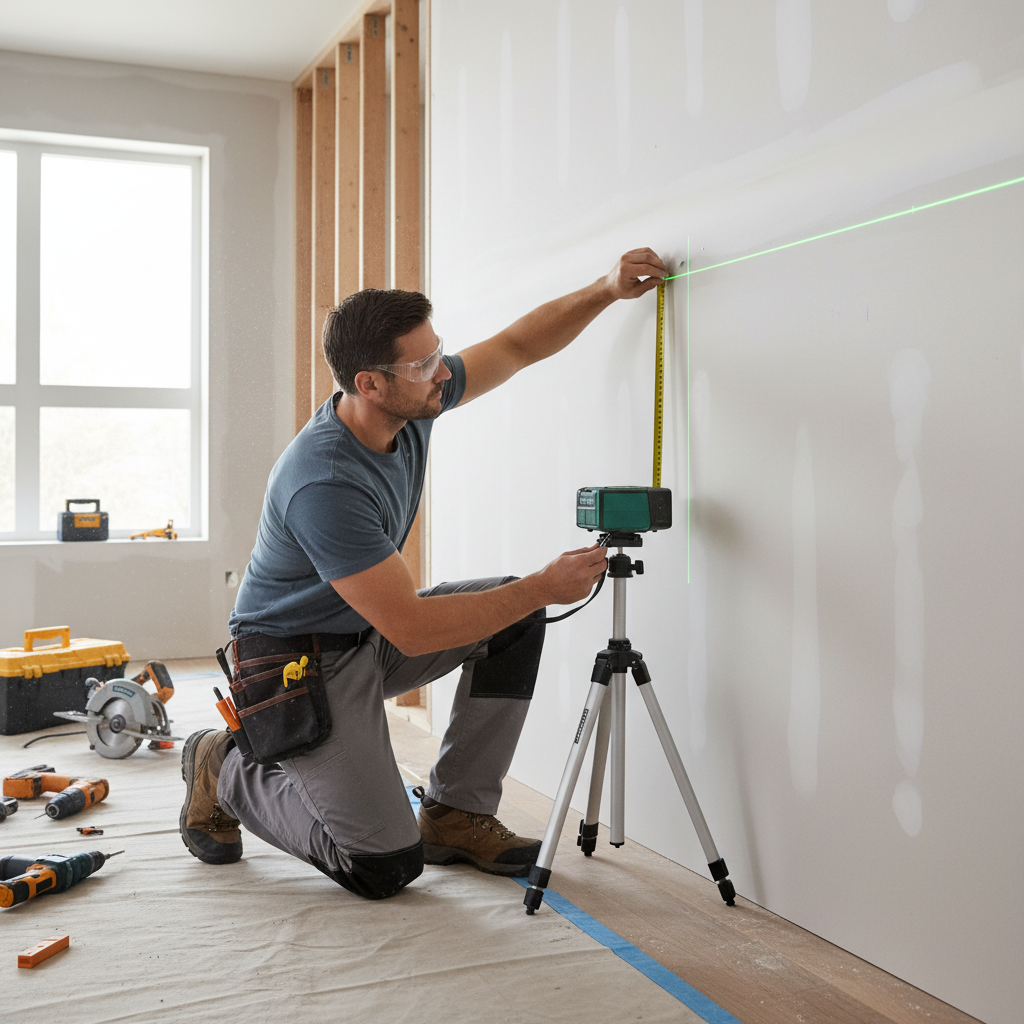
1) Level line for cabinets, shelving, or rails
- Pick your true reference, often the highest point of the floor for base cabinets, or a fixed datum like an existing countertop you trust.
- Set the laser to horizontal line mode, place it so the line hits your working wall with minimal obstructions.
- Mark the line at several studs, then connect marks with a chalk line if you need a physical guide.
- Dry-fit one piece and confirm reveal lines, then continue.
2) Vertical line for plumb alignment (tile, panels, posts)
- Use vertical line mode and check plumb against a known straight reference if possible.
- Start layout from the most visible edge, not the easiest corner.
- For tile, consider a story pole or spacer stack so you do not “follow the laser” into a thin sliver at the end.
3) Cross-line for squaring and two-axis work
- Cross-lines help when you must keep height and plumb together, like aligning wall cabinets to a centered feature.
- Confirm the vertical line hits the same point at floor and ceiling, then lock the location and stop bumping the mount.
According to NIST, measurement confidence improves when you verify your instrument and control your setup conditions, which is a fancy way of saying, check the tool, then stop changing variables mid-job.
Getting better visibility without chasing brighter lasers
Visibility problems are often about environment, not power. Before upgrading, try the simple fixes.
- Control light: close blinds, turn off raking work lights that wash out the wall.
- Shorten distance: move the unit closer, then transfer marks with a tape if needed.
- Use a target plate: even a simple reflective card helps you find the line edge.
- Choose the right color: green is typically easier to see for many people, but battery draw can be higher.
- Consider a receiver: for outdoor or bright conditions, a detector-compatible model often matters more than “bright indoors.”

Calibration, care, and the mistakes people repeat
If you rely on a laser level line projector for alignment, treat it like a measuring tool, not like a flashlight. Most “my laser is off” stories begin with a drop, a rattling truck bed, or tossing it into a toolbox.
Common missteps to avoid
- Trusting one point, always verify with two far-apart marks before committing.
- Ignoring out-of-level warnings, if your model blinks, it is trying to tell you something.
- Using thick line edges inconsistently, pick the same edge every time, especially at distance.
- Mounting on drywall without thinking, flex in the wall can shift a mark when you press a pencil.
- Skipping periodic checks, a quick at-home wall test can catch drift early.
At-home calibration checks vary by model, so follow your manual. If results look inconsistent across repeats, that usually points to a tool issue or a setup issue, not your eyes.
When to get professional help or service
If your laser consistently fails a basic verification test, or if the unit took a hard impact, consider manufacturer service or calibration. Many brands offer service centers, and some contractors keep a backup unit to avoid downtime.
For jobs tied to safety or code compliance, such as structural layout, commercial installs, or anything where alignment affects load paths, it is smart to involve a qualified professional. If you feel unsure about laser safety around children, reflective surfaces, or tight spaces, ask a safety officer or an experienced installer for guidance.
Key takeaways for cleaner alignment
- Stability beats brightness, a solid mount prevents most alignment drift.
- Pick the right reference, not the most convenient surface.
- Verify the line with two distant marks before you build off it.
- Use environment controls and target plates to improve visibility.
- If repeatable checks fail, service or replace rather than “work around” it.
Conclusion: make the laser your assistant, not your boss
Good alignment comes from pairing the tool with a dependable reference and a stable setup, then validating the line once before committing cuts or fasteners. If you do those few things consistently, a line projector stops feeling fussy and starts feeling like a quiet advantage.
If you want a simple next step, run a quick two-mark verification on your next project, then switch your mount to something more rigid if you see any shift, that single change usually improves results fast.
FAQ
- How do I know if my laser level line projector is accurate?
Project a line to a wall, mark it at two far-apart points, rotate the unit per the manual and repeat. If the line moves noticeably between repeats, it may need calibration or service. - Why does my laser line look thicker farther away?
Beam divergence and wall texture make the line bloom with distance. Use the same edge of the line for marking, and reduce distance when you need tighter precision. - Can I use a line laser to level cabinets if my floor is not level?
Yes, but base cabinets are often set from the floor’s high point or a planned finished height. The key is choosing the reference intentionally, not blindly following the line. - Is green always better than red for alignment?
Green is often easier to see indoors for many people, but runtime and price can differ by model. In bright conditions, detector compatibility can matter more than color. - Do I need a tripod for indoor alignment?
Not always, but you need a rigid mount. A pole or magnetic bracket can work well if it does not creep, wobble, or rotate while you mark. - Why does my laser blink?
Many models blink when they are outside the self-leveling range. Reposition the base or mount until it stabilizes, and confirm the line before proceeding. - Can a laser level help with tile layout?
It can, especially for control lines and keeping courses straight. Still, dry-lay a few tiles and check end cuts, the laser cannot prevent an awkward sliver cut by itself.
If you are setting up alignment work often and want a more “set it and trust it” routine, it may be worth standardizing your mount, verification method, and line modes so each job starts the same way, less fiddling, fewer surprises.