Choosing a chisel set wood working usually comes down to two real-world problems, you want cleaner cuts without fighting tear-out, and you want tools that stay sharp long enough to finish a project without constant stopping.
If you mainly carve details or pare joints by hand, the “right” set looks different than if you chop mortises with a mallet. That difference matters, because many disappointing purchases come from buying a big assortment that includes sizes you never reach for, while skipping the one chisel you actually need.
This guide breaks down what to look for in a woodworking chisel set for carving and cutting, how to self-check your use case, and what to do after you buy it so it performs the way you expected, not just the way it looks in photos.

What makes a chisel set work for carving vs cutting
A set can be “good” and still feel wrong for your work. Carving leans on control and edge finesse, cutting and joinery lean on durability and predictable geometry.
- Carving-focused: thinner edges, more specialized profiles (gouges, V-tools), shorter blades for control, often used with hand pressure.
- Cutting/joinery-focused: bench chisels with square sides, tougher edges for mallet work, standard widths that match common joints.
For many hobbyists, a practical starting point is a bench chisel set plus one or two carving tools you add later. It costs less than buying a “carving mega kit” and realizing you only use two pieces.
Materials and build details that actually matter
Most sets look similar online, so it helps to focus on details that affect sharpness, comfort, and how often you’ll want to pick them up.
Steel type and heat treatment
Steel choice is partly preference and partly how you sharpen. Many quality chisels use O1, A2, or PM-V11 style steels, but performance depends heavily on heat treatment, which varies by maker.
- O1: often sharpens faster and can take a very keen edge, may require a bit more attention to corrosion.
- A2: often holds an edge longer in some woods, can feel slower to hone for some users.
- Powder metallurgy steels: can balance edge retention and toughness, typically priced higher.
According to OSHA, tools should be maintained in a safe condition, in practice that means a sharp, properly honed edge is not just about nicer cuts, it can reduce slip-prone forcing during use.
Handle and tang/socket construction
If you plan mallet work, prioritize handles built for impact. Socket chisels can be easier to re-handle, tang chisels can be excellent too, but the handle material and ferrule quality matter.
- For carving, slimmer handles can feel more precise.
- For chopping, a slightly bulkier handle can reduce fatigue.
Side bevels and chisel geometry
Side bevel shape affects whether you can reach into dovetail corners cleanly. If you cut dovetails or tight joinery, look for chisels described as having slimmer side bevels.
Quick self-check: which set should you buy?
Before you compare brands, decide what your first set must cover. This avoids buying eight chisels when four would do.
- I do mostly joinery (mortises, tenons, dovetails): prioritize bench chisels, add a mortise chisel only if you truly chop mortises by hand often.
- I do mostly carving (letters, relief carving, spoons): prioritize a small carving starter set, but still keep one flat bench chisel for general cleanup.
- I do mixed projects (furniture + decorative details): start with a bench set, then add one V-tool or small gouge as needed.
- I’m new and want fewer decisions: buy fewer tools, spend the saved money on sharpening.
If you’re shopping for a chisel set wood working as a gift, a safe bet is a 4-piece bench set in common widths, plus a simple honing guide, because the recipient can dial in the edge quickly.
Recommended chisel sizes for most woodworkers
You can build almost anything with a few widths, and add specialty sizes only when a project demands it.
- 1/4 in (6 mm): small joinery cleanup, tight corners, hinge mortises in lighter work.
- 1/2 in (12 mm): general purpose, paring, trimming, small tenons.
- 3/4 in (19 mm): wider paring, flattening small areas, trimming shoulders.
- 1 in (25 mm): wider cuts, cleaning glue lines, controlled paring on broad surfaces.
For carving, sizes matter less than profiles. A basic mix might include a small straight chisel, a shallow gouge, a deeper gouge, and a V-tool, but the “right” sweep depends on your patterns and wood choice.
A practical comparison table: what to prioritize
This table helps you decide what to pay attention to when comparing sets that look similar.
| Use case | Edge priority | Handle priority | What to avoid |
|---|---|---|---|
| Joinery + mallet work | Toughness, chip resistance | Impact-resistant, secure grip | Ultra-thin edges that feel fragile |
| Paring and fitting | Low effort sharpness | Comfort for long sessions | Bulky side bevels for tight corners |
| Detail carving | Fine edge, control | Smaller handles, precise feel | Buying a huge kit without needed profiles |
| Mixed hobby woodworking | Balanced retention and easy honing | General comfort | Sets without common widths (1/4, 1/2, 3/4) |
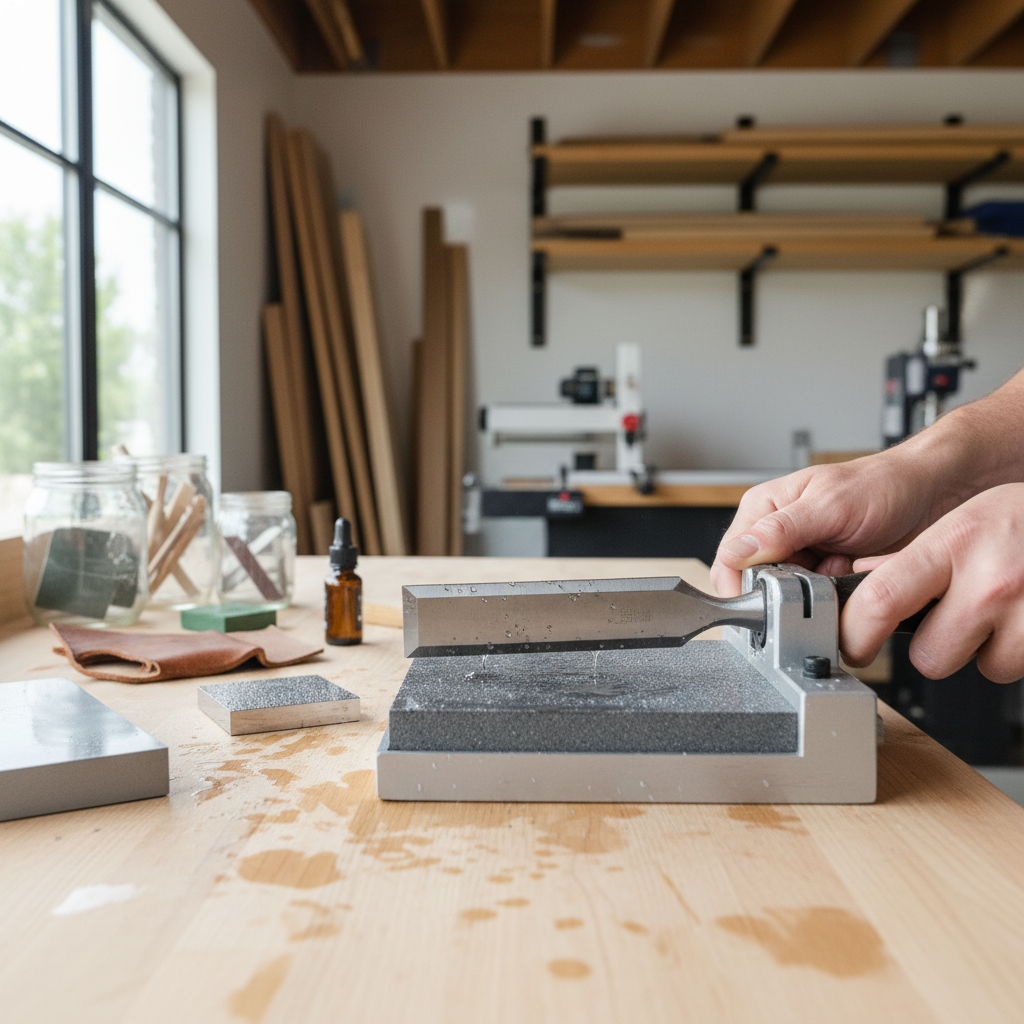
Setup and sharpening: where most sets “fail” (but it’s fixable)
Even premium chisels often arrive with an edge that’s serviceable, not dialed in for fine paring. If your cuts feel ragged, don’t assume the steel is bad, assume the edge needs proper setup.
Minimum setup steps
- Flatten the back: especially the first inch near the edge, this is what makes paring cuts behave.
- Establish the bevel: many users choose 25° for general work, then a small micro-bevel around 30° for durability, but your wood and technique can shift that.
- Strop lightly: helps remove the burr and smooth the edge.
If you’re learning, a honing guide can remove guesswork. Freehand sharpening is great, but it’s easy to chase angles early on and end up with an edge that feels sharp but won’t track straight.
Sharpening media choices
- Water stones: fast cutting, require flattening and a bit of routine.
- Diamond plates: low maintenance, consistent, good for flattening backs.
- Sandpaper on glass: budget-friendly and effective, but consumable and a bit fiddly.
According to The American Woodworker, consistent sharpening habits usually matter more than chasing exotic steels, staying sharp keeps your hands calmer and your work cleaner.
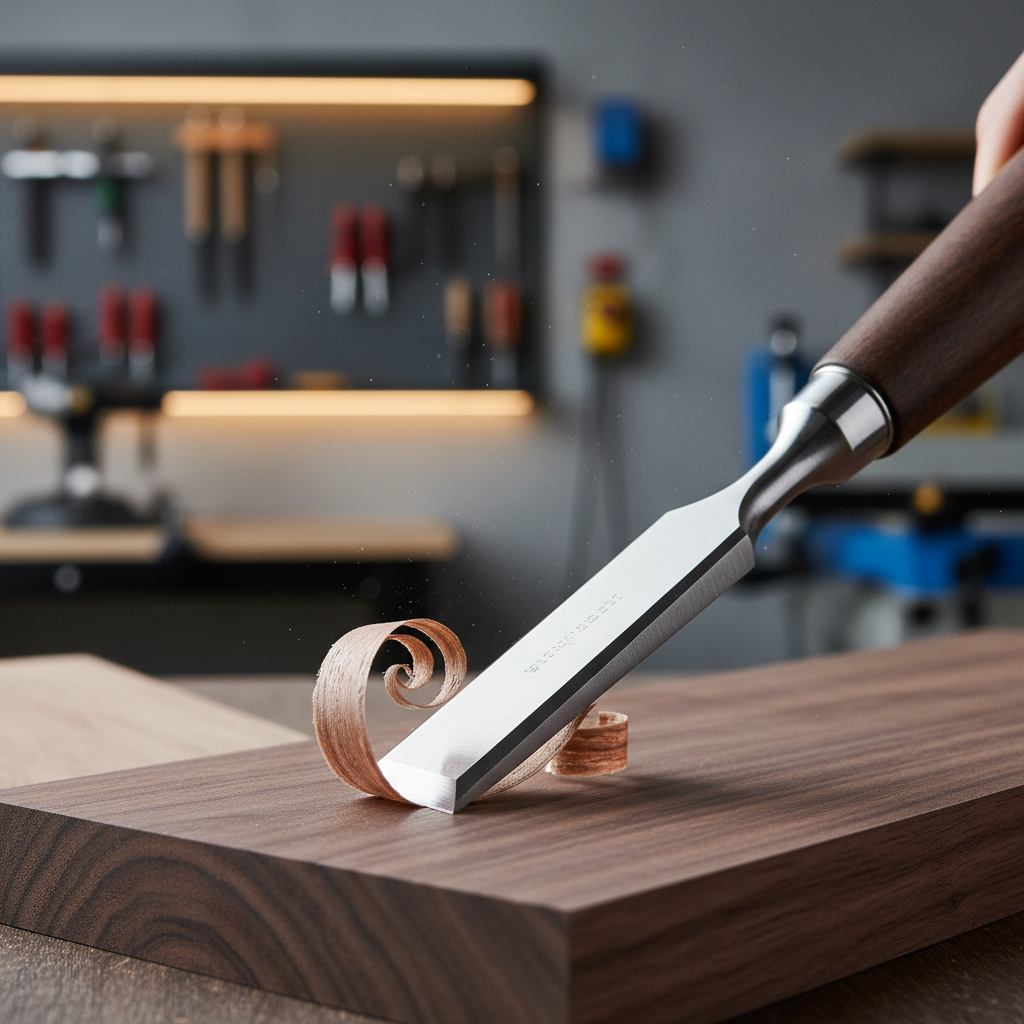
How to use chisels for cleaner cuts (and fewer mistakes)
Most frustration comes from forcing the tool. A sharp edge plus the right motion usually beats “more pressure.”
For cutting joints
- Score first: knife lines reduce tear-out and give the chisel a wall to register against.
- Work in stages: remove waste in small bites, especially near the baseline.
- Mind the grain: if the chisel starts lifting fibers ahead of the cut, change direction or switch to paring.
For carving and shaping
- Anchor your hands: braced hands give control, floating wrists invite slips.
- Use slicing cuts: a slight skew often cuts cleaner than pushing straight in.
- Choose softer woods to practice: basswood is popular for a reason, it shows tool control quickly.
For safety, treat the edge like a razor, keep your off-hand out of the line of travel, and if a cut feels unpredictable, reset your stance instead of “saving it.” If you have any health or dexterity concerns, it may help to consult a qualified instructor for technique and shop safety basics.
Common buying mistakes (and what to do instead)
- Buying the biggest set: more pieces often means more redundant widths, start smaller and add with intent.
- Ignoring sharpening: a budget set + good sharpening can outperform an expensive set that stays dull.
- Choosing the wrong chisel type: bench chisels are not mortise chisels, and carving tools are not meant for heavy chopping.
- Over-focusing on hardness numbers: real performance depends on heat treat, geometry, and how you hone.
If you’re comparing a chisel set wood working option that includes a case, check whether it protects cutting edges from banging into each other. A decent roll or edge guards can keep a new set from getting micro-chips before you even start.
Conclusion: a smart set is the one you’ll actually use
A woodworking chisel set for carving and cutting should match how you work, not how many pieces come in the box. If you do joinery, choose solid bench chisels in a few widths and plan on sharpening setup day one. If you carve, prioritize control and add profiles as your patterns demand.
Key takeaways:
- Start with fewer, more useful sizes, then expand.
- Budget time for back-flattening and honing, that’s where performance shows up.
- Pick handle and geometry based on mallet work vs hand pressure.
If you want one action step, list your next two projects and buy the set that supports those cuts, not “future maybe” projects you might never build.
FAQ
What sizes should a beginner buy in a chisel set wood working kit?
Most beginners do well with 1/4 in, 1/2 in, 3/4 in, and 1 in bench chisels. Those widths cover layout lines, paring, and general trimming without feeling too specialized.
Do I need a mortise chisel for furniture joints?
Only if you chop mortises frequently with a mallet. Many people cut mortises with a router or drill press, then clean up with a bench chisel, in that case a dedicated mortise chisel may be optional.
Are carving chisels the same as bench chisels?
Not really. Carving tools often have different profiles and are used more with hand pressure and slicing cuts, while bench chisels are built around flat work like paring and chopping to layout lines.
Why does my new chisel feel sharp but still tears wood fibers?
Usually the back near the edge is not flat enough, or the edge has a wire burr. A proper back-flattening and a quick strop often makes the cut noticeably cleaner.
What bevel angle should I sharpen to for general woodworking?
Many woodworkers start around 25° with a micro-bevel closer to 30° for durability, but the best angle depends on wood species, your force, and whether you strike the chisel with a mallet.
How do I keep chisels from rusting in a garage shop?
Wipe the blade after use, store it so edges don’t touch, and consider a light protective oil. In humid areas, a small dehumidifier or silica packs in a tool drawer can help.
Is an expensive chisel set always worth it?
Not always. Better steel and handles can help, but your sharpening setup and how well the set matches your tasks often matter more than the price tag.
If you’re trying to pick a chisel set wood working option that fits your budget and projects, it can help to narrow it to two or three sets, then evaluate them against your most common cuts, your sharpening method, and whether you expect mallet work or mostly paring.