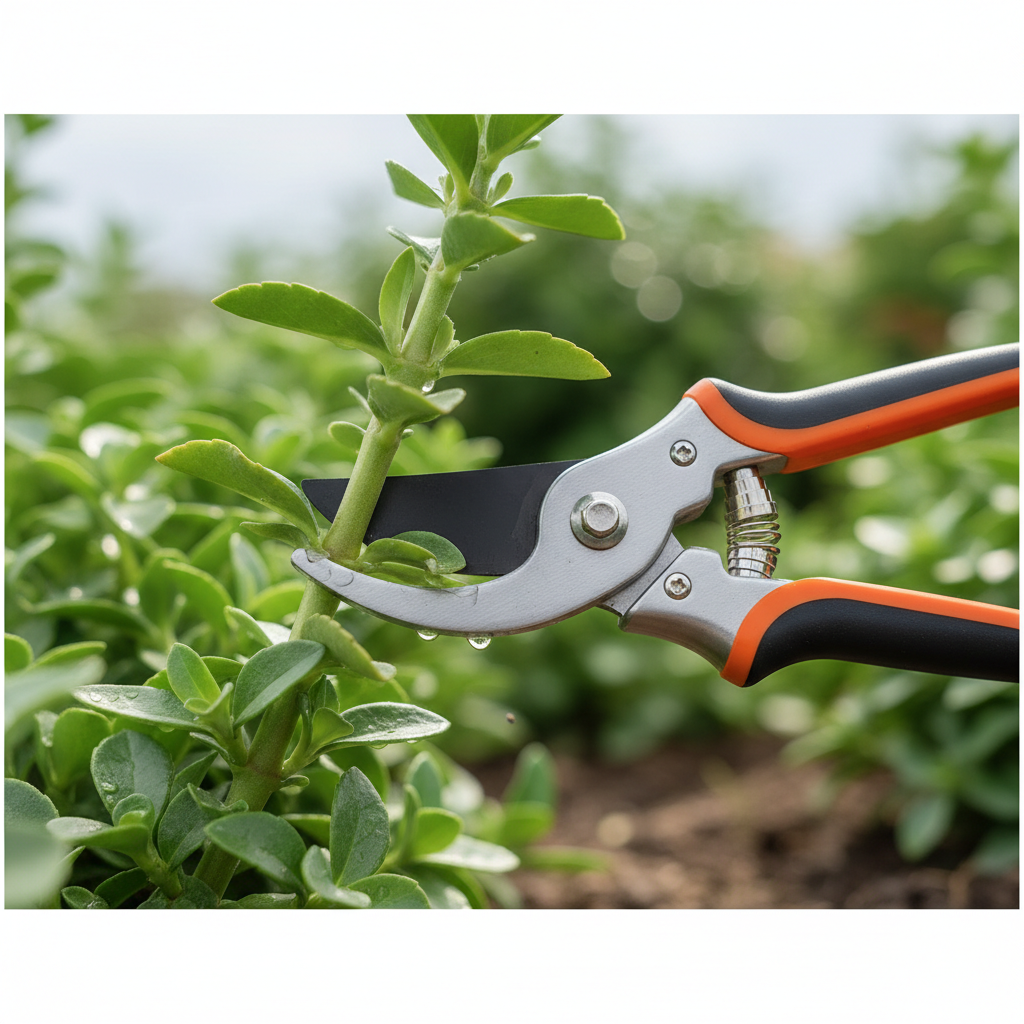
Pruning shears garden sharp matters more than most people think, because a dull blade doesn’t just “make the job harder”, it can crush stems, leave ragged cuts, and slow a plant’s recovery.
If you’ve ever squeezed a stem three times and still didn’t get a clean cut, you already know the frustration. The good news is you usually don’t need a new tool, you need the right tool for the branch size, plus a simple sharpening and cleaning routine.
This guide breaks down what “sharp” really means in practice, how to tell whether your shears are the problem or your technique is, and what to do next without turning it into a weekend project.
Why sharp pruning shears change results (not just comfort)
When your blades are properly honed, you get a cleaner cut with less pressure. That sounds like comfort advice, but it also affects plant tissue.
- Cleaner cuts may reduce stress: many plants heal faster when the cut surface is smooth rather than torn.
- Less squeezing, less bruising: dull blades often crush soft stems, especially on houseplants and flowering shrubs.
- Better control: a sharp edge bites quickly, so your hand doesn’t slip and “nick” nearby buds.
- Less strain: if you garden a lot, sharp tools can matter for wrists and hands, though pain that persists is worth discussing with a professional.
According to USDA (United States Department of Agriculture) guidance on pruning practices, using clean, sharp tools helps make proper cuts and supports plant health.
Common reasons your shears feel dull (even if they’re “new”)
People assume dullness comes only from age. In reality, many tools feel wrong from day one because of mismatch or maintenance habits.
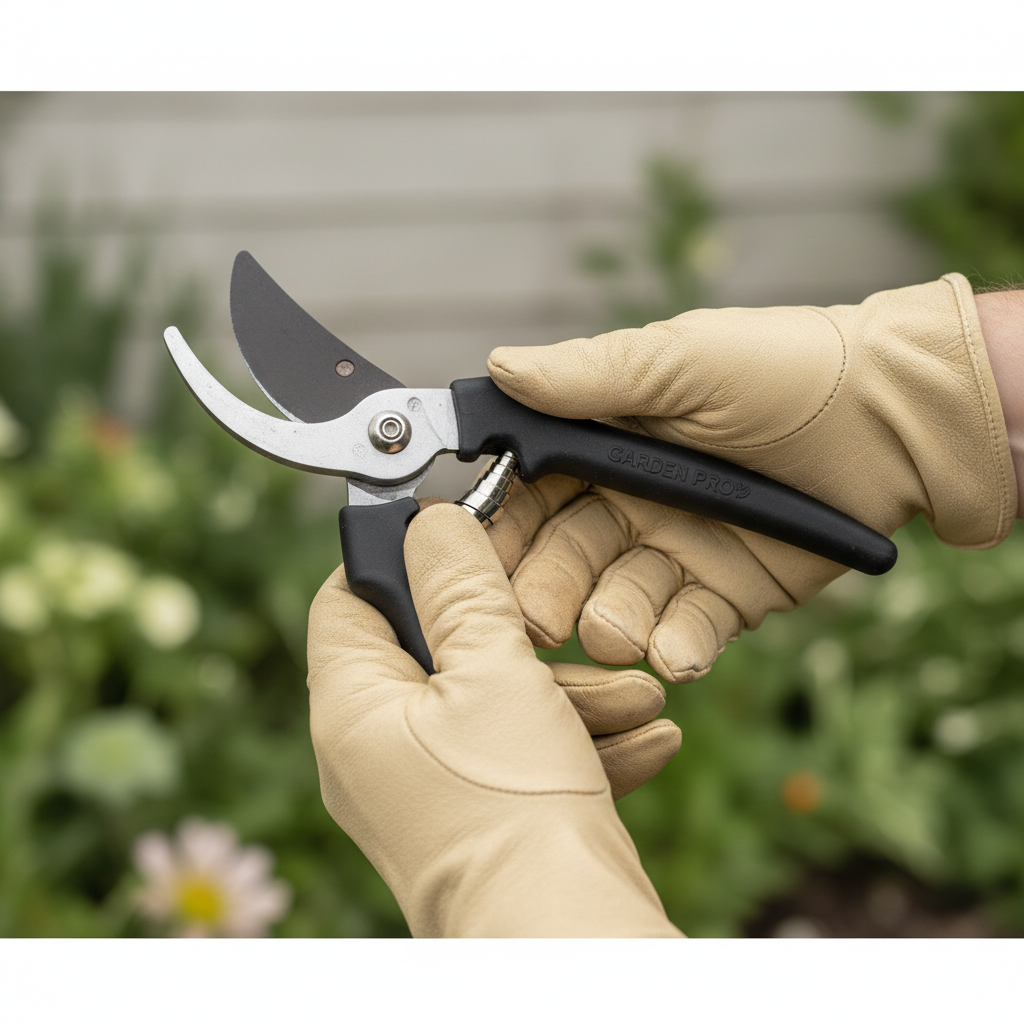
- Wrong style for the job: anvil pruners can crush softer stems; bypass pruners usually cut green growth more cleanly.
- Blade alignment drift: a loose pivot bolt lets blades twist slightly, so they rub instead of slice.
- Sticky sap and grime: buildup creates drag, so it “feels” dull even when the edge is fine.
- Micro-chips from hard, dead wood: cutting branches beyond the tool’s capacity damages the edge fast.
- Factory edge isn’t a true finish: some budget shears arrive serviceable, not razor-honed.
One quick reality check: if your shears cut paper smoothly but struggle on live stems, you may be dealing with technique, positioning, or the wrong pruner type rather than pure sharpness.
Quick self-check: do you need sharpening, tightening, or a different tool?
Before you buy anything, run a short test. It usually points to the real fix in under five minutes.
1-minute cut test (safe and simple)
- Try a pencil-thick green stem. If it crushes, suspect dullness or an anvil blade on soft growth.
- If it cuts but leaves a ragged edge, suspect a rolled edge or grime on the blade.
- If it won’t close fully, suspect sap buildup, a bent blade, or a loose pivot.
Feel and look checks
- Draggy movement: often sap, rust, or lack of lubrication.
- Side-to-side wiggle: pivot bolt needs tightening.
- Visible nicks: sharpening may help, but deep chips can mean replacement blade or new tool.
If your goal is pruning shears garden sharp performance, this is the point where you decide whether you’re sharpening an edge, restoring smooth action, or switching tools to match the branch.
Choosing sharp pruning shears: what actually matters when shopping
A sharp edge is easier to maintain when the tool is built for it. Marketing words like “ultra sharp” matter less than design choices you can verify.
- Bypass vs. anvil: bypass suits green growth and cleaner cuts; anvil can work well for deadwood but may crush softer stems.
- Blade steel and coating: higher-quality steel typically holds an edge longer, coatings can reduce sap sticking.
- Replaceable blades: useful if you prune a lot or hit occasional hard material.
- Ergonomics: handle shape and spring tension can matter as much as sharpness for comfort.
- Cut capacity: if you routinely exceed it, you’ll keep “dulling” tools by force.
Pruning shears types and best uses (quick table)
Use this as a practical match-up guide. It’s not about owning everything, it’s about avoiding the common mismatch that makes tools feel dull.
| Tool type | Best for | What to watch for |
|---|---|---|
| Bypass pruners | Green stems, houseplants, shrubs, flowers | Keep blades aligned; sap buildup reduces performance |
| Anvil pruners | Dead or woody stems, light cleanup | Can crush soft stems; check the anvil surface wear |
| Ratchet pruners | Thicker stems with less hand strength | Slower; mechanism needs cleaning to avoid sticking |
| Loppers | Branches often over 1/2 inch (varies by model) | If you “muscle” pruners on thick wood, edges chip faster |
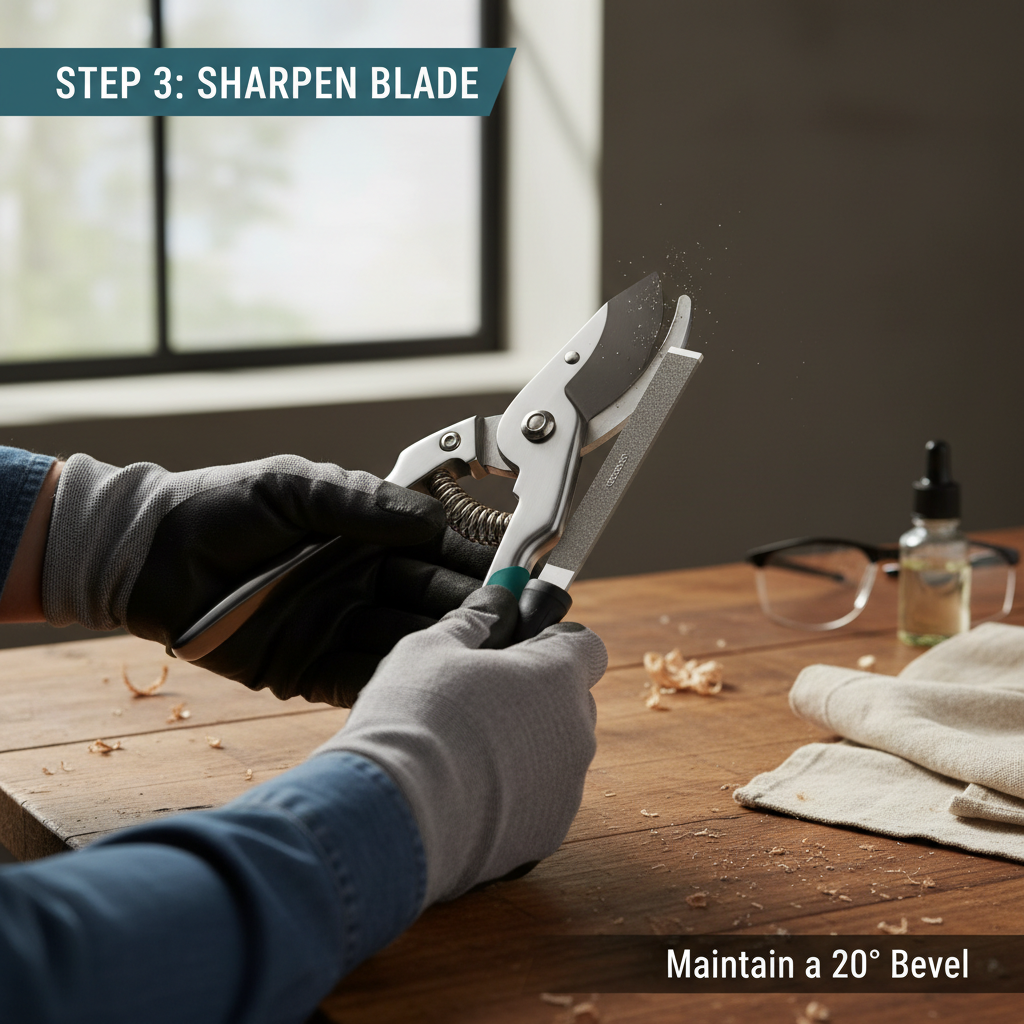
How to sharpen pruning shears (and keep them that way)
You don’t need a full workshop. A small sharpening stone or diamond file, a rag, and a drop of oil covers most situations.
Sharpening steps (bypass pruners)
- Clean first: wipe sap and dirt off, because sharpening over grit scratches the bevel.
- Follow the existing bevel: match the factory angle instead of “inventing” a new one.
- File in one direction: light, controlled strokes along the cutting edge.
- Remove burrs: a few gentle passes on the flat side can knock off the wire edge.
- Tighten and test: adjust the pivot so blades move smoothly without wobble.
For anvil pruners, focus on the blade bevel and keep the anvil surface clean and intact. If the anvil is gouged, sharpening won’t fully fix crush damage.
Key point: If you want pruning shears garden sharp results week after week, cleaning and pivot adjustment often do as much as sharpening, especially in sticky-sap seasons.
Real-world maintenance routine (the one people actually stick to)
Most gardeners don’t fail at sharpening, they fail at consistency. Keep it simple.
- After each session: wipe blades, then dry them so moisture doesn’t invite rust.
- Weekly or every few uses: check pivot tightness and add a tiny drop of light oil.
- Monthly in heavy season: quick touch-up sharpening, just a few strokes.
- After diseased plants: disinfect tools to reduce disease spread risk; product labels vary, so follow directions and consider local extension guidance.
According to CDC (Centers for Disease Control and Prevention) general cleaning guidance, using products as directed and practicing safe handling helps reduce contamination risks, which applies to tool cleaning habits too.
Mistakes that keep cuts messy (even with a sharp blade)
Some problems look like dullness but come from how the cut is made.
- Twisting while cutting: it tears fibers. Keep your wrist steady and let the blade do the work.
- Cutting too close to a bud: you may damage the bud, even with sharp shears.
- Trying to cut oversized branches: switch to loppers or a pruning saw instead of forcing it.
- Ignoring blade orientation: with bypass pruners, keep the sharp blade on the “keep” side for a cleaner finish.
Quick takeaway list:
- Sharpness is edge + alignment + clean movement.
- Use bypass for green growth, anvil for deadwood in many cases.
- Clean first, sharpen second, tighten third.
- If you exceed cut capacity, you’ll keep damaging edges.
When to replace or get professional help
Sharpening isn’t magic. Sometimes replacement is the more realistic choice.
- Deep chips or a bent blade: sharpening may not restore a straight cutting line.
- Cracked handles or failing lock: safety issue, replacement usually makes more sense.
- Persistent hand pain: consider ratchet pruners, improved ergonomics, or consult a healthcare professional if discomfort continues.
- High-value plants: for major pruning decisions on trees or prized shrubs, an ISA-certified arborist or local extension office can be a safer next step.
Conclusion: keep your shears sharp, and pruning gets simpler fast
Getting to a true pruning shears garden sharp feel usually comes down to three moves: match the tool to the branch, keep blades clean, and do small touch-up sharpening before frustration builds.
If you do one thing this week, tighten the pivot and remove sap, then test on a pencil-thick stem. If it still crushes, sharpen the bevel or consider switching to bypass pruners for green growth.
FAQ
How sharp should pruning shears be for live plants?
Sharp enough to cut a green stem in one smooth squeeze without crushing. If you see flattened tissue or a ragged edge, you’re not quite there yet.
Are bypass pruners always better than anvil pruners?
Not always. Bypass often shines on green growth, while anvil can be helpful on deadwood cleanup. The “better” choice depends on what you cut most days.
Why do my pruners feel dull right after sharpening?
Usually it’s grime, a loose pivot, or sharpening at the wrong bevel angle. Clean the blades thoroughly, tighten the bolt, and re-check the edge under good light.
Can I use a knife sharpener on pruning shears?
Some knife sharpeners can work, but many don’t match the bevel well and can remove too much metal. A small file or diamond stone gives more control.
How do I disinfect pruning shears between plants?
People commonly wipe and use a disinfectant product per label directions, especially around suspected disease. If you’re unsure what’s safe for your tools or plants, local extension guidance can help.
How often should I sharpen garden pruners?
If you prune lightly, a touch-up every few weeks may be enough. In heavy season, many gardeners do quick sharpening more often, because it’s easier than rescuing a fully dull edge.
What’s the fastest way to improve cutting without sharpening?
Clean sap off, dry the tool, add a drop of oil at the pivot, then tighten the bolt until wobble disappears but the action still feels smooth.
If you’re trying to keep your cuts clean without overthinking gear, start by picking the right pruner style for your plants and building a five-minute maintenance habit, it’s the most “boring” upgrade that pays back quickly.