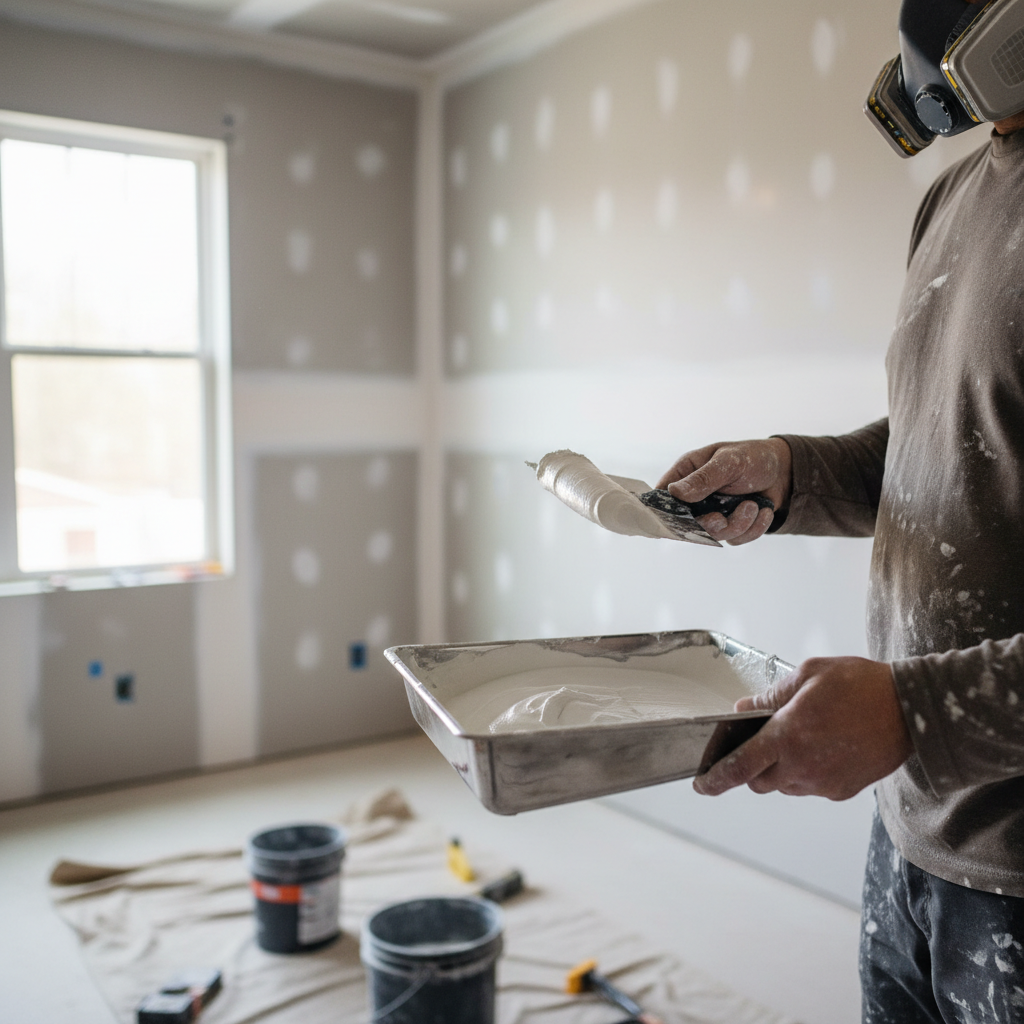
Mud pan for drywall compound choices look simple until you’re halfway through a room, your wrist hurts, and dried chunks keep showing up in your finish coat. The pan is one of those “small tools” that quietly controls speed, cleanliness, and how often you stop to re-mix or scrape.
If you do any amount of taping, patching, or skim coating, a good pan helps you keep compound workable, load your knife consistently, and avoid dragging debris across the wall. A bad one feels fine on day one, then bends, rusts, or becomes impossible to clean.
This guide breaks down what actually matters, how to pick the right size and material, and how to use and maintain a pan so it stays a help, not another hassle.
Why your mud pan matters more than people admit
A drywall pan isn’t just a container, it’s a working surface you touch hundreds of times per hour. The right pan makes loading smoother and reduces cleanup time, the wrong pan adds friction everywhere.
- Cleaner pulls on the knife: A straight, stiff rim helps you “wipe” the knife edge and control how much compound you carry.
- Less contamination: Smooth corners and a pan that scrapes clean reduce dried crumbs mixing back into fresh mud.
- Better ergonomics: Handle shape, balance, and pan stiffness matter when you’re doing long seams or ceilings.
- Faster cleanup: If cleanup is annoying, people delay it, then the mud hardens and everything gets worse.
According to OSHA, wet cement and similar materials can irritate skin, and drywall work often involves repetitive motion, so comfort and good habits matter, even for “just a pan.” If you get frequent skin irritation, it may help to wear gloves and talk with a medical professional.
Types of mud pans (material and shape) and what each is good for
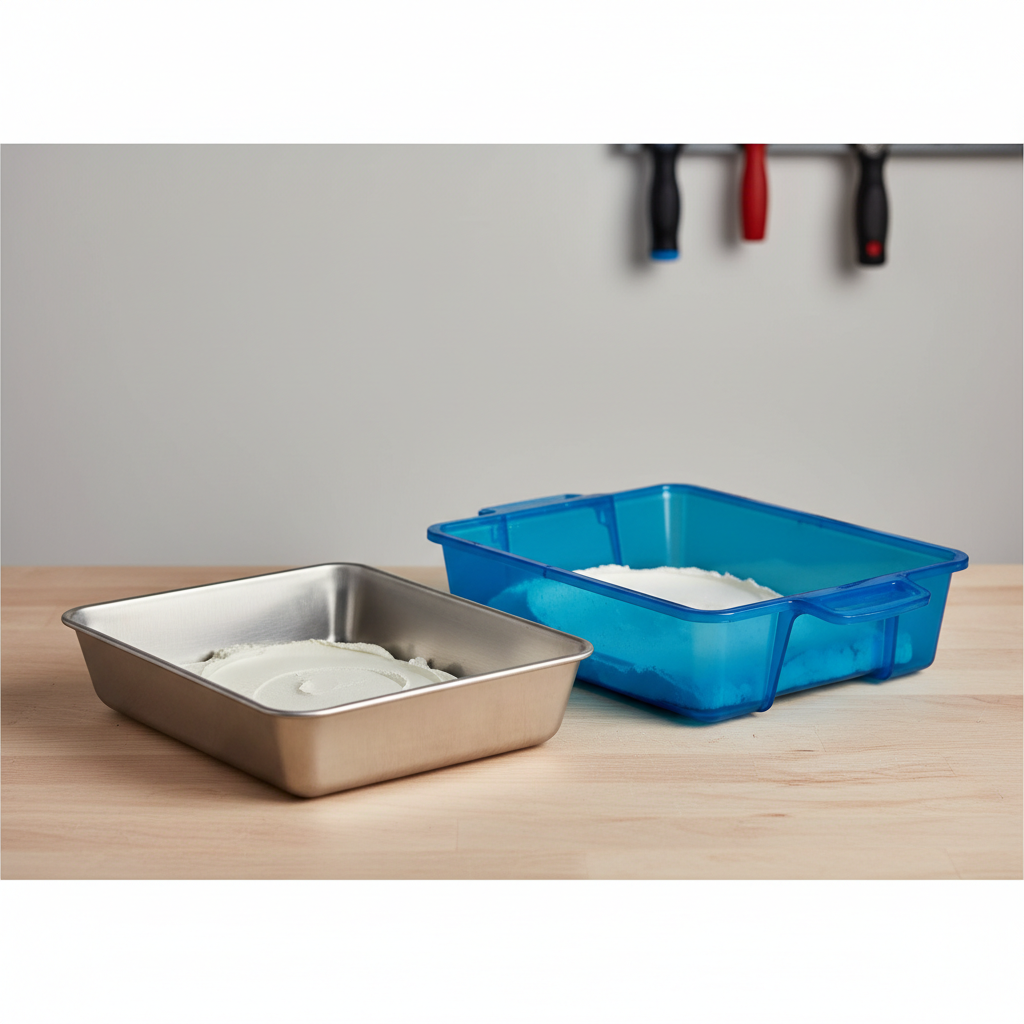
Most pans fall into two camps: stainless steel and plastic. Both can work, but they behave differently once you start moving fast.
Stainless steel mud pans
- Pros: Stiff rim, easy to scrape clean, holds shape, often lasts years if not abused.
- Cons: Costs more, can dent if dropped hard, some seams/edges vary by brand quality.
Plastic mud pans
- Pros: Lighter, usually cheaper, good for small patch kits and occasional use.
- Cons: Rim can flex (messy wipes), corners can stain or hold residue, can warp if left in heat.
There are also disposable liners and “pan inserts.” They’re convenient on punch-list days, but if the liner wrinkles or rides up, it can create little ridges that end up on your knife edge. Great when you’re careful, frustrating when you’re rushing.
Quick self-check: which mud pan fits your work?
Before buying, answer these honestly, it saves money and annoyance.
- How much mud do you run at once? If you mix small batches for patches, a smaller pan stays cleaner. If you run long seams, a bigger pan reduces refills.
- How picky is your finish? For Level 4–5 style work, a pan that scrapes perfectly clean matters more because tiny crumbs show up in wide skim coats.
- Are you working overhead? Ceilings reward lighter setups and better balance, even if that means smaller pan plus more refills.
- Do you clean as you go? If you know you sometimes don’t, pick a pan that’s easiest to scrape and rinse.
- Will it live in a truck? Stainless usually tolerates abuse better; thin plastic can crack in cold conditions.
Key takeaway: The best mud pan for drywall compound is the one that keeps your knife edge clean and your hand relaxed for the work you actually do, not the work you imagine doing.
Size guide: 10-inch vs 12-inch vs 14-inch (and when 16-inch makes sense)
Pan length is where most people guess wrong. Bigger isn’t always better, especially if you’re newer or doing lots of detail work.
| Pan size | Best for | Tradeoffs |
|---|---|---|
| 10-inch | Patching, tight spaces, quick repairs, beginners | More refills, less room to “park” compound while you work |
| 12-inch | General taping and finishing, most DIY and pros | May feel bulky on ladders if you prefer a light setup |
| 14-inch | Long runs, production pace, larger knives | Heavier, more compound exposed to air so edges dry faster |
| 16-inch | Skim coating and big spreads when you’re moving fast | Awkward in small rooms, fatigue risk if you grip hard |
If you mostly use a 6-inch or 10-inch knife, a 10–12 inch pan feels natural. If you regularly run a 12-inch knife, a 12–14 inch pan tends to match better.
How to use a mud pan for cleaner, faster finishing
This is the part that usually changes someone’s results the quickest. Small technique tweaks keep the pan cleaner and your coat smoother.
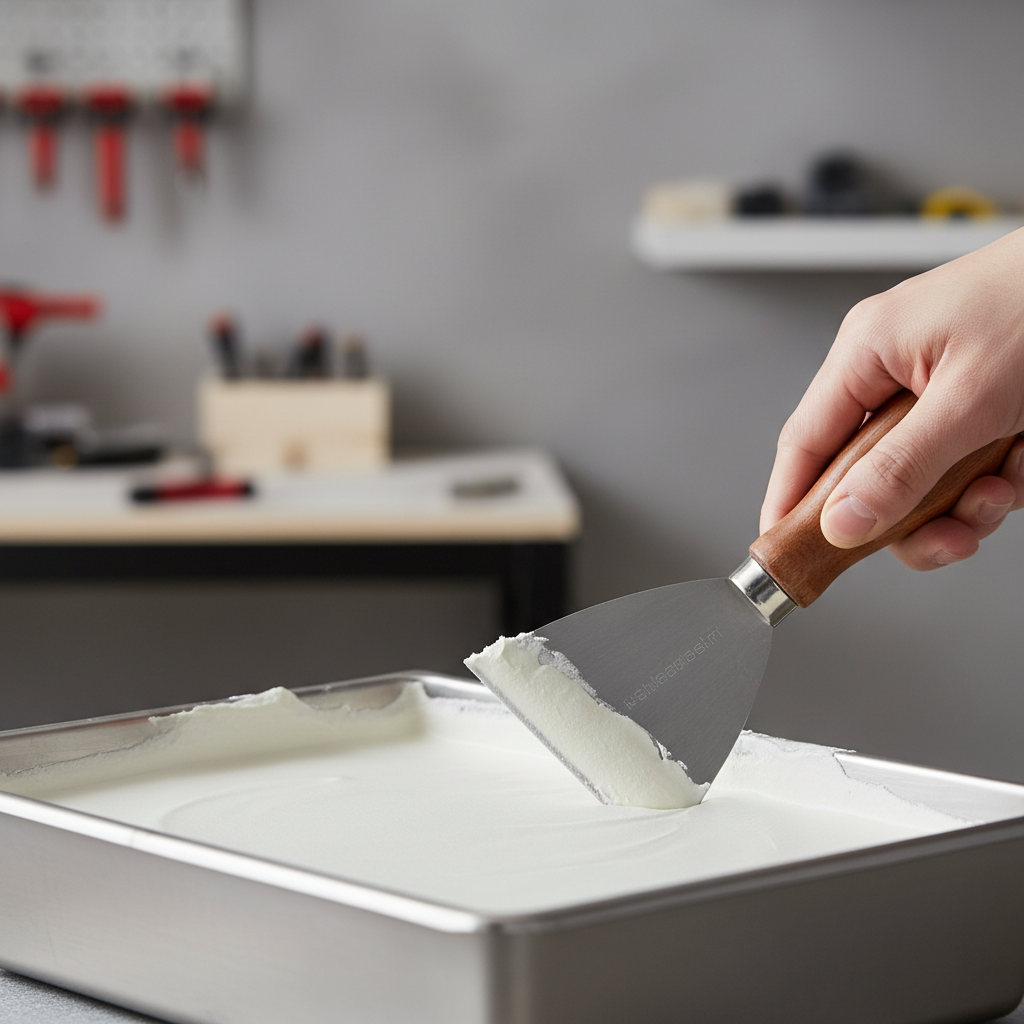
Loading the knife without dragging junk into your coat
- Keep compound piled in the center, not smeared thin along the corners.
- Use the rim to “wipe” one side of the blade, then flip and do a light wipe on the other side.
- When you feel grit, stop and scrape the rim clean, don’t try to push through it.
Managing dry edges (the real crumb factory)
- Don’t overfill. A half pan often works better than a full pan.
- If the room is hot or airflow is strong, cover the pan between runs with a hawk cover, plastic wrap, or even a damp towel nearby, just avoid dripping water into the mix.
- Mix mud to the consistency you need for the pass, too stiff makes you press harder, and that pressure creates more debris from the rim.
According to the EPA, dust exposure can be a concern during sanding, so it’s smart to keep finishing coats as clean as possible to reduce rework sanding later. For large sanding jobs, consider a dust mask or consult a safety professional about proper respiratory protection for your site.
Cleaning and maintenance: keep the pan sharp and usable
Most mud pan problems are really “dried compound problems.” If you stay ahead of buildup, almost any decent pan feels better.
- Clean immediately after use: A quick scrape, rinse, and wipe beats chiseling tomorrow.
- Scrape corners first: Corners trap the first hard bits; once those break loose, they haunt your next coat.
- Avoid soaking metal too long: Stainless resists rust, but leaving water sitting in seams for days can still cause staining or edge issues in some pans.
- Dry it fully: Especially if it rides in a toolbox with carbon steel knives, moisture encourages rust on other tools.
- Lightly dress burrs: If you feel a sharp nick on the rim, a fine file or sandpaper can smooth it, go slow so you don’t warp the edge.
If you use setting-type compound, cleanup matters even more because it hardens chemically and can lock into scratches or seams. In that case, keeping a small bucket of clean water and a sponge nearby usually saves time.
Common mistakes (and what to do instead)
- Using the pan as a mixing bucket: Mixing in the pan often traps dry pockets in corners. Mix in a dedicated bucket, then load the pan.
- Letting the rim get crusty: That crust transfers straight to your blade edge. Scrape the rim every few minutes during long runs.
- Buying the cheapest option for daily work: If you finish often, rim stiffness and edge quality matter more than saving a few dollars.
- Overwatering to “fix” drying: Adding too much water can weaken the compound and change how it feathers. Small adjustments only, and follow the compound manufacturer guidance.
Practical rule: If your knife wipe feels inconsistent, don’t blame your hands right away, check the rim and corners for buildup or damage.
When it’s time to upgrade or ask for help
If your finish suddenly looks scratchy or contaminated and it’s not your mix, a worn pan rim can be the culprit. Visible dents, bent walls, or seams that catch compound often signal replacement time.
For larger projects where the finish level matters, or if you’re chasing repeated cracking, bubbling tape, or persistent adhesion issues, it can be worth asking a drywall pro to look at your process. Those problems aren’t always tool-related, and a quick on-site assessment can save expensive repainting later.
Conclusion: pick the pan that keeps your edge clean and your pace steady
A mud pan for drywall compound should feel boring in the best way, it holds shape, wipes clean, and disappears while you work. If you do finishing regularly, a solid stainless pan in the right length is usually money well spent; for occasional patches, a simpler option can still do the job if you keep it clean.
Next step: Match your pan length to your knife size, then commit to a simple cleanup routine that prevents dried bits from ever making it back onto your blade.
FAQ
What size mud pan should I buy for drywall compound?
Most people land on 12-inch because it balances capacity and control. If you mainly patch with small knives, 10-inch feels easier; if you run long seams with bigger knives, 14-inch can speed you up.
Is a stainless steel mud pan really better than plastic?
Often, yes for regular work, because the rim stays stiff and scrapes clean. Plastic can be fine for light use, but flex and staining tend to show up over time.
How do I stop dried chunks from getting into my finish coat?
Keep the compound off the corners, scrape the rim frequently, and clean the pan as soon as you’re done. If the room is hot or breezy, covering the pan between runs helps.
Can I mix joint compound directly in the mud pan?
You can, but it’s usually messier and more likely to trap dry pockets in corners. Mixing in a bucket, then loading the pan, tends to produce a smoother, more consistent mud.
How often should I clean a mud pan during a job?
When you feel grit or see crust forming on the rim, pause and scrape. On long runs, many finishers do quick rim scrapes every few minutes instead of waiting for problems.
What’s the best way to clean dried joint compound off a pan?
Warm water and a putty knife or your taping knife usually work if it’s not fully cured. If it’s setting-type compound and it’s rock hard, you may need careful scraping; avoid gouging the rim.
Do mud pan liners work?
They can save cleanup time for small jobs, but they need to sit flat. If the liner buckles, it can telegraph ridges into your knife wipe and create inconsistent loading.
If you’re trying to choose a mud pan for drywall compound based on the kind of finish you want, or you’re outfitting a small kit for recurring repairs, it can help to map your pan size, knife sizes, and compound type together so the setup feels consistent from the first pass to final touch-ups.