How to open small electronics with screwdriver usually comes down to two things: using the right driver bit, and knowing whether you’re dealing with screws, clips, adhesive, or all three at once.
If you’ve ever rounded a tiny screw head, snapped a plastic tab, or left pry marks on a device you were just trying to inspect, you already know why this matters. Small electronics are built to be compact, not forgiving, and one wrong twist can turn a simple battery swap into a mess.
This guide stays practical: how to identify screw types, how to apply torque without stripping, when a screwdriver is enough and when it’s not, plus a quick table that helps you choose tools and a checklist to decide if you should stop and get help.
Before You Start: What You’re Actually Opening (and Why It’s Stuck)
Most “small electronics” (remote controls, toys, earbuds cases, small speakers, game controllers, older phones, calculators) use a mix of fasteners. Screws are only part of the story, and assuming “it’s just screws” is how people crack housings.
- Screws: Phillips, Torx, Tri-point, Pentalobe, security Torx, sometimes hidden under rubber feet or labels.
- Plastic clips: Internal snap tabs that release only from a specific direction.
- Adhesive: Double-sided tape, glue dots, foam tape, or perimeter adhesive on thin devices.
- Gaskets: On water-resistant products, opening force is higher and resealing becomes its own project.
According to UL (Underwriters Laboratories), products connected to power can present shock or fire hazards if damaged or reassembled incorrectly, so it’s worth taking the “slow and boring” approach when batteries, charging circuits, or power adapters are involved.
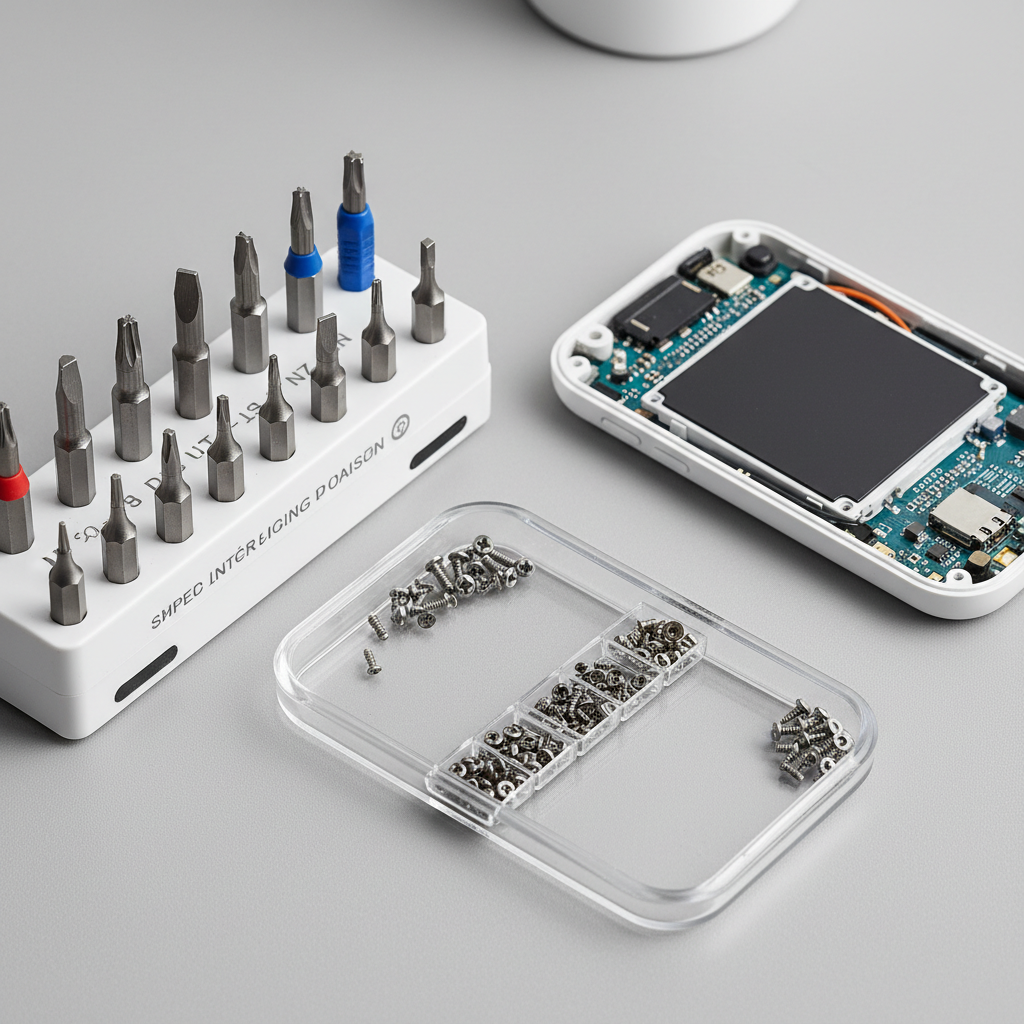
Tool Selection That Prevents Stripped Screws (Quick Reference Table)
You can open a lot of devices with a screwdriver, but “a screwdriver” isn’t one tool. The fit between bit and screw head matters more than muscle.
| Device example | Common screw type | Typical size range | Best screwdriver choice | Notes |
|---|---|---|---|---|
| Remote control, toy | Phillips | #0 to #1 | Precision Phillips | A too-large bit cams out fast |
| Game controller | Security Torx | T8/T9/T10 | Security Torx driver | Look for center pin in the screw |
| Earbuds case | Torx / Phillips | T4–T6 / #00 | Micro driver + pry tool | Often clipped and taped too |
| Small speaker | Torx / Phillips | T6–T10 | Torx driver | Watch for hidden screws under feet |
| Older phone / small gadgets | Pentalobe / Tri-point | P2 / Y000 | Correct specialty bit | Wrong bit ruins the head quickly |
Key point: If the bit wobbles in the head, stop and change bits. That wobble is your warning sign.
How to Open Small Electronics With Screwdriver: A Clean, Repeatable Method
How to open small electronics with screwdriver works best when you treat it like a controlled process, not a strength test.
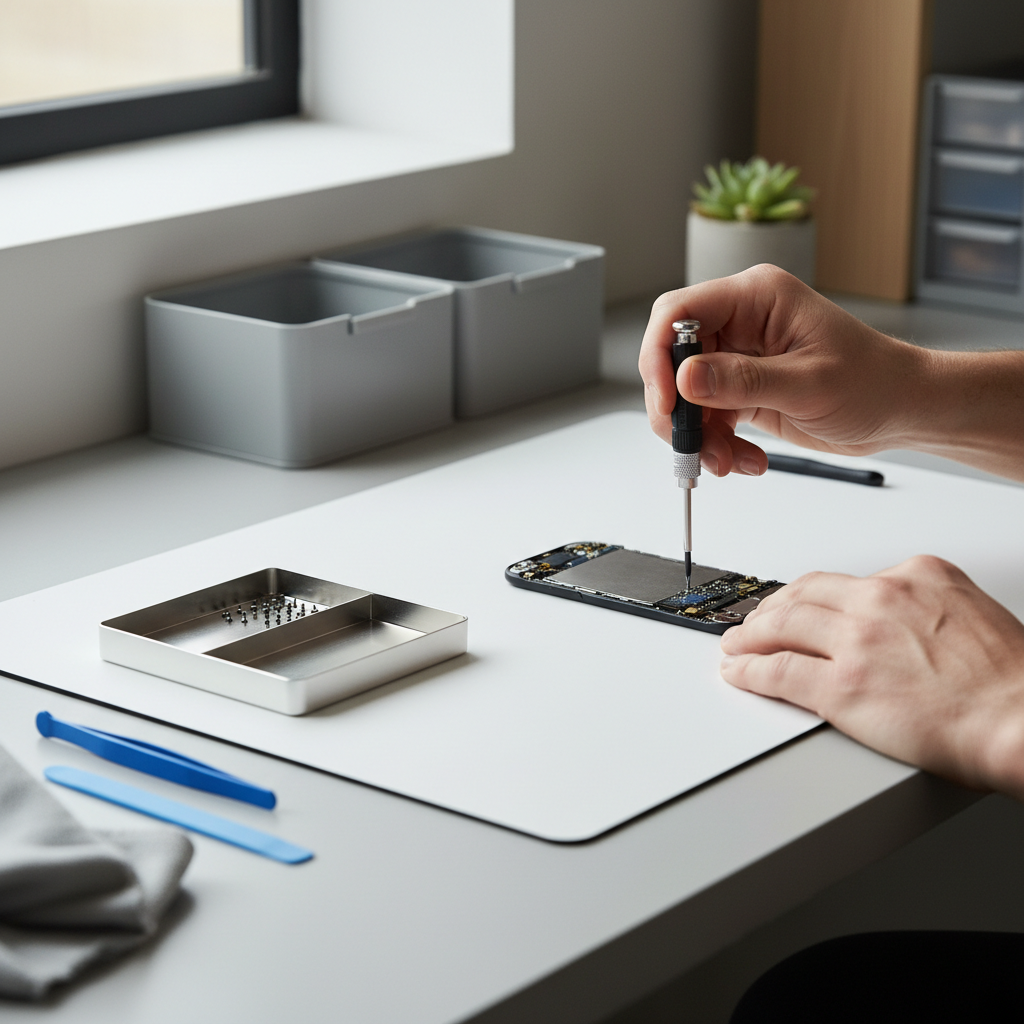
1) Power down and de-risk the device
- Remove batteries if accessible, unplug charging cables.
- If the device has a lithium battery and you’re opening near it, avoid puncture risks and consider whether you should hand it to a repair shop.
- Work on a clear surface, ideally with a parts tray or small cups.
2) Find every screw, including the “hidden” ones
- Check under rubber feet, labels, decorative caps, and battery door stickers.
- Use a flashlight at a low angle, recessed holes show up better.
- Don’t “pry to see what happens” until you’re confident all fasteners are out.
3) Seat the bit, then apply downward pressure before turning
- Press straight down to keep the bit engaged.
- Turn slowly, keep your wrist aligned with the screw axis.
- If it resists, try a tiny tighten-then-loosen motion to break initial friction.
4) Keep screws organized by location
- Line them up in removal order, or push them into a labeled piece of painter’s tape.
- Some devices use the same head style but different lengths, mixing them can crack plastic on reassembly.
When Screws Are Out but It Still Won’t Open: Clips, Adhesive, and Seams
This is the moment people get impatient. Screws removed does not equal “ready to split.” Many housings still hold with clips or adhesive, and a metal screwdriver used as a pry bar can chew up seams.
Spotting clips vs. adhesive
- Clips: A defined seam line, sometimes you can feel springy resistance.
- Adhesive: Seam looks tight and uniform, resistance feels “sticky,” not springy.
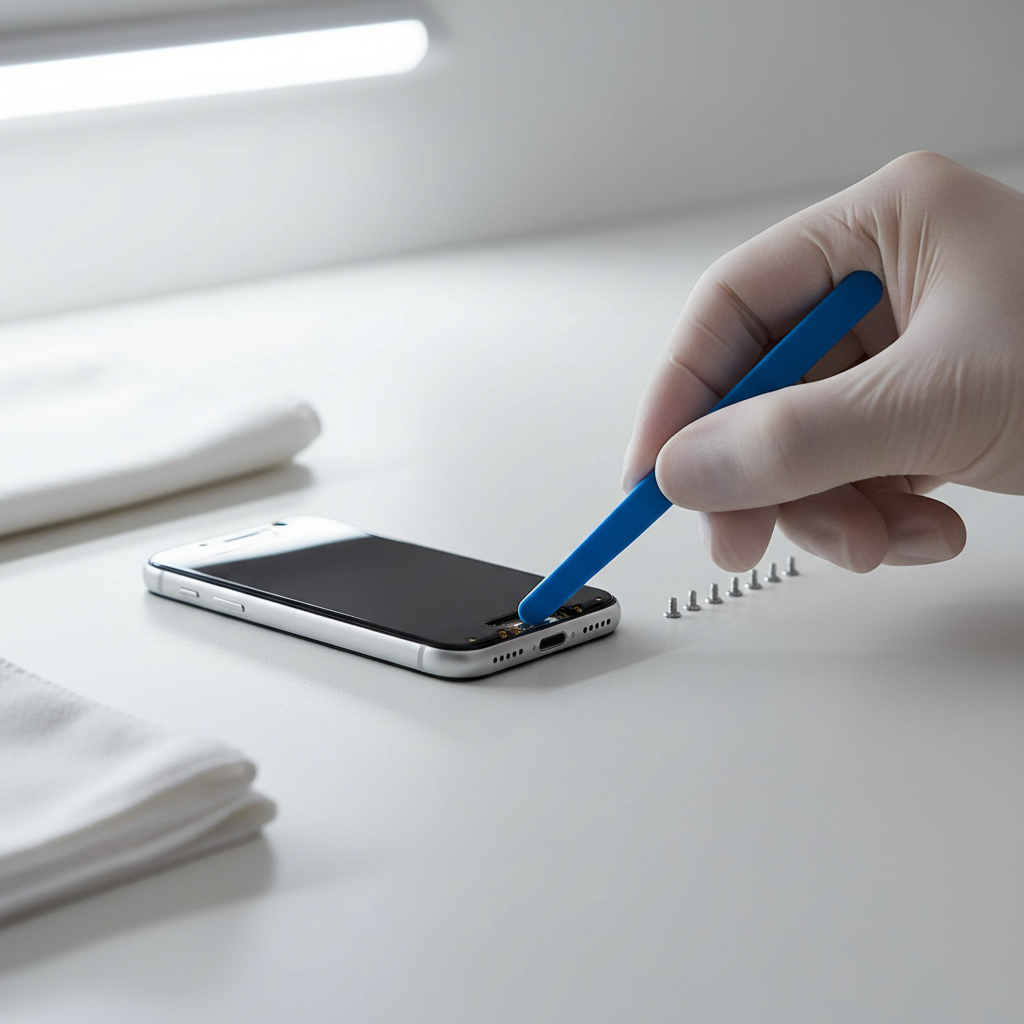
Safer ways to start a separation (without gouging)
- Use the screwdriver only for screws, then switch to a plastic pick or spudger for the seam.
- If you must use a flathead, wrap the tip with tape to reduce marring, and pry only at reinforced points like corners or thicker ribs.
- Work around the perimeter in small steps, don’t force one spot until it cracks.
According to Apple Support, using the correct tools and avoiding excessive force reduces the chance of damaging internal components during service. Even if you’re not opening an Apple device, the principle carries over.
Fast Self-Check: Are You About to Strip a Screw or Break a Tab?
Before you apply more torque, run this quick check. It saves time, and usually saves the device.
- Bit fit: Does it fully fill the screw head with minimal wiggle?
- Driver quality: Is the tip sharp, not rounded from previous use?
- Angle: Are you perfectly vertical to the screw?
- Resistance feel: Is it smooth resistance (normal) or gritty/clicky slipping (stripping)?
- Housing flex: When you pry, does the case flex a lot before any gap forms?
- Seam gap: Is there any starting point, or is the seam sealed tight like glue?
If you hit two red flags at once, stop and change your approach. The “one more try” moment is when damage happens.
Common Scenarios and Fixes (Including Stubborn or Stripped Screws)
How to open small electronics with screwdriver gets tricky in predictable ways. Here are the fixes that usually work, without pretending there’s one magic trick.
Screw won’t budge
- Confirm you’re using the right standard: Phillips vs. JIS can feel similar on small screws.
- Increase downward pressure, reduce speed, keep the driver perfectly centered.
- If safe for the device, a tiny amount of heat near the screw area can soften threadlock or adhesive nearby, but avoid overheating batteries or plastics.
Screw head starts stripping
- Stop immediately, switch to a fresh bit of the exact size.
- Try a wide rubber band between bit and screw for extra grip, this sometimes helps on shallow heads.
- If the head is badly rounded, consider a screw extractor made for micro screws or ask a repair shop, forcing it usually ends with a drilled-out hole.
Back cover won’t separate after screws
- Re-check for hidden screws, especially under feet, labels, or inside battery compartments.
- Look for a latch area near ports or battery doors.
- Use a plastic pick, slide along the seam to release clips one by one.
Practical Tips for Reassembly (People Forget This Part)
Opening is only half the job. Reassembly mistakes cause rattles, gaps, dead buttons, and “why doesn’t it charge anymore” moments.
- Match screw length to hole: If you feel sudden resistance early, back out and confirm you’re not cross-threading.
- Don’t over-tighten: Plastic bosses strip easily, snug is usually enough.
- Check cable routing: Ribbon cables and thin wires can get pinched along seams.
- Test before fully closing: If possible, confirm power and buttons before you commit all screws.
According to iFixit, documenting screw locations and cable routing during disassembly helps prevent reassembly errors. A quick phone photo at each step often beats “I’ll remember where that goes.”
When to Stop and Seek Professional Help
Some devices are doable at home, others turn into a risk-reward problem. If any of these apply, a repair shop may be the safer route.
- Swollen, damaged, or glued-in lithium battery, especially if you see bulging or smell solvent-like odors.
- Water-resistant devices where resealing matters for safety or longevity.
- Security screws you can’t properly fit, using the wrong bit often causes permanent damage.
- You need to pry near a display panel or fragile glass.
If you’re unsure, it’s reasonable to consult a qualified technician, especially when the device connects to mains power or contains a high-capacity battery.
Conclusion: A Small Shift in Technique Makes This Much Easier
How to open small electronics with screwdriver is less about brute force and more about bit fit, controlled pressure, and knowing when screws aren’t the only thing holding the case together. If you take 60 seconds to identify the fastener type and organize screws, you avoid most of the frustrating outcomes.
Action steps: Pick the correct precision bit, remove every hidden screw, then separate seams with a plastic tool rather than a metal driver. If you meet strong resistance near a battery or a sealed seam, pausing and reassessing usually saves money.