how to read a tape measure correctly starts with one simple idea, you are not reading “lines”, you are reading a fixed unit system where every mark has a job, and your job is to match the right mark to the right task.
If you ever cut a board “close enough” and the project still ends up short, or you measure a window twice and the blind still doesn’t fit, it’s usually not your saw or your drill, it’s the measurement. Tape measures look basic, but the mix of feet, inches, and fractions tricks a lot of people, especially when you feel rushed.
This guide breaks the tape down into readable chunks, shows quick ways to convert the marks into real numbers, and points out the small “gotchas” that cause most misfits, like the hook movement and the difference between measuring to the inside vs outside edge.
Understand what the marks mean (without overthinking it)
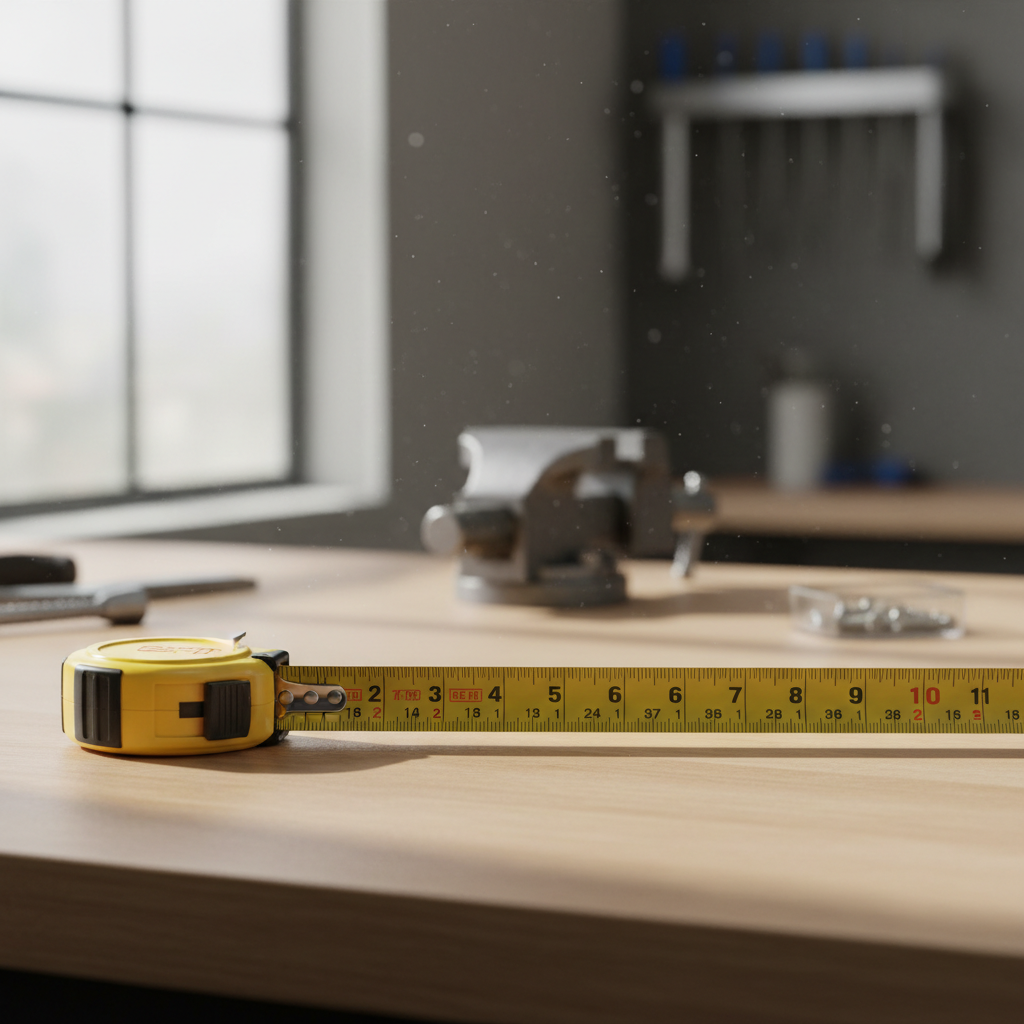
On most US tape measures, you’ll see inches numbered, with shorter marks between them. Those short marks represent fractions of an inch, and the “pattern” repeats every inch.
Here is the practical cheat: the longest line after the inch line is usually 1/2, the next longest are 1/4 and 3/4, then 1/8s, then 1/16s. Some tapes stop at 1/8, others go to 1/16, and a few specialty tapes go finer.
Common tick mark lengths
- 1 inch: numbered line (1, 2, 3…)
- 1/2 inch: longest mid-way line between two inch numbers
- 1/4 and 3/4: slightly shorter, split the inch into quarters
- 1/8: shorter lines dividing each quarter
- 1/16: smallest lines, typical on most contractor tapes
According to NIST (National Institute of Standards and Technology), measurement traceability and consistent standards matter for accuracy. You don’t need lab precision for DIY, but you do need consistent reading habits so your parts match.
Read inches and fractions like a pro (step-by-step)
When people say they can’t read a tape, what they usually mean is “I can’t translate 13 little lines into a fraction fast enough.” The fix is a repeatable sequence.
- Find the last whole inch before your measurement point.
- Count which fraction line you are on past that inch.
- Name the fraction using the smallest division on your tape (often 1/16).
Example: your mark lands after the 7-inch line, and it sits on the 6th small tick where each small tick is 1/16. That reads as 7 + 6/16, which you simplify to 7 3/8.

If you want speed, focus on recognizing the big “landmarks” first: 1/2, 1/4, 3/4. Most real-world cuts land on those, and you can treat 1/8 and 1/16 as “fine adjustments.”
Quick reference table for common fractions
This is the part many people screenshot. If your tape shows 1/16 divisions, each inch is 16 small steps.
| Tick count (out of 16) | Fraction | Common spoken reading |
|---|---|---|
| 2 | 1/8 | “one eighth” |
| 4 | 1/4 | “one quarter” |
| 6 | 3/8 | “three eighths” |
| 8 | 1/2 | “half” |
| 10 | 5/8 | “five eighths” |
| 12 | 3/4 | “three quarters” |
| 14 | 7/8 | “seven eighths” |
Two small but useful habits: simplify fractions (8/16 becomes 1/2), and if you work with a partner, say the inch number first then the fraction, like “twenty-three and three-eighths.”
The hook, the case, and other accuracy traps
Learning how to read a tape measure correctly also means respecting how the tool is built. The loose metal hook at the end is not a defect, it is designed to move a tiny bit to compensate for inside vs outside measuring.
- Outside measurement (hook pulled against an edge): the hook shifts out.
- Inside measurement (hook pushed into a corner): the hook shifts in.
If the hook is bent, packed with debris, or feels sloppy beyond that tiny movement, your readings can drift. Many times, “my cuts are always off by a hair” is really a damaged hook issue.
Another trap is tape sag. Long spans measured in mid-air can bow, making the measurement read longer than reality. For anything that matters, support the tape or use a second person.
Self-check: which situation are you measuring for?
Before you measure, decide what you are actually trying to fit. It sounds obvious, but this is where real projects go sideways.
- Cut-to-length parts (lumber, trim, pipe): you measure, mark, then cut. Precision matters most here.
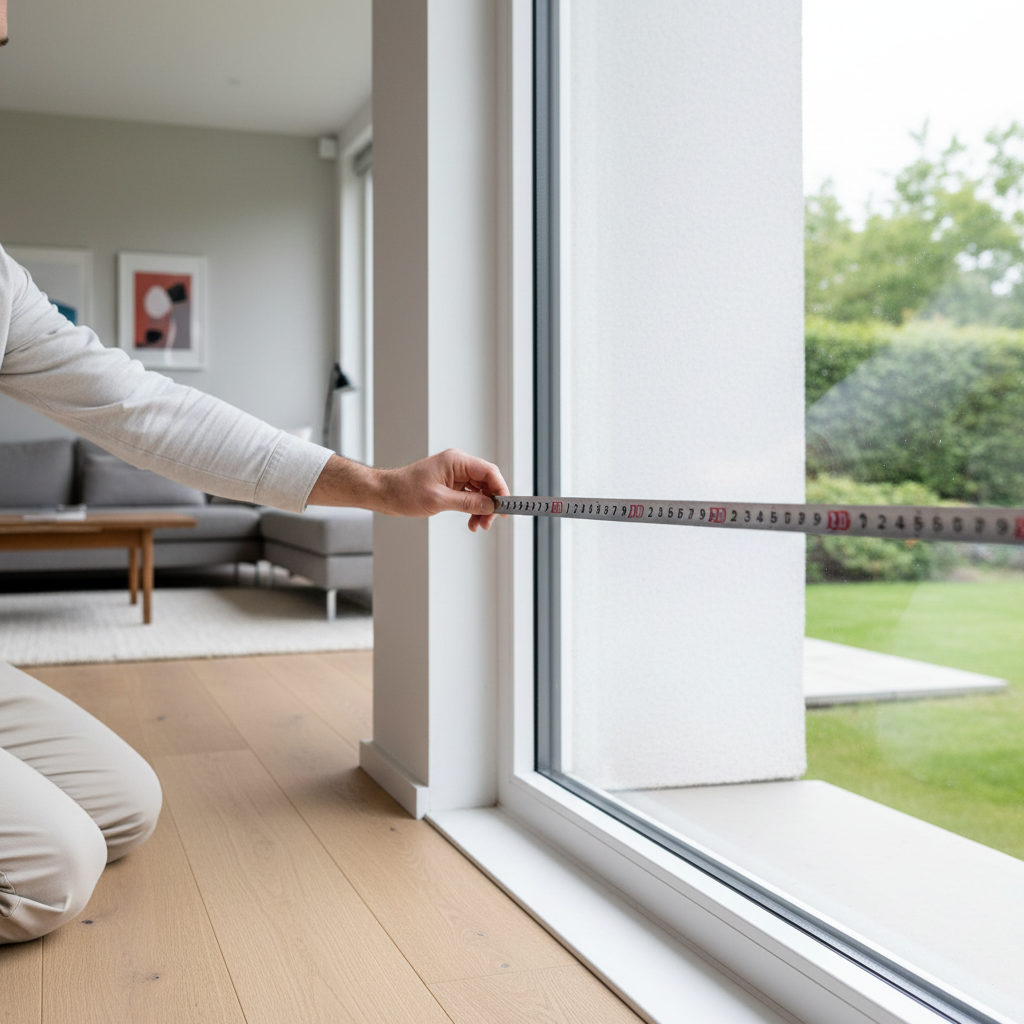
- Fit-to-opening (blinds, shelves between walls): you measure the space, but you also need clearance.
- Layout and spacing (stud marks, hole spacing): consistency matters more than absolute perfection.
If you’re measuring an opening, check if the manufacturer wants “exact opening” or “finished size.” That one line in instructions causes a lot of returns.
For layout work, a trick is to mark from the same end every time. Switching ends invites small tape errors to stack up, especially if the hook has any wear.
Practical techniques that save time (and re-cuts)
Once you can decode the marks, the next step is making your measuring process repeatable. That’s how the pros stay fast without being careless.
Use these field-proven habits
- Burn an inch: start at the 1-inch mark instead of the hook, then subtract 1 inch. This reduces hook-error on beat-up tapes.
- Mark with a “V”: draw two short lines that meet at the exact tick, easier than a single fat line.
- Write the fraction: for anything beyond a quick cut, write “3/8” or “5/8” on the material, memory lies.
- Call it back: if someone reads the tape to you, repeat it back out loud, it catches mistakes early.
If you do woodworking, you may prefer marking with a sharp pencil or marking knife. If you do rough framing, a thicker carpenter pencil can be fine, but expect that line width to introduce a little tolerance.
Common mistakes (and what to do instead)
Most tape-measure errors are boring, not dramatic, and that’s why they repeat.
- Mistake: measuring to the wrong side of the mark. Do this: always align to the same edge of your pencil line.
- Mistake: reading 7/16 as 9/16 because you counted from the wrong quarter. Do this: find 1/2 first, then count backward or forward.
- Mistake: mixing decimal and fractional thinking mid-project. Do this: stick to one system for the whole task unless plans force a switch.
- Mistake: assuming every tape measure matches. Do this: for critical work, use the same tape from start to finish.
According to OSHA, maintaining tools in safe condition is part of basic jobsite safety. A tape with a sharp, bent hook can cut fingers, and a tape that snaps back can pinch, so slow the retraction and keep hands clear.
Conclusion: a simple way to get accurate fast
how to read a tape measure correctly comes down to two things, recognizing fraction “landmarks” without counting every tick, and measuring the same way every time so small tool quirks do not leak into your cuts.
Your next project gets easier if you do one small practice session, pick five random marks on the tape, say them out loud, then check yourself with the table above. After that, use one tape for the whole job, and take inside-opening measurements in at least two spots because walls rarely stay perfectly square.
If you keep running into off-by-a-sixteenth problems on install work, it may be worth asking a carpenter, cabinet installer, or another tradesperson to sanity-check your measuring approach on-site, especially if the material is expensive or hard to replace.