The best brad nailer for trim work is the one that matches your trim style, nail sizes, and how often you actually shoot nails, because a tool that feels “pro-grade” on paper can still leave you fighting dents, misfires, and split casing in real rooms.
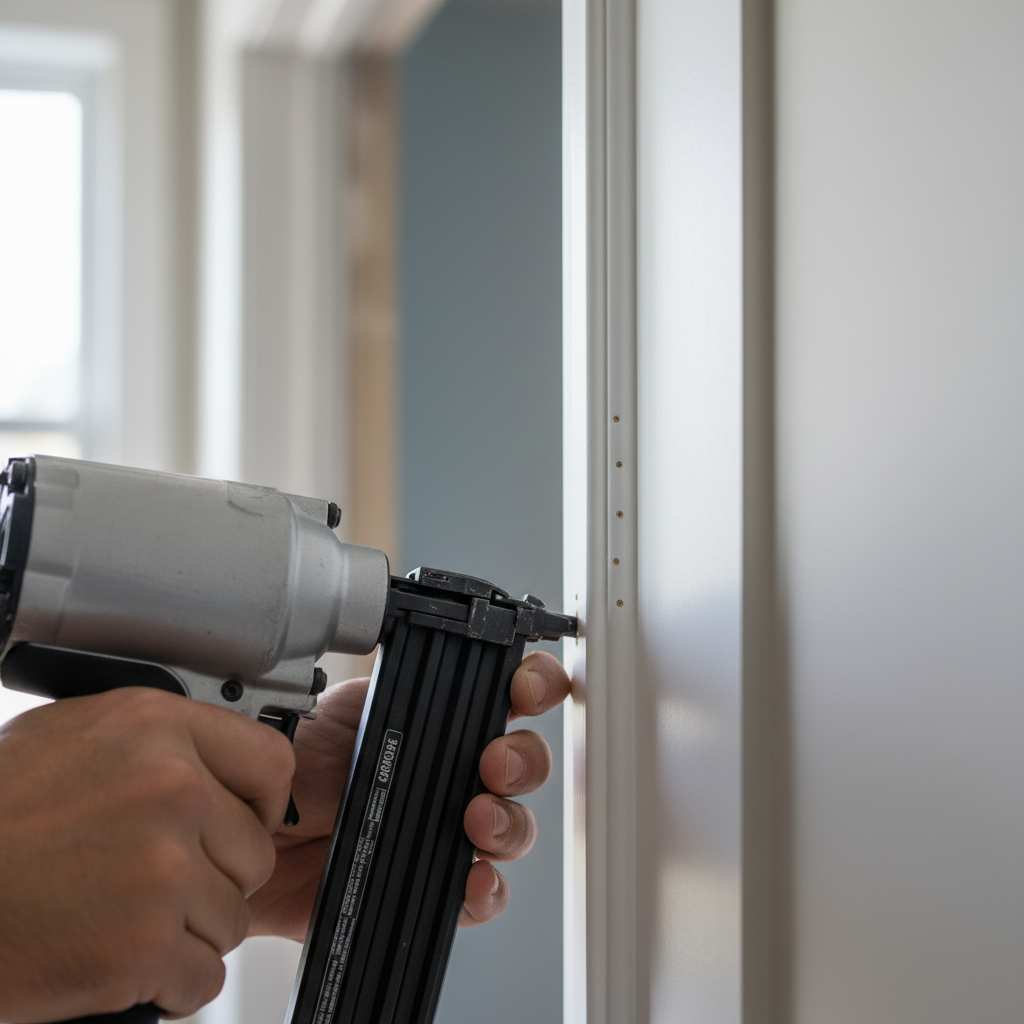
If you’re doing baseboards, door casing, crown, or thin returns, you’re usually working in finished spaces where clean holes and predictable depth matter more than raw power. The wrong nailer tends to show up as overdriven nails that crater paint-grade trim, or underdriven nails that force you to grab a nail set every few minutes.
This guide helps you decide what to buy for 2026 without getting stuck in spec-sheet trivia. We’ll talk nail gauge and lengths, cordless vs pneumatic tradeoffs, the features that really change trim results, and a quick checklist to match a model to your jobs.
What “trim work” demands from a brad nailer
Trim is picky. You’re pinning relatively thin stock to framing, jambs, or blocks, usually near edges, and often on pre-primed or pre-finished pieces where every mistake stays visible.
- Consistent depth of drive: you want a light set below the surface, not a crater, not proud heads.
- Low marring: a good no-mar tip helps, but so do a stable nose and predictable firing.
- Control in tight spots: inside corners, returns, and near crown profiles punish bulky noses.
- Jam resistance and easy clearing: a single jam mid-run can wreck your pacing and alignment.
In practice, the best brad nailer for trim work is rarely the “strongest.” It’s the one that feels calm in your hand and doesn’t surprise you on depth, even when you shift from MDF base to poplar casing.
Brad nailer basics that actually affect results (gauge, length, and angle)
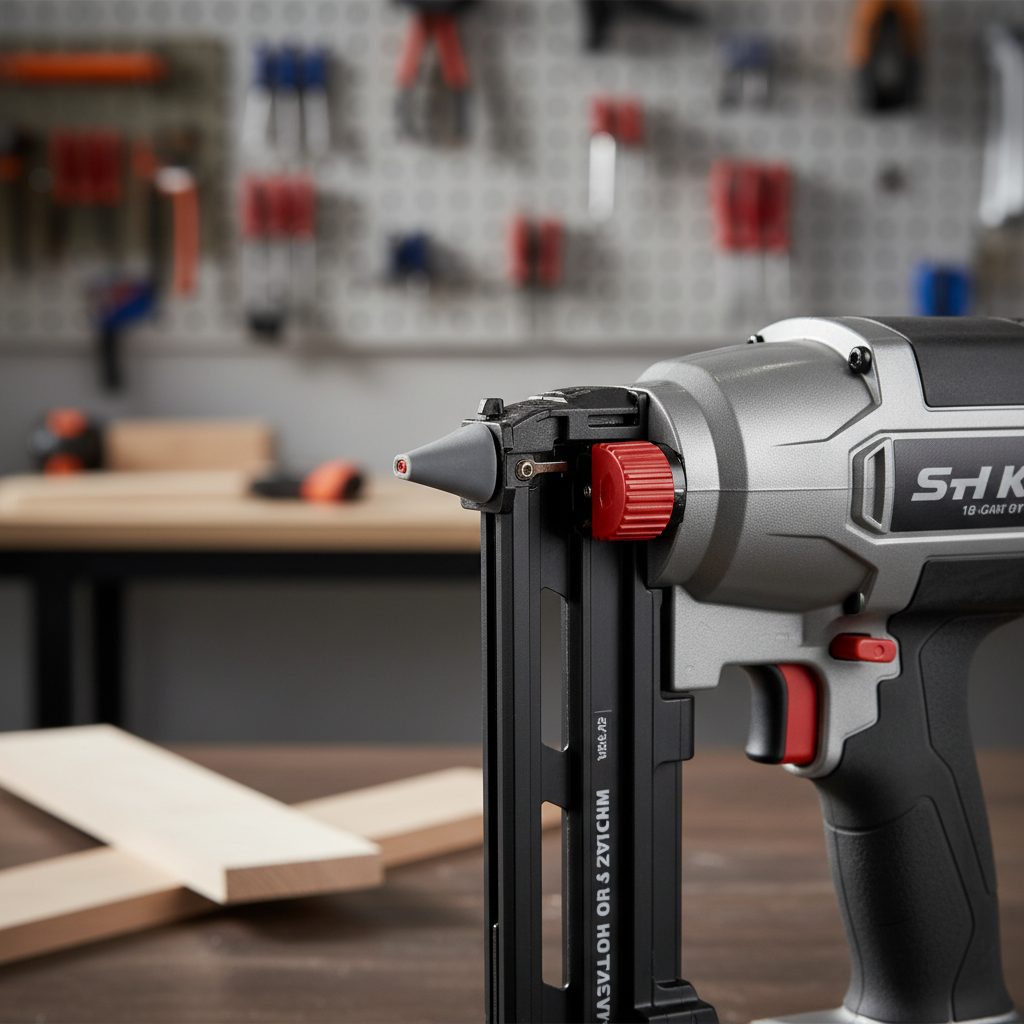
Most trim brad nailers are 18-gauge. That’s the sweet spot for holding power with a small head that fills easily. Thicker gauges can split small profiles, and thinner pin nails may not hold as well for base or casing.
Common nail lengths for trim
- 5/8 in to 1 in: returns, small outside corners, thin lattice
- 1-1/4 in to 1-1/2 in: most casing and base into studs/blocks
- 2 in: thicker base, stair skirt areas, or when you need extra bite
Angle matters less for brad nailers than finish nailers, but the nose shape matters a lot for getting into tight reveals without tipping. If you routinely work tight inside corners, prioritize a slimmer front end and a clear line of sight.
Cordless vs pneumatic for trim: choosing what fits your workflow
Both can be “right,” but they feel different on trim days.
| Type | Why trim carpenters like it | Where it can annoy you |
|---|---|---|
| Pneumatic (air) | Light weight, fast cycle, very consistent drive depth | Hose management, compressor noise, setup time in finished homes |
| Cordless (battery) | Grab-and-go, great for punch lists and small rooms, no hose marks | Heavier tool, balance can feel nose-heavy, sometimes more variance in depth across materials |
If you’re installing trim all day, pneumatic still tends to win on fatigue and repeatability. If you’re a remodeler bouncing between tasks, cordless often saves time even if the tool weighs more.

One more practical point: if you already own batteries in a platform, the “best brad nailer for trim work” often becomes the one that shares packs with your drill and impact. That convenience is real, especially for service calls.
Buying criteria that matter more than marketing specs
Here’s what tends to separate a trim-friendly nailer from one that’s frustrating.
- Depth adjustment you can fine-tune: a thumbwheel that actually changes depth predictably beats vague click-stops.
- Tool-free jam clearing: you want a latch you can open with one hand, not a screwdriver situation.
- No-mar tip quality: soft enough to protect pre-finished trim, but stable enough to not slip.
- Trigger modes: sequential for precision, bump fire only if you truly use it (many trim folks don’t).
- Line of sight: being able to see the exact point of contact reduces “mystery dents.”
- Exhaust direction: small thing, but blowing air at your face in a hallway gets old fast.
According to OSHA, pneumatic tools bring specific risks around compressed air and accidental discharge, so if you run air, treat hose routing and trigger discipline as part of your “tool choice,” not a separate topic.
Quick self-check: which brad nailer profile fits you?
If you answer these quickly, you’ll narrow your options faster than reading another top-10 list.
- You mostly do full-house trim installs: pneumatic 18-gauge brad nailer, light body, easy depth control.
- You do remodel punch lists: cordless brad nailer, fast start-up, reliable depth adjust.
- You work with pre-finished trim: prioritize no-mar tip, stable nose, and consistent drive.
- You do lots of returns and delicate profiles: smaller nose, excellent line of sight, predictable sequential firing.
- You frequently hit hardwood: stronger drive system helps, but consistency matters more than peak power.
If your work swings between baseboard and cabinet trim, you may find you’re happier owning one brad nailer you trust, and renting or borrowing a finish nailer only when the job truly needs heavier holding.
Practical setup: get cleaner trim results with any decent nailer
Even the best brad nailer for trim work can leave ugly holes if setup is sloppy. These steps are boring, but they’re the ones that keep your trim looking “installed” instead of “nailed on.”
Dial in depth with a real test piece
- Use the same trim material and the same backing (stud, jamb, blocking) if possible.
- Start shallow, then creep deeper until the head sits just below flush.
- In MDF, avoid overdrive; craters can telegraph through paint.
Choose nail length with holding in mind
- For casing, many people land around 1-1/2 in so you reach framing or solid jamb extensions.
- For thin returns, drop shorter so you don’t blow out the backside.
Shoot smarter to reduce splitting and movement
- Stay a bit off the edge on narrow trim, especially in dry wood.
- Angle brads slightly when you need grip without stepping up gauge.
- Use adhesive where appropriate, but treat it as a system choice, not a shortcut.
Safety-wise, keep your free hand out of the line of fire when you’re pinning small returns, and if you’re unsure about safe operation for your tool type, it’s reasonable to review the manufacturer manual or ask a more experienced installer. With any nailer, accidental discharge is a real risk if you get casual.
Common mistakes buyers make (and how to avoid them)
- Buying on nail capacity alone: a bigger magazine is nice, but it won’t fix inconsistent depth.
- Ignoring balance: a tool can be “light” but awkward; for trim, nose control matters.
- Assuming cordless equals hassle-free: it’s simpler than a compressor, but you still need the right battery and regular cleaning.
- Using brads where finish nails belong: wide baseboard, heavy crown, or high-movement spots often need a finish nailer or a better fastening plan.
- Skipping maintenance: pitch and dust buildup can drive up jams and misfires.
If you’re shopping in 2026, also watch for ecosystem lock-in. A great cordless nailer is less great if batteries are hard to find locally when one fails mid-project.
When you should consider pro help or a different tool
Sometimes the “right” move isn’t another brad nailer.
- Trim won’t stay tight: the issue may be wall flatness, insufficient blocking, or wrong fastener type.
- Consistent blowouts: material choice, nail length, or technique may be the real culprit.
- Electrical/plumbing near nailing zones: if you suspect wires or pipes, consider consulting a professional before fastening.
For high-end trim packages, it can be worth having an experienced finish carpenter set the standard in one or two rooms, then you follow that pattern. That approach often costs less than repairing visible mistakes across an entire floor.
Conclusion: picking the best brad nailer for trim work in 2026
If you want a simple decision rule, match the tool to your pace: pneumatic for long install days, cordless for flexibility and small jobs, then prioritize depth control, a stable no-mar tip, and easy jam clearing over flashy extras.
- Action step 1: list your top three trim tasks and the nail lengths you use most, then only consider models that shoot those lengths reliably.
- Action step 2: before buying, handle the tool if you can, because balance and nose visibility matter more than spec-sheet claims.
If you buy with that mindset, you’ll end up with a nailer that makes trim feel calmer and cleaner, which is the whole point.
FAQ
- What gauge is best for trim work, 18-gauge or 16-gauge?
For most light trim, 18-gauge brads leave smaller holes and reduce splitting risk. 16-gauge finish nails often make sense for thicker baseboard, heavy crown, or spots needing more holding power. - Is a cordless brad nailer strong enough for hardwood trim?
Often yes, but performance varies by model and battery. On dense hardwoods, you may need more test shots and finer depth tuning to avoid proud nails or craters. - What nail length should I use for door casing?
Many installers reach for 1-1/2 inch brads, aiming to catch framing or solid backing. If your jamb extensions are thin or you’re near edges, stepping down can prevent blowout. - Why is my brad nailer leaving dents around the nail hole?
Usually it’s nose marring, overdrive depth, or a tip that slips at the moment of firing. A fresh no-mar tip and a slightly shallower setting often clean this up. - Do I need oil for a pneumatic brad nailer?
Some pneumatic nailers are oil-free, others need light oiling. Check your manual, and if you’re unsure, ask the manufacturer or a tool tech since over-oiling can attract dust and cause issues. - Should I use glue with brad nails on baseboards?
Adhesive can help in some remodel situations where stud locations are inconvenient, but it also complicates future removal. In many cases, a better plan is locating studs or adding blocking. - How do I reduce jams in an 18-gauge brad nailer?
Use quality brads that match the nailer spec, keep the magazine clean, and avoid mixing nail brands if fit is inconsistent. If jams persist, a worn driver blade or dirty nose may need service.
If you’re trying to choose a brad nailer without buying twice, it can help to start from your real trim list, then compare a short set of models on nail range, balance, and jam-clearing design, if you want a more streamlined shortlist, share whether you’re doing base/casing daily or mostly weekend punch work and what battery platform you already own.