how to use a stud finder to find studs comes down to two things, reading what your tool is actually telling you and confirming the stud before you drill.
If you have ever hung a TV mount, shelves, or a heavy mirror and hit nothing but drywall, you already know why this matters. A stud gives you real holding power, drywall alone often does not, and the difference shows up the first time something shifts or sags.
This guide walks through the quick prep that prevents false readings, how to scan like a pro, what to do with weird walls, and a couple of simple cross-checks so you feel confident putting holes in your wall.
Know what your stud finder can (and cannot) detect
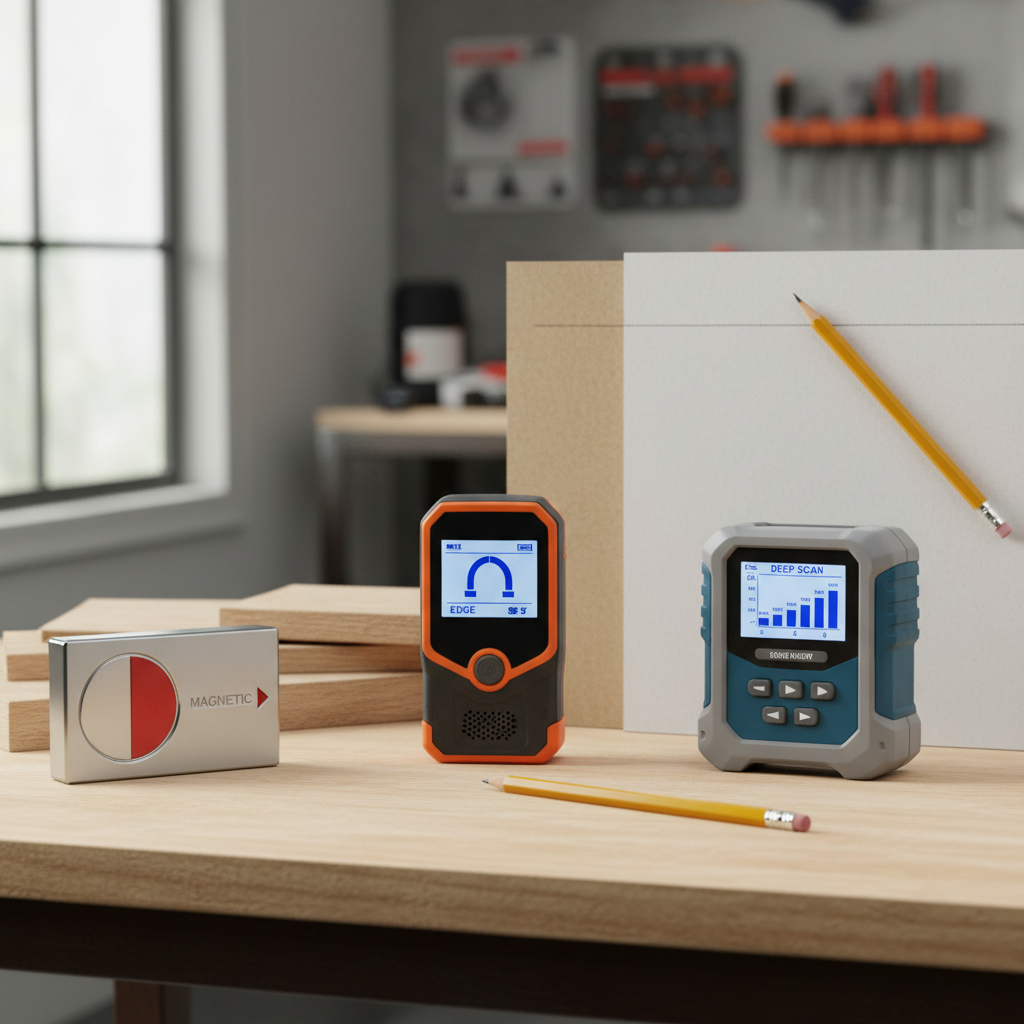
Most homeowners use one of three types, and they behave differently. Understanding your model reduces “ghost studs” and random beeping.
- Magnetic stud finders: stick to nails or screws in studs, simple and reliable, but slower and sometimes tricky under thick paint or texture.
- Electronic edge finders: detect density changes and show stud edges, common and affordable, but sensitive to calibration and wall conditions.
- Deep scan / multi-sensor models: better through thicker drywall or plaster, can be more consistent, but still not magic on old lath-and-plaster walls.
Some units also include AC-wire warning. Treat that as a heads-up, not a guarantee. According to CPSC (U.S. Consumer Product Safety Commission), you should assume wiring may be present and use safe drilling practices rather than relying on a single indicator.
Quick prep that prevents false readings
Most “my stud finder is broken” moments are really setup problems. Before you scan, do these small checks.
- Check the battery: weak batteries cause jumpy readings and inconsistent lights.
- Clear the area: remove picture hooks, nails, or metal wall plates near your scan path.
- Pick a realistic target zone: in many U.S. homes, studs are often spaced 16 inches on center, sometimes 24 inches. That does not mean yours are, but it gives you a sanity check.
- Avoid messy spots: patched areas, heavy texture, tile backer, or wallpaper seams can confuse sensors.
If you are working near outlets, switches, or plumbing walls (kitchen and bath), slow down. Power and pipes often run vertically or horizontally in ways that do not match your expectations, and drilling there deserves extra caution.
How to use a stud finder to find studs (step-by-step)
Here is the repeatable process that works with most electronic models. The big idea is to locate both stud edges, then mark the center.
1) Calibrate on the wall, not in midair
Place the stud finder flat against the wall in a spot you believe is clear, then press and hold the calibrate button (or follow your model’s startup routine). Keep it still until it signals ready. If you calibrate over a stud by accident, every reading after that tends to be weird.
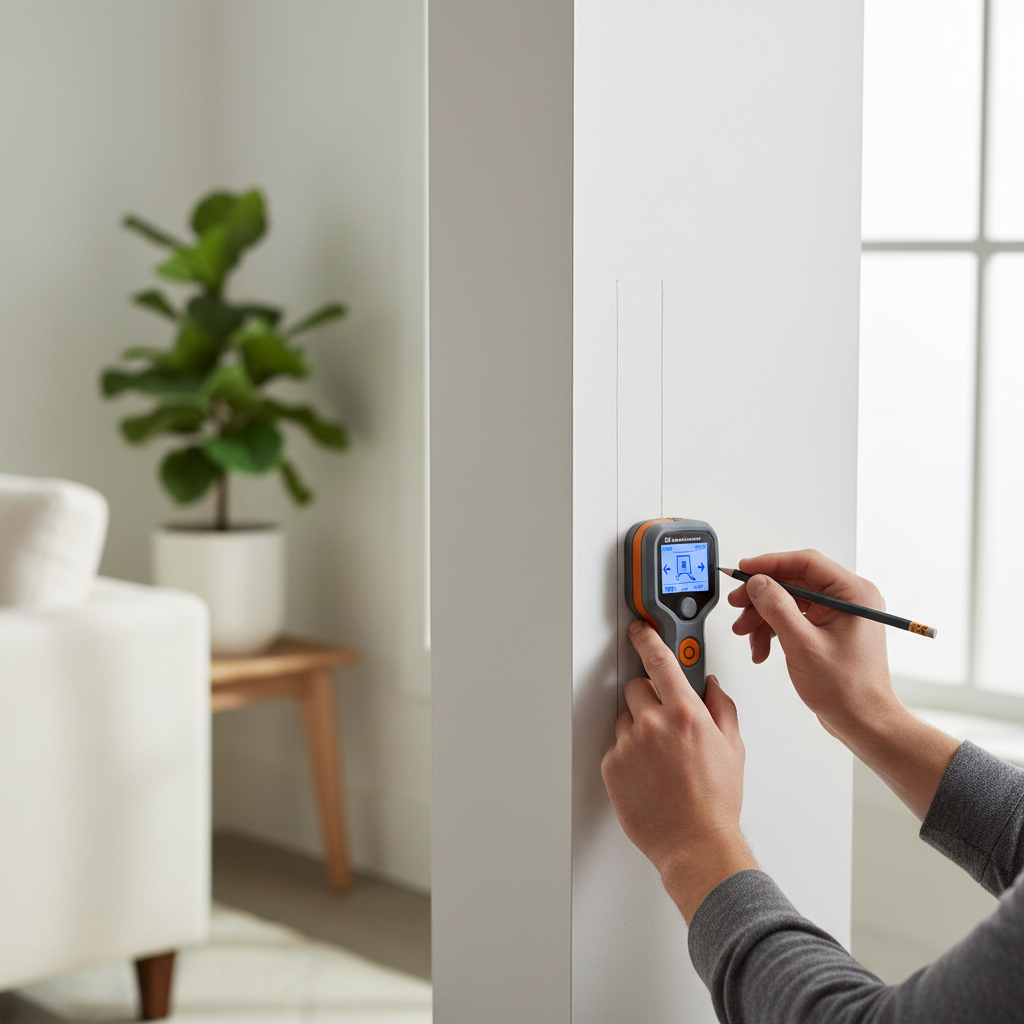
2) Scan slowly in one direction
Move horizontally about 1 inch per second. Most units need time to “read” density changes, and fast swipes create missed edges. When it indicates an edge, stop and mark that point lightly with a pencil.
3) Keep going to find the other edge
Continue the same direction until the signal drops off and it marks the second edge, then mark again. The stud center sits roughly halfway between the two marks.
4) Reverse the scan to confirm
Scan back from the other side. If the edges land in roughly the same places, you are probably on a stud. If the edges “walk” several inches, recalibrate and try again.
5) Mark a vertical line, not a dot
Studs run vertically. Make small marks at two heights and connect them with a light line. This helps you place multiple screws in a straight column, especially for TV mounts and heavy shelving.
Self-check: are you really on a stud?
If you want fewer surprises, do one quick confirmation before drilling, especially for anything heavy.
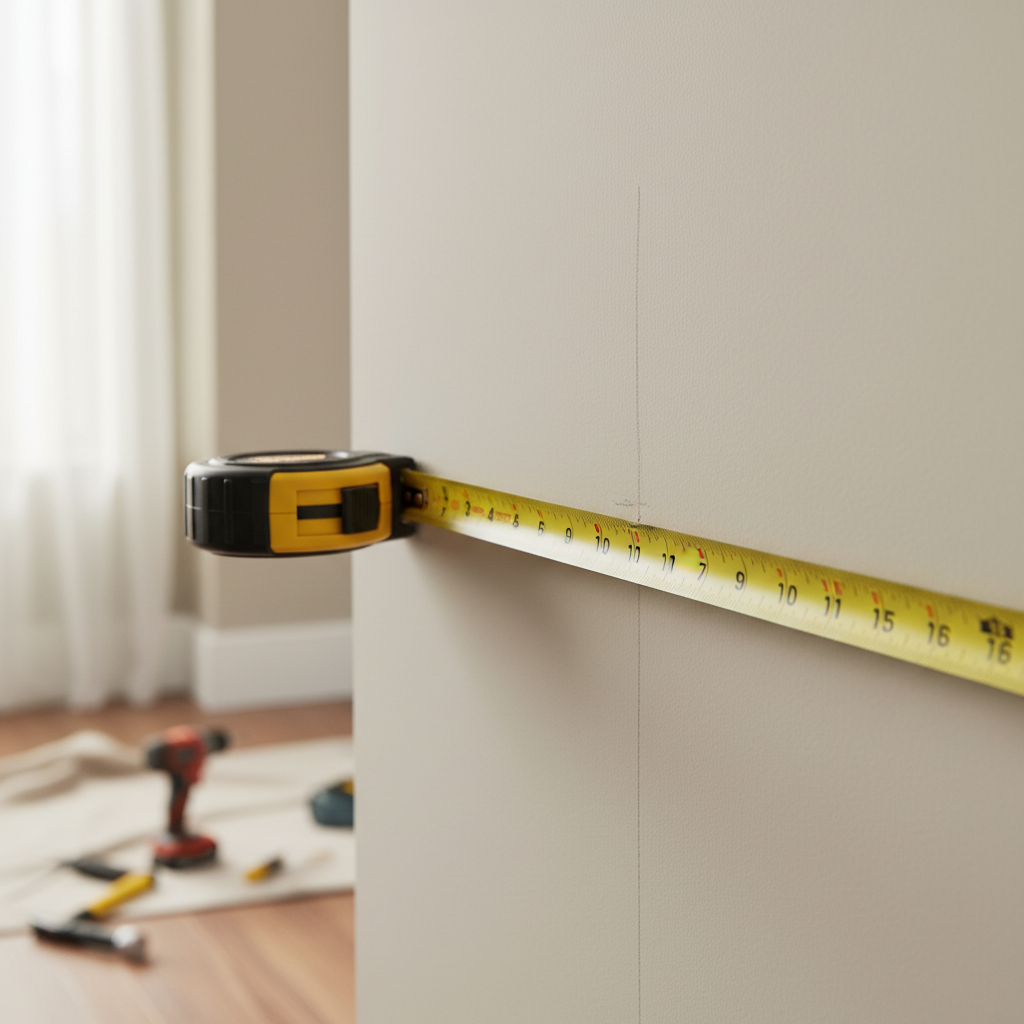
- Does your mark make sense with spacing? If you find one stud, the next one is often about 16 inches away (center to center). Big deviations can happen, but it is a useful red flag.
- Do you see consistent edges at multiple heights? Scan at chest height and near baseboard. A real stud usually reads similarly.
- Do you get a “stud” reading everywhere? That often means you calibrated on a stud, batteries are low, or the wall has dense backing.
- Is there an outlet nearby? Many outlets are mounted to a stud side. Finding the stud next to the box can be a good clue, but wiring may also be present, so drill carefully.
When it truly matters, a tiny finish nail test hole in a hidden spot can confirm wood behind drywall. If you are unsure about electrical or plumbing risk, it may be smarter to consult a qualified handyman or electrician.
Common problems and how to fix them
Walls are not uniform. Here are the issues that most often throw off readings, plus the practical workaround.
- Textured walls (orange peel, knockdown): hold the tool flatter, scan slower, and recalibrate more often.
- Plaster and lath: many electronic sensors struggle because density varies constantly. Try a magnetic finder to locate nails, or use multiple scans and look for a consistent vertical “line” of fasteners.
- Tile or backsplash areas: use a deep-scan capable model if you have it, and avoid drilling without a second confirmation.
- Insulation or vapor barrier: foil-backed insulation can confuse sensors and trigger wire warnings, try scanning from an adjacent bay and comparing patterns.
- Corner studs and doubled studs: readings may be wider than expected. Mark edges carefully and find the center by measuring between edges.
If your tool has a “deep scan” mode, do not default to it. Deep modes can be more sensitive to noise. Use standard mode first, then switch only if you cannot find consistent edges.
Stud-finding methods compared (quick table)
Sometimes the fastest solution is switching methods, not fighting the same scan for 20 minutes.
| Method | Best for | Tradeoffs |
|---|---|---|
| Electronic stud finder | Most drywall walls, general DIY | Needs correct calibration, can misread patches/texture |
| Magnetic stud finder | Confirming nail/screw lines, older walls | Slower, depends on finding fasteners |
| Measure from a corner | Sanity-check spacing | Framing varies, corners can be doubled or offset |
| Small test hole | High-stakes mounts where you need certainty | Makes a repairable hole, still avoid likely wire/pipe zones |
Practical tips for drilling and mounting safely
Finding the stud is half the job, mounting without damage is the other half.
- Use painter’s tape where you plan to drill, it helps prevent minor paint chipping and makes pencil marks easy to see.
- Start with a small pilot hole so you can feel if you hit wood, then step up to the final bit size.
- Choose the right fastener: lag screws into studs for heavy loads, wood screws for lighter brackets. If you cannot hit a stud, pick a drywall anchor rated for your item, and keep expectations realistic.
- Stay level: mark both sides of a bracket, then check with a level before committing to the second hole.
If the stud finder indicates live wiring near your drill point, pause and reassess. Many situations are safe with shallow pilot holes, but if you cannot confidently route around wiring, a professional assessment is worth the peace of mind.
Key takeaways (so you do not overthink it)
- Calibrate on the wall, and recalibrate when readings look too “good” everywhere.
- Find two edges, then mark the center, that beats chasing a single beep.
- Confirm with a reverse scan or a second method when you plan to hang something heavy.
- Slow scans win, fast swipes create false positives.
Conclusion
Once you treat your tool like a measuring instrument, not a magic wand, how to use a stud finder to find studs becomes pretty straightforward: calibrate carefully, scan slow, mark both edges, and confirm before drilling.
If you want an easy next step, pick one wall project and practice on a low-stakes spot, like locating studs for a small hook or light shelf. After two or three successful finds, your readings start to feel predictable, and that is when DIY gets a lot less stressful.