How to organize tools in a tool bag starts with admitting the real problem: it’s not that you own “too many” tools, it’s that the bag forces everything into one messy pile. When you can’t find a tape measure or you keep snagging on a utility knife, the job slows down and the bag feels heavier than it should.
Getting organized isn’t about a perfect Instagram layout, it’s about repeatable habits: where each tool lives, how you grab it, and how you reset the bag in under two minutes. Do that, and you’ll spend less time digging and more time working.
This guide focuses on practical setups that work for most trades and DIY use in the U.S., plus a simple checklist to match your bag layout to your real workflow. I’ll also call out common “organizing” moves that look nice but fall apart after a week.
Start with a quick tool bag audit (what stays, what leaves)
Before you buy pouches or add labels, you need a realistic inventory. Most clutter comes from duplicates, random fasteners, and “just in case” items that never get used.
- Empty the bag fully onto a bench or floor mat so you can see everything.
- Make three piles: Daily (used every job), Sometimes (weekly/monthly), Rare (emergency or once a year).
- Pull out trash and “mystery parts” immediately. If you can’t name it in 5 seconds, it probably doesn’t belong.
According to OSHA, good housekeeping reduces slip/trip hazards and supports safer work practices. In tool-bag terms, fewer loose sharps and fewer loose parts means fewer surprise pokes and cuts.
Choose an organizing strategy that matches your workflow
There isn’t one universal layout, but most people fall into one of these patterns. Pick the one that matches how you move on a jobsite or around your house.
| Strategy | Best for | What it looks like |
|---|---|---|
| Zone-based | Multi-trade, mixed tasks | Front = measuring/marking, middle = drivers, side = cutting, back = power tool bits |
| Task kit | Repeatable jobs | Small pouches by task (electrical, drywall, plumbing) you swap in/out |
| Weight + access | Walking jobsites, ladders | Heaviest tools low/center, most-used tools high/outside pockets |
If you’re unsure, go zone-based. It’s the easiest to maintain and doesn’t require buying extra modules.
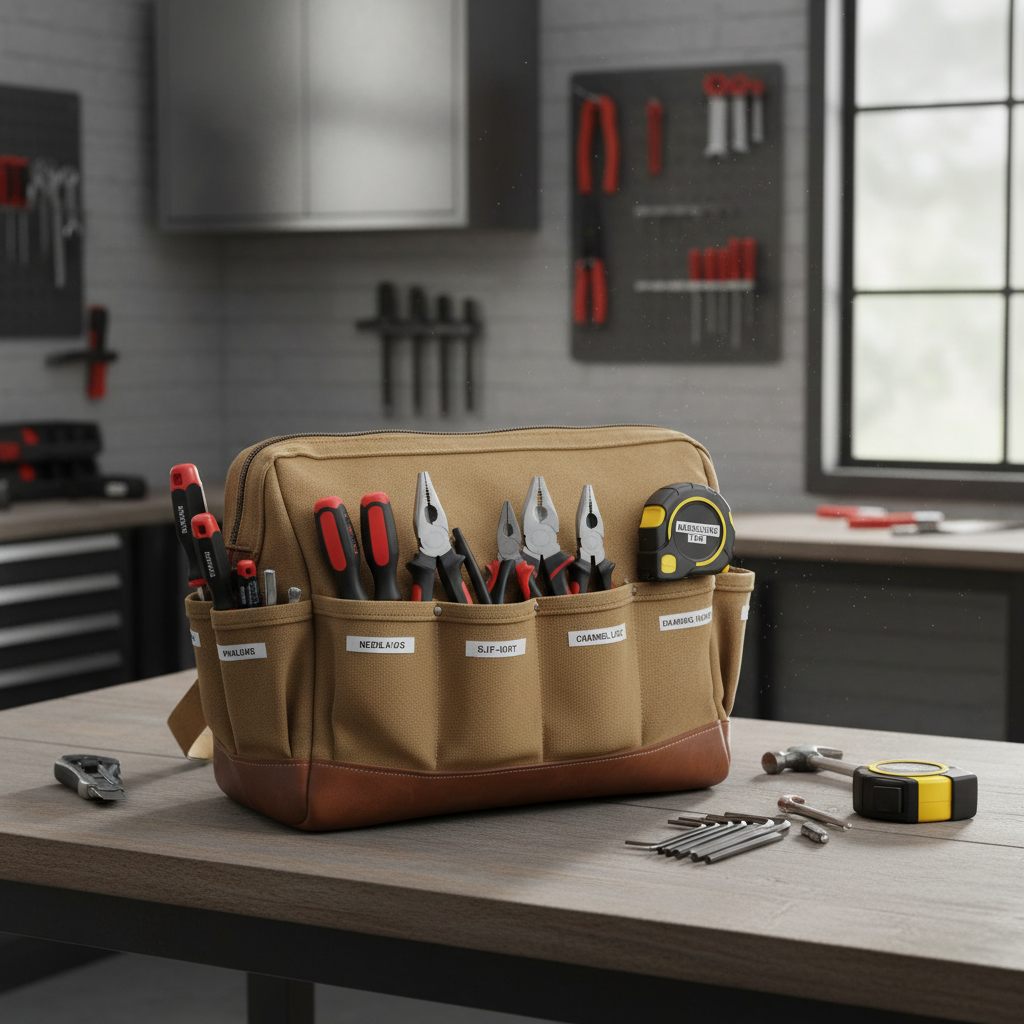
Build “zones” inside your tool bag (the layout that stays tidy)
The simplest way to keep order is to assign categories to consistent locations. Your brain learns the map, so you stop searching.
- Quick-grab zone: tape measure, pencil/marker, small flashlight, mini notepad.
- Fasteners zone: small parts organizer or a single divided box, not loose bags.
- Hand tool zone: pliers, cutters, adjustable wrench, utility knife.
- Driver zone: screwdriver set, bit driver, bit case.
- Power + accessories: impact driver (if you carry one), charger (only if needed), extension cord or test leads.
What makes this work long-term is consistency: each zone has a boundary, even if the bag is soft-sided. If the bag has no internal dividers, use a small pouch or tool roll to “draw a line” between categories.
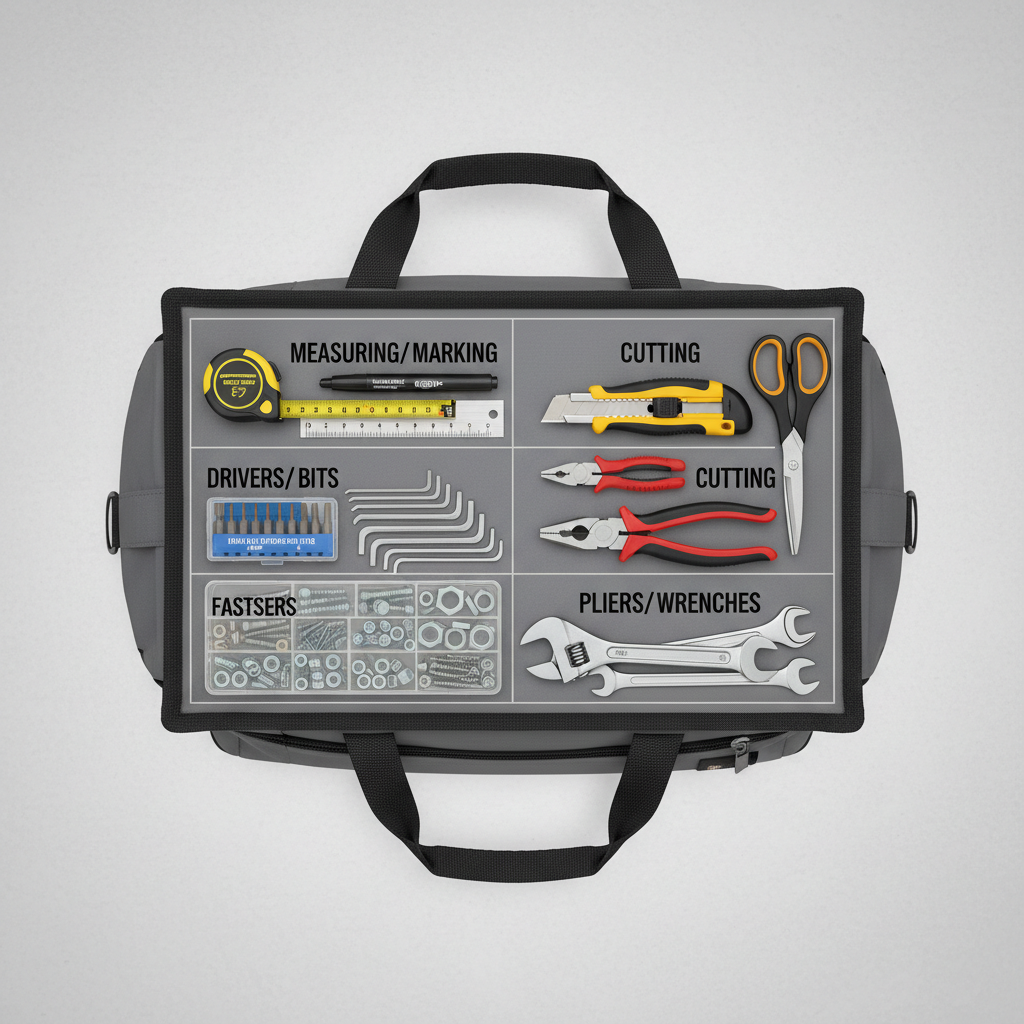
Key point: avoid mixing “tiny items” with “grabby items.” Bits, screws, and anchors should not share a pocket with pliers or a knife, they’ll spill and snag.
Use pockets, pouches, and organizers the smart way
Most tool bags fail because pockets get used randomly. The fix is choosing the right container for each kind of tool, then keeping it that way.
What usually works well
- Tool roll for screwdrivers and slim tools, it keeps tips covered and prevents pokes through fabric.
- Zipper pouch for small electronics (stud finder, spare batteries) or first-aid basics.
- Clear parts box for fasteners, you see what you have without dumping.
- Bit case for driver bits, don’t let them float loose.
What to avoid (even if it seems convenient)
- One giant “junk pocket” where you toss everything small.
- Loose razor blades or open utility knives, use a sheath or dedicated sleeve.
- Overstuffing outer pockets with heavy tools, it makes the bag tip and wears seams faster.
According to NIOSH, keeping loads manageable and close to the body helps reduce strain risk. You don’t need a perfect ergonomic setup, but balancing weight and avoiding one-sided bulges makes carrying less punishing.
Fast self-check: which tool bag organization level do you need?
Not everyone needs the same system. Use this quick checklist to decide how far to go.
- If you lose tools once per day, you need basic zones and a fastener box.
- If you dump the bag to find things weekly, you need pouches/rolls to separate categories.
- If you carry the bag up ladders or long distances, you need weight-centered packing and fewer “rare” tools.
- If your bag rips, tips over, or feels unstable, you likely need a different bag style (structured base, wider opening).
Be honest here. The best setup is the one you’ll actually maintain at the end of a long day.
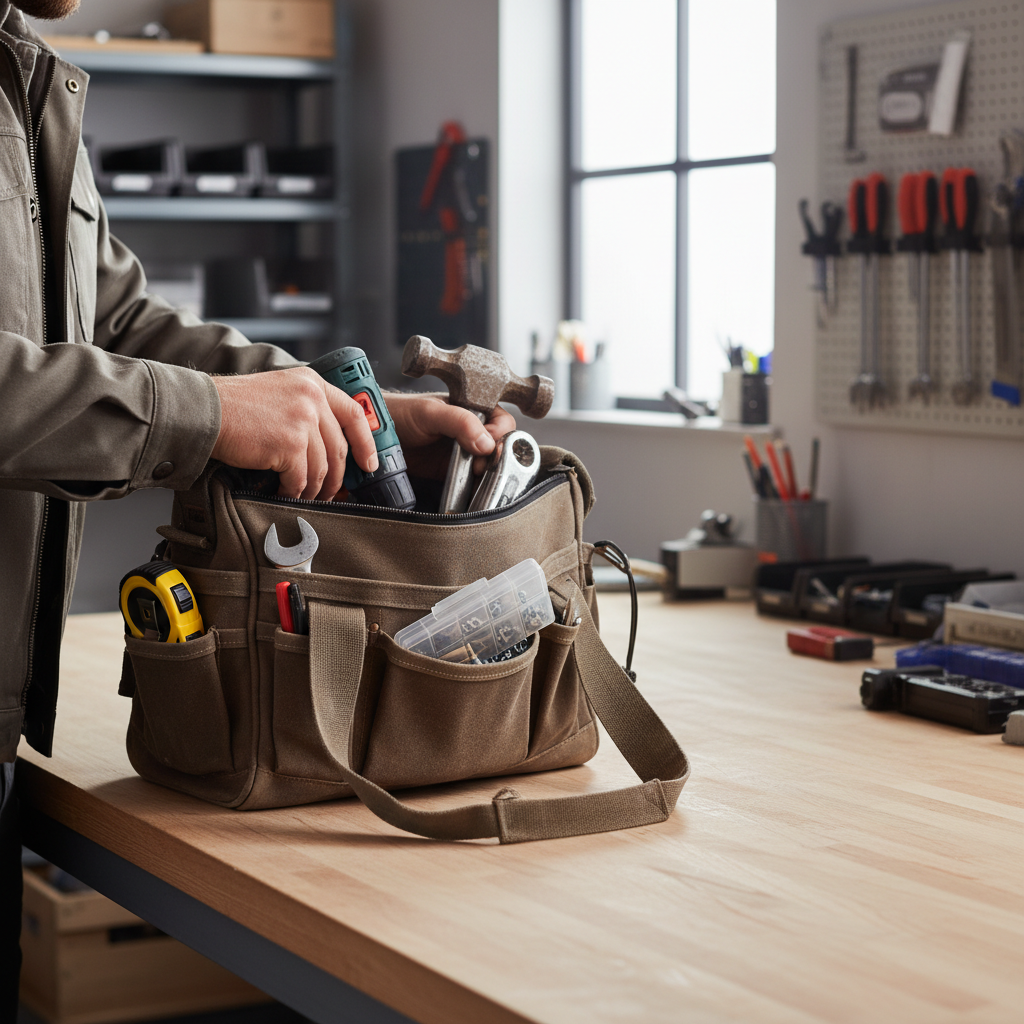
Step-by-step: a practical setup you can do in 20 minutes
This is the default method I recommend when someone asks how to organize tools in a tool bag without overthinking it.
- Step 1: Pack heavy tools first in the bottom center: hammer, larger wrench, heavier pliers.
- Step 2: Assign quick-grab items to the same two pockets every time (tape, marker, flashlight).
- Step 3: Contain the small stuff: one clear parts box for fasteners, one zipper pouch for “misc.”
- Step 4: Make a driver lane: bit case + driver together so you don’t split the pair.
- Step 5: Add a sharps rule: blades, punches, and saws must be sheathed or placed tip-down in a sleeve.
- Step 6: Do a 60-second shake test: close the bag, gently tilt and carry it a few steps, if you hear chaos, re-seat the loose categories.
Quick win: if you only do one thing today, stop carrying loose fasteners and loose bits. Containing small items changes everything.
Common mistakes that keep your bag messy
A tool bag can look organized for a day and still fail in real life. These are the patterns that usually cause relapse.
- Organizing by tool type only when your work is task-based. If you always do outlet swaps, keep that kit together.
- Carrying duplicates “because it might save time,” then spending time searching through duplicates.
- No reset routine. If you don’t put things back in the same spot, the bag becomes a moving target.
- Ignoring wear points. Sharp edges and heavy tools chew through fabric, then everything dumps out anyway.
Also, don’t confuse “more pockets” with “more organized.” Too many tiny pockets can turn into a scavenger hunt unless you label or dedicate them.
When to upgrade the bag (or get help) instead of forcing it
Sometimes your bag is the bottleneck, not your effort. Consider upgrading if any of these keep happening:
- The opening is too narrow to see inside, so you dig by feel.
- The base collapses, tools pile into the middle, and zones don’t hold.
- Seams tear or pockets sag under normal loads.
If you’re carrying specialty gear like electrical testers, blades, or chemicals, it may be worth asking a supervisor, tool vendor, or safety lead for guidance on storage. And if you’re unsure about safe handling of sharps or jobsite requirements, consulting a qualified professional is a safer move than guessing.
Conclusion: keep it simple, then keep it consistent
If your goal is less frustration, focus on two habits: zones and a quick reset at the end of the job. Once you know where measuring tools live, where drivers live, and where small parts live, how to organize tools in a tool bag stops being a project and becomes a routine.
Pick one layout from this article, try it for a week, then adjust only one zone at a time. Small changes stick, big overhauls usually don’t.
Key takeaways
- Contain small items (fasteners, bits) or the bag will never stay tidy.
- Center the weight and keep heavy tools low to reduce strain and tipping.
- Sharps need a rule: sheath, sleeve, or tip-down placement.
- Consistency beats complexity, keep the map the same every day.